Draft an animatic for a scene
Draw a simple storyboard, sketch key frames, photograph or scan each drawing, then assemble them into a basic animatic to test timing.


Step-by-step guide to draft an animatic for a scene
Step 1
Gather your materials into one spot on a clear table so you have a tidy workspace.
Step 2
Write one sentence that describes what happens in the scene you want to animate.
Step 3
Draw six small storyboard boxes across a sheet to plan the beats of your scene.
Step 4
Sketch the main action quickly inside each small box so you can see the story flow.
Step 5
Number the boxes from 1 to 6 so you know the order of the shots.
Step 6
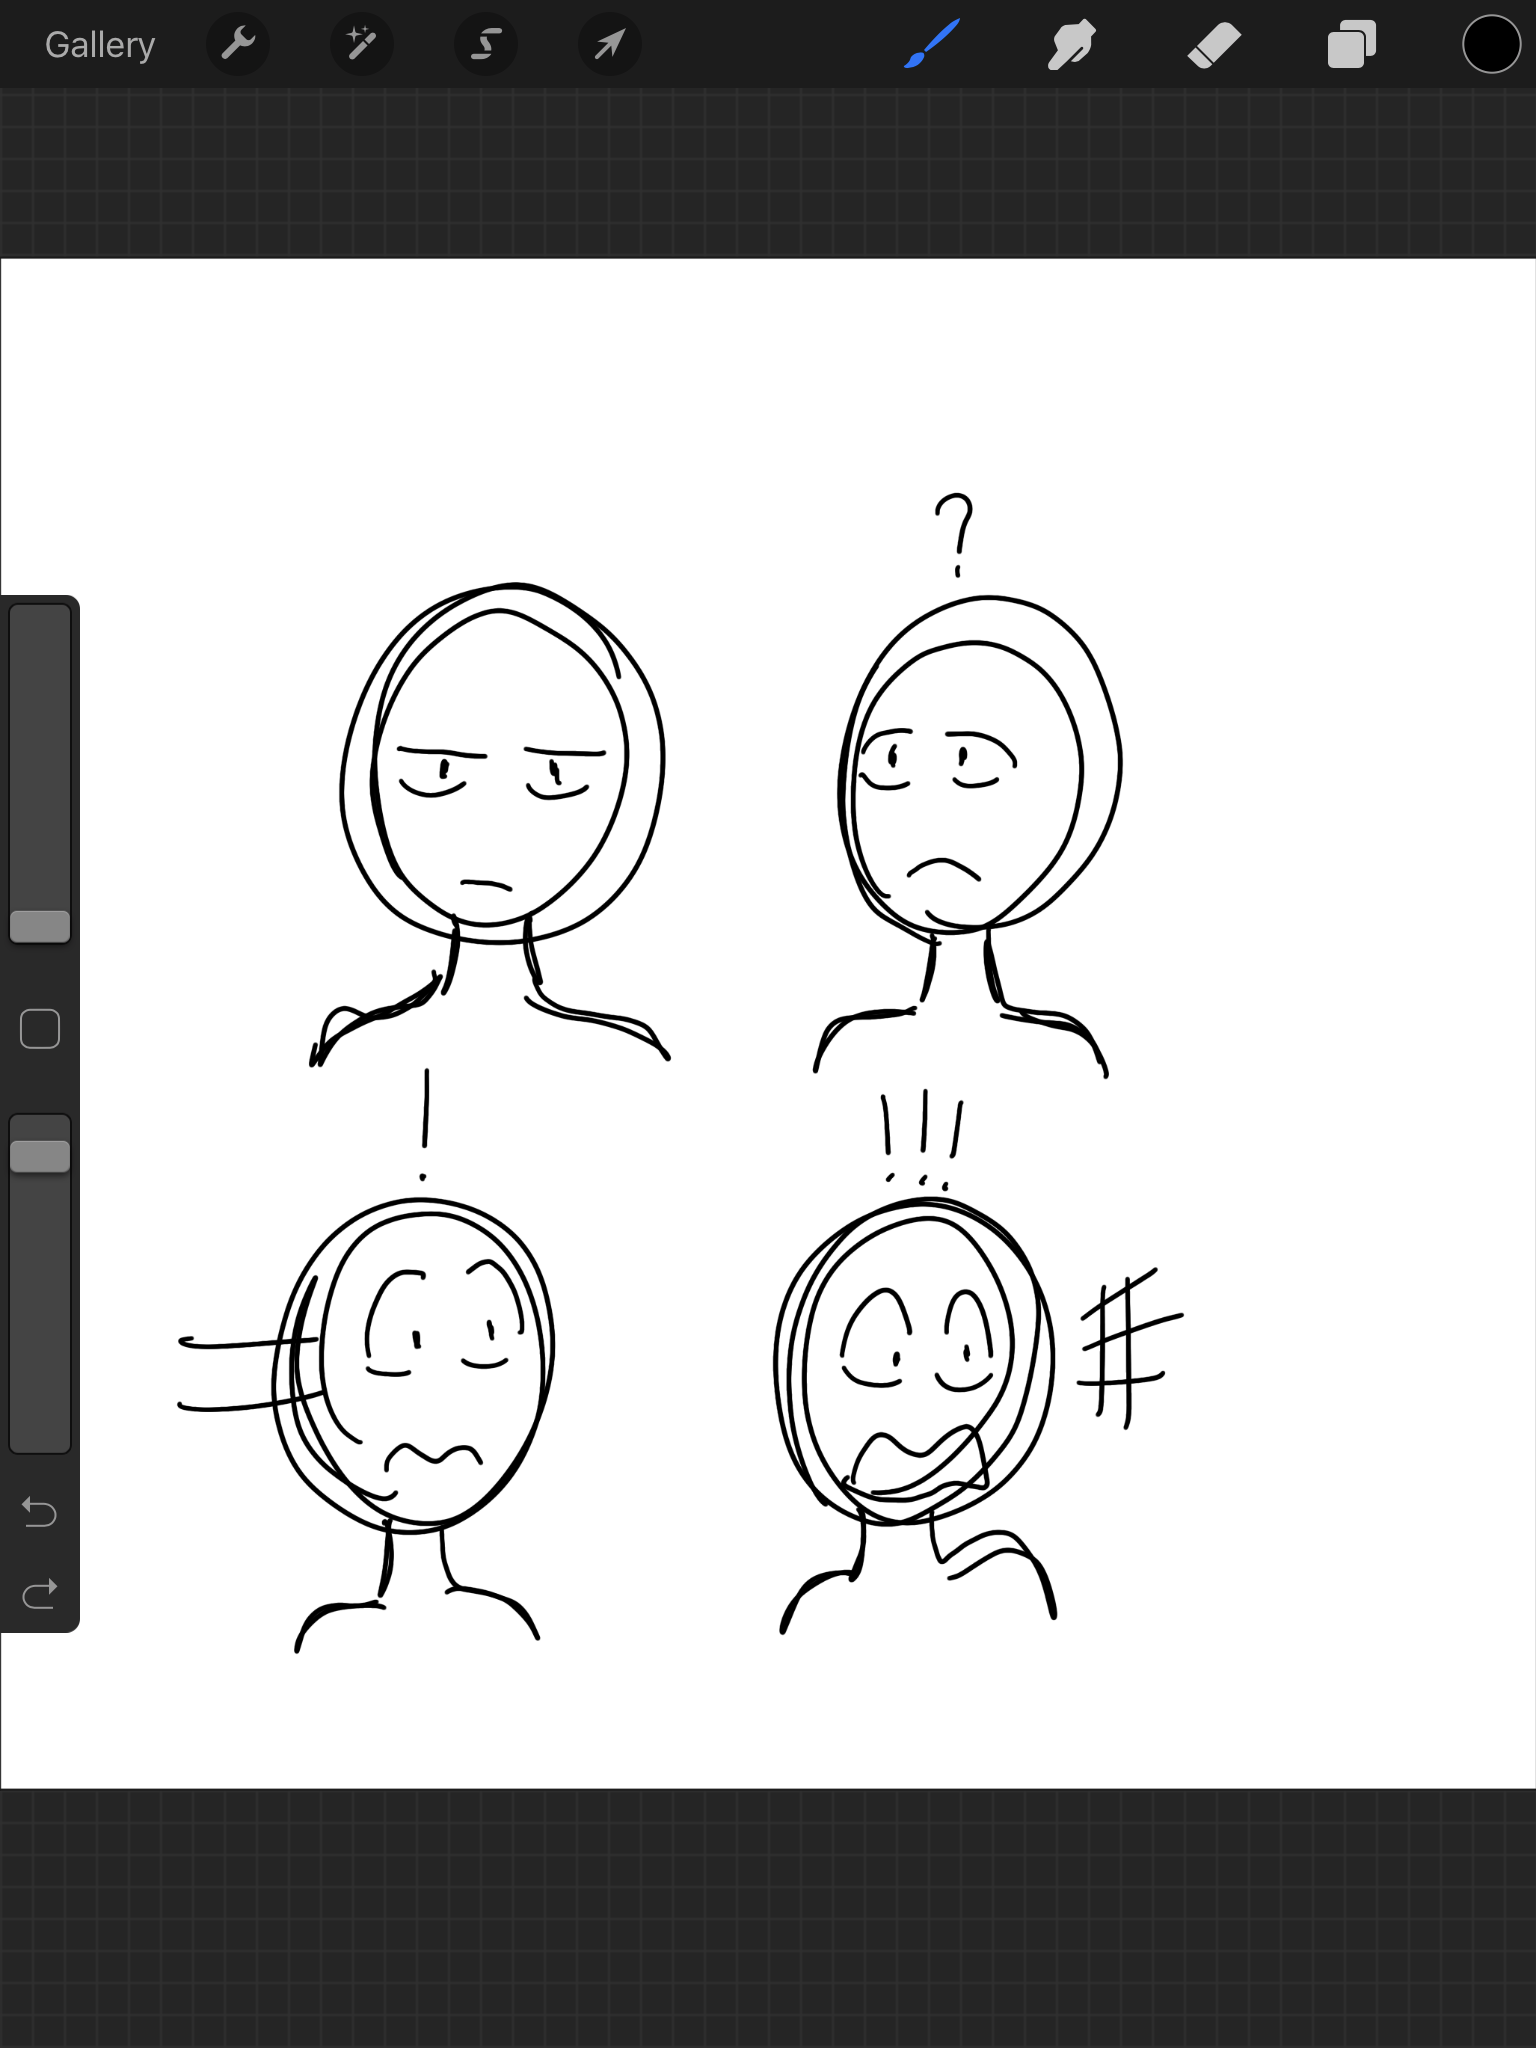
Pick four key frames that show the most important moments and circle their numbers.
Step 7
Redraw each circled key frame larger on fresh paper with a bit more detail.
Step 8
Add arrows and simple expression marks to each big drawing to show movement and emotion.
Step 9
Write a timing note in seconds under each big drawing to decide how long it should show.
Step 10
Stack your drawings in order and keep them flat so they are ready to capture.
Step 11
Photograph or scan each drawing in order and save the image files with matching numbers like 01 02 03.
Step 12
Import the numbered images into a slideshow or simple video app set each image’s display time to your timing notes and play the animatic to check the pacing.
Step 13
Share your finished animatic on DIY.org.
Help!?
What can we use instead of a scanner or desktop slideshow software if we don't have them?
Use a smartphone camera to follow the step 'Photograph or scan each drawing in order' and assemble the numbered images in a free phone video editor or slideshow app as a substitute for a scanner and desktop software.
My photos end up out of order or the timing feels wrong—how can we fix that?
Keep the stack flat and clearly numbered (steps 'Stack your drawings in order' and 'Number the boxes'), rename files as 01 02 03 before importing, and set each image's display time to your written timing notes to preserve order and pacing.
How can we adapt this animatic activity for different ages or skill levels?
For younger kids, simplify by making three large storyboard boxes instead of six and redrawing one clear key frame, while older kids can add more frames, finer redraws of the 'Pick four key frames' step, and more precise timing notes under each big drawing.
What are some ways to extend or personalize the animatic after the basic version is done?
Enhance your animatic by coloring the redrawn key frames, recording simple dialogue or sound effects to align with the 'Write a timing note' and 'Import the numbered images' steps, and then share the upgraded version on DIY.org.
Watch videos on how to draft an animatic for a scene
How to create Animated Educational Videos [Easy Animation Tutorial for school projects!] Assignments
4 Videos
![How to create Animated Educational Videos [Easy Animation Tutorial for school projects!] Assignments](https://img.youtube.com/vi/QXHuRxjcek8/mqdefault.jpg)
How to create Animated Educational Videos [Easy Animation Tutorial for school projects!] Assignments

How to animate for beginners? (Easiest method!)
Adobe Animate Tutorial for Beginners | Complete 2D Animation Course

How to Create Animated Videos using Canva For FREE Step By Step Tutorial
Facts about storyboarding and animatics
🎬 Animatics let filmmakers test timing and pacing early — saving time and money before full animation is made.
✏️ Storyboards became a standard planning tool after Walt Disney popularized them in the early 1930s.
📸 Many creators photograph or scan hand-drawn sketches and stitch the images together to make a simple animatic.
⏱️ Animatics often use lower frame rates or held frames (like 12 fps) so you can focus on story beats, not full motion.
🧩 You can assemble an animatic with free or simple tools (iMovie, Shotcut, PowerPoint), so expensive software isn't required.
How do I help my child create an animatic from a simple storyboard?
What materials and apps do we need to make a basic animatic at home?
What ages is animatic-making suitable for?
What are the benefits and safety tips for kids making animatics?
