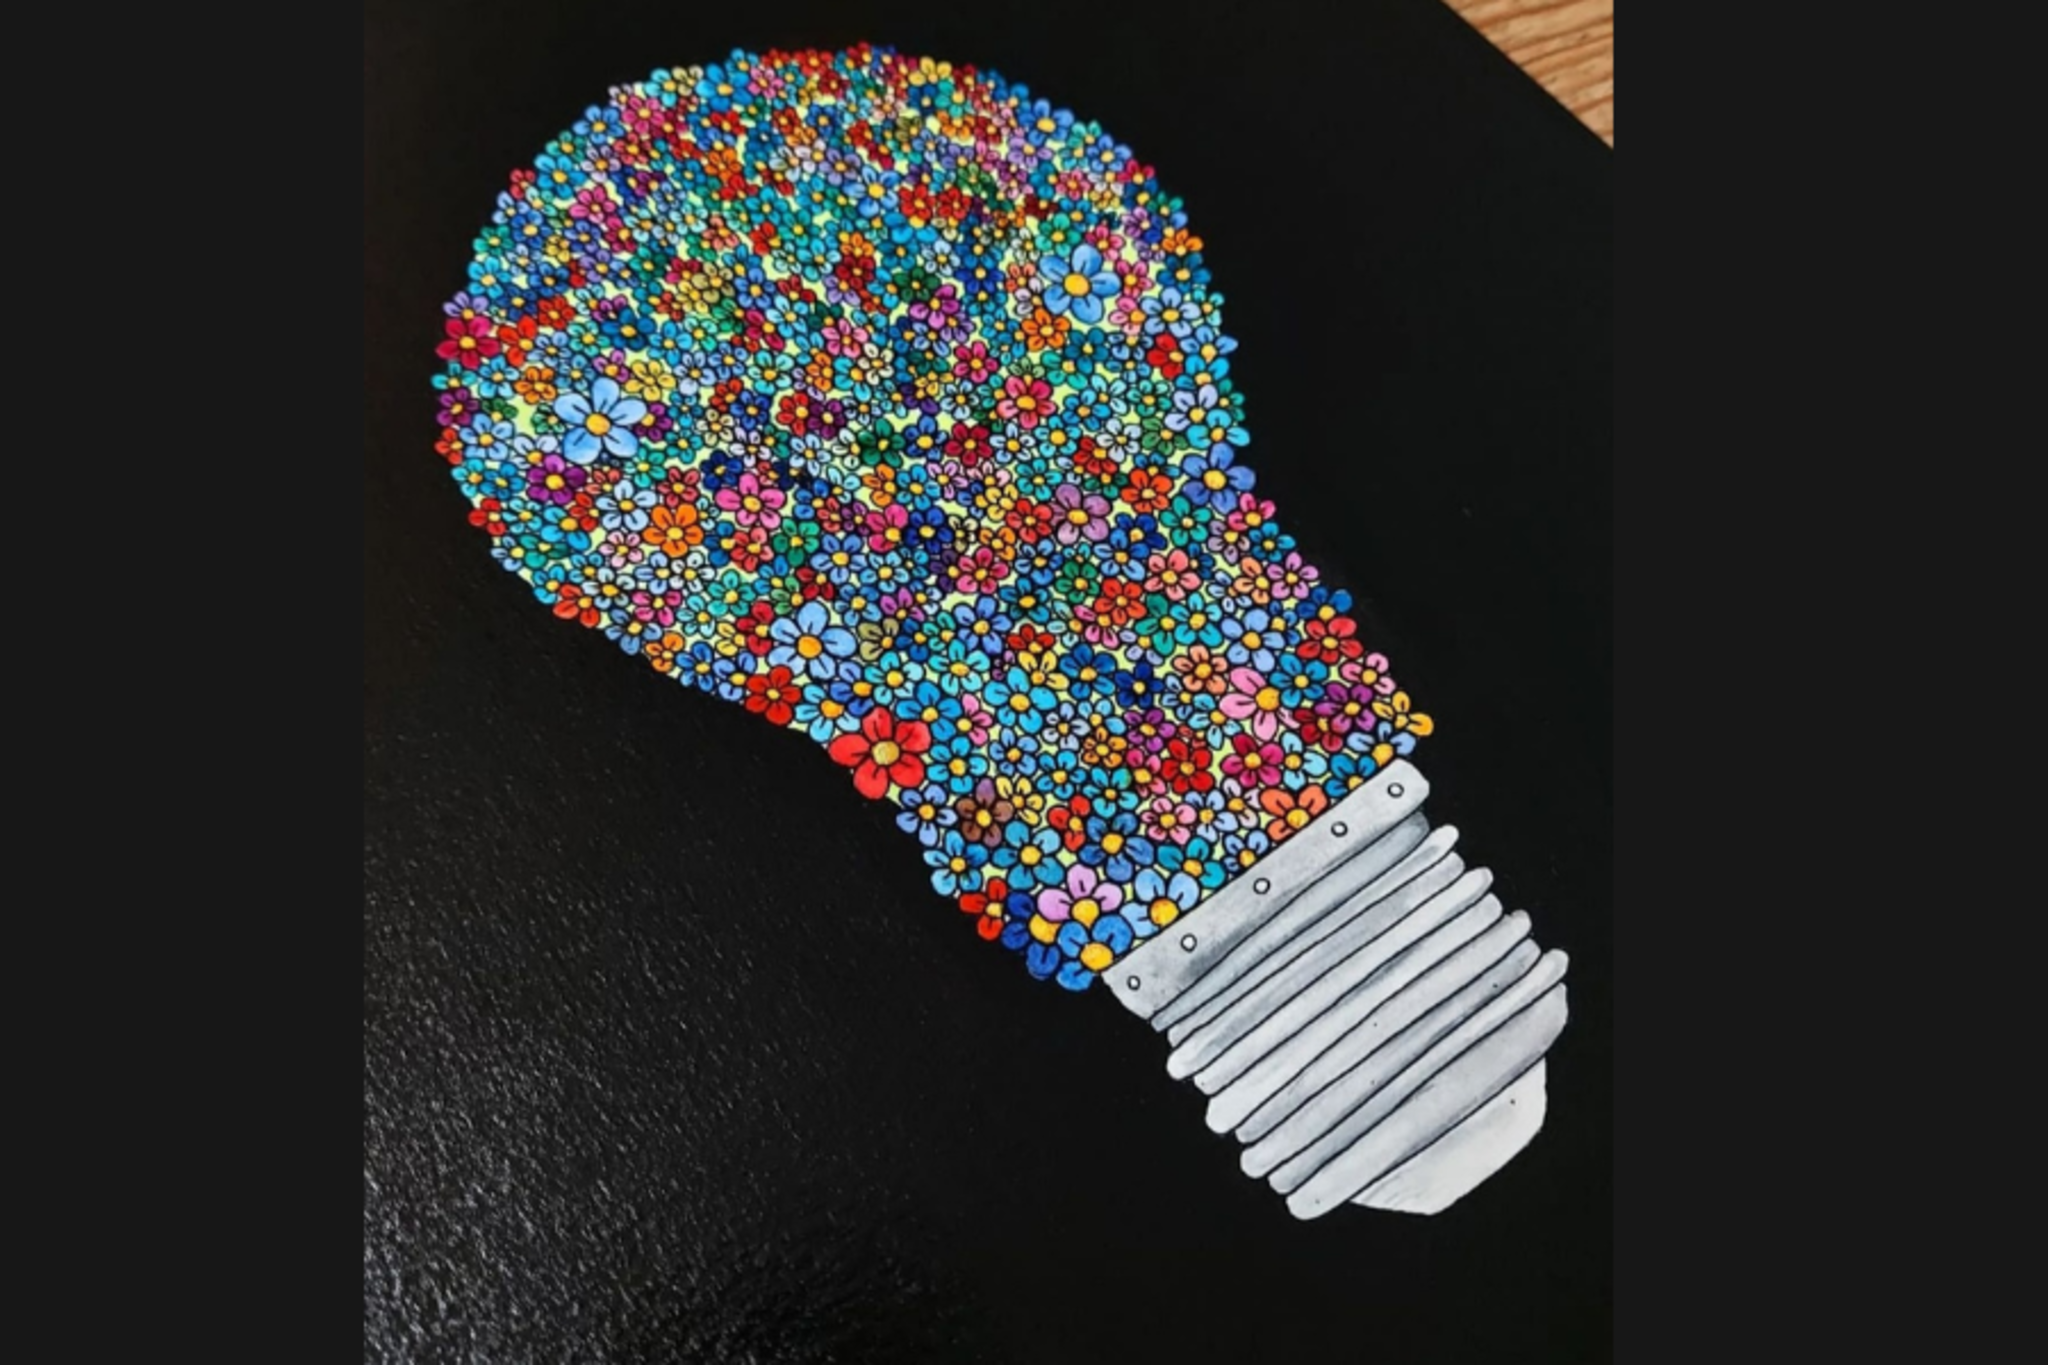
Doodle A Flowery Bulb
Draw and decorate a flowery bulb doodle using pencil, markers, and colored paper. Practice shapes, symmetry, shading, and creative design.


Step-by-step guide to Doodle A Flowery Bulb
How To Draw A Kid Planting A Flower
Step 1
Place your white drawing paper on a flat surface and decide whether you want it portrait or landscape.
Step 2
Lightly draw a rounded bulb shape near the bottom center of the paper with your pencil.
Step 3
Draw a straight or slightly curvy stem rising from the top center of the bulb toward the top of the page.
Step 4
Lightly draw a circle or oval at the top of the stem to mark the flower head.
Step 5
Lightly draw a vertical center line and a horizontal guide line across the flower head to help make it symmetric.
Step 6
Draw matching petals around the flower head using the guide lines so both sides look balanced.
Step 7
Draw leaves on the stem and add simple decorative shapes on the bulb like dots lines or little hearts.
Step 8
Add pencil shading on one side of the bulb petals and leaves to make parts look rounded and deeper.
Step 9
Carefully trace over all your pencil lines with the fine-tip black marker and wait a moment for the ink to dry.
Step 10
Color the petals stem and bulb using your coloring materials, keeping colors inside the marker outlines.
Step 11
Cut fun shapes from the colored paper like small hearts circles or petal cutouts using scissors.
Step 12
Glue the colored-paper shapes onto your drawing to add layers and extra decoration.
Step 13
Take a photo of your finished flowery bulb and share your creation on DIY.org
Help!?
If I don't have colored paper or a fine-tip black marker, what can I use instead?
Use torn magazine pages or painted printer paper for the cutouts and trace over your pencil lines with a thin black gel pen, ballpoint pen, or a deeply sharpened dark colored pencil instead of the fine-tip marker.
My marker smudged or the ink bled when tracing—how can I fix or avoid this?
To avoid smudging, follow the instruction to wait for the ink to dry, blot excess ink gently with scrap paper if needed, and if lines fade or smear, lightly redraw the pencil guides before carefully retracing with the marker.
How can I adapt the activity for a toddler versus an older child?
For toddlers, pre-draw the rounded bulb, stem, and flower head and let them color with crayons and glue pre-cut shapes using safety scissors, while older kids can add the vertical/horizontal guide lines, detailed pencil shading, precise marker tracing, and layered colored-paper decorations.
What are simple ways to extend or personalize the finished flowery bulb?
Personalize it by gluing on textured fabric scraps or glitter to the colored-paper shapes, add extra decorative marks on the bulb as in the instructions, arrange several bulbs into a scene, and then take a photo to share on DIY.org.
Watch videos on how to Doodle A Flowery Bulb
How To Draw Spring Blossoms - Preschool
4 Videos
How To Draw Spring Blossoms - Preschool
How to Draw a Light Bulb Cute and Easy
How To Draw A Flower (Tulip)- Preschool

Parts of a Flower -Functions ...for Kids ,Kindergarten,Preschoolers
Facts about drawing and doodling for kids
🎨 Doodling while listening can boost memory — one study found doodlers remembered about 29% more than non-doodlers.
🌸 Many flowers display radial or bilateral symmetry, which helps pollinators quickly locate nectar.
🌱 Bulbs are storage organs full of nutrients so plants like tulips and daffodils can sprout and bloom fast each spring.
✏️ Using just three shading values — light, mid, and dark — can make a flat doodle jump into 3D.
✂️ Paper was refined in China around 105 AD, and people have been making paper crafts for decoration and learning ever since.
How do you draw and decorate a flowery bulb doodle step by step?
What materials do I need to draw a flowery bulb doodle?
What ages is the flowery bulb doodle activity suitable for?
What are the benefits of drawing and decorating flowery bulb doodles?
