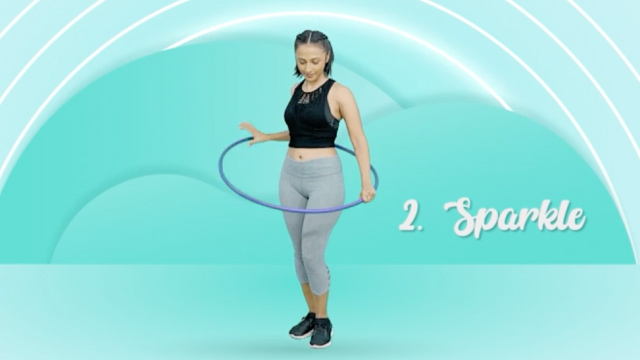
Do the Sparkle
Make a glitter sparkle jar using a clear bottle, water, glue, and glitter to observe swirling patterns and learn about suspension and calming focus.


Step-by-step guide to make a glitter sparkle jar
Step 1
Gather all your materials and bring them to a clear workspace.
Step 2
Take the lid off the clear bottle and set it aside.
Step 3
Pour clear school glue into the bottle until it is about one quarter full.
Step 4
Add warm water to the bottle until it is almost full leaving about 2 cm of air at the top.
Step 5
Use the funnel or spoon to add 1 to 2 teaspoons of fine glitter into the bottle.
Step 6
Add 2 drops of food coloring if you want a colored sparkle jar.
Step 7
Screw the lid back onto the bottle tightly.
Step 8
Wrap strong tape around the lid to seal it so glitter won’t spill.
Step 9
Shake the bottle vigorously for 30 seconds to mix the glue water and glitter.
Step 10
Set the jar down and watch the glitter swirl as it settles; time how many seconds it takes and notice the patterns.
Step 11
Share your finished sparkle jar on DIY.org.
Help!?
What can we use if clear school glue, a clear bottle, or fine glitter are hard to find?
Use a clear plastic water bottle or mason jar instead of the clear bottle, replace clear school glue with clear hair gel or diluted clear Mod Podge in the same glue-step, and add biodegradable glitter, sequins, or colored sugar through the funnel or spoon as a substitute for fine glitter.
The glitter clumps or sinks immediately — what should we try to fix it?
Check that the glue is about one quarter full and you added warm water almost to the top, then shake the bottle vigorously for 30 seconds as instructed and, if needed, increase the glue ratio or add a few drops of clear glycerin before sealing the lid with strong tape to slow settling.
How do we adapt the activity for toddlers, school-age kids, or older kids?
For toddlers have an adult pre-mix the glue and warm water in a large nonbreakable bottle and handle the funnel, glitter, and taping steps, for school-age children let them pour the glue, add glitter with a spoon, and screw the lid, and for older kids have them measure ingredients, experiment with 1–2 teaspoons of different glitters and 0–2 drops of food coloring, time settling patterns, and record results to share on DIY.org.
How can we personalize or extend the sparkle jar after making it?
Before screwing the lid on you can drop in tiny plastic toys or sequins, add glow-in-the-dark paint or a few drops of food coloring for color, decorate the taped lid with washi tape or stickers, or make multiple jars with different glitter amounts and compare settling times as an experiment to post on DIY.org.
Watch videos on how to make a glitter sparkle jar
Creating a Sparkling Fish with Sand and Glitter Art 🐠🐟 Easy Kids Craft 🎨
4 Videos
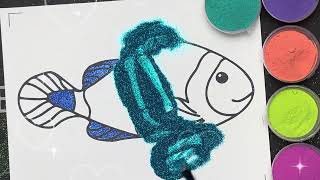
Creating a Sparkling Fish with Sand and Glitter Art 🐠🐟 Easy Kids Craft 🎨
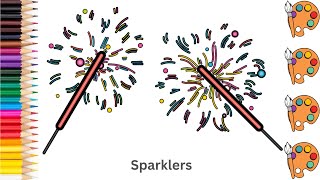
Sparklers - Sketch Art and Paint | Step by step tutorial | Pencil to Palette
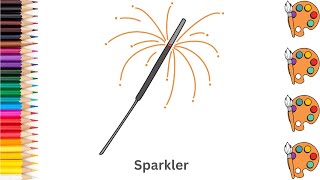
Sparkler - Sketch Art and Paint | Step by step tutorial | Pencil to Palette
Drawing painting and Coloring a sparkling pearl / Easy step by step for kids
Facts about sensory bottles and suspension
🧪 Most white craft glue is polyvinyl acetate (PVA), a polymer that thickens water so glitter falls more slowly.
✨ Commercial glitter-making began in the 1930s, turning tiny pieces of shiny material into sparkly confetti.
🌪️ Adding more glue or a few drops of glycerin increases viscosity, so sparkles swirl longer before settling.
🧘 Watching slow-moving glitter can act as a simple mindfulness tool to help children calm and focus.
♻️ To cut down on microplastics, try biodegradable glitters made from plant cellulose and reuse old jars.
How do you make a glitter sparkle jar?
What materials do I need for a glitter sparkle jar?
What ages is a sparkle jar suitable for?
What are the benefits of making a glitter sparkle jar?
