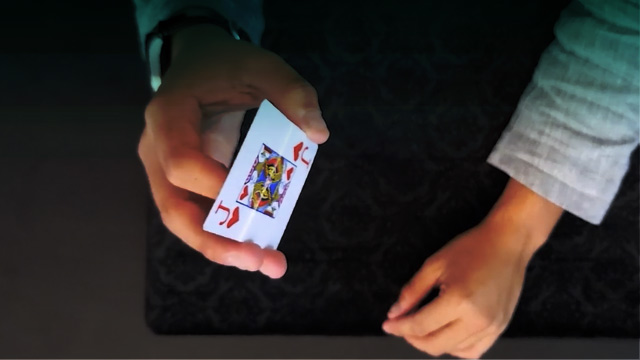
Do the Flap Card Trick
Create and decorate a flap card with a hidden message or picture, then practice revealing it smoothly to surprise friends and learn stage presentation.


Step-by-step guide to make and perform the flap card trick
Step 1
Gather all materials and clear a flat workspace to work on.
Step 2
Decide on a secret message or picture you want to hide and picture how big it should be.
Step 3
Fold the cardstock in half to make the card base.
Step 4
On the front of the folded card draw a rectangle where you will make the flap.
Step 5
Carefully cut three sides of the rectangle with scissors leaving the top edge uncut to form a flap.
Step 6
Open the flap and write or draw your hidden message or picture inside so it is covered.
Step 7
Decorate the outside of the card and the flap to make it fun and mysterious.
Step 8
Glue a small strip of paper under the flap so it becomes a pull tab for opening.
Step 9
Gently pull the tab to test the flap and make any trimming or glue fixes so it opens smoothly.
Step 10
Write one short line you will say just before you reveal the flap to create suspense.
Step 11
Practice your line and the smooth flap reveal in front of a mirror to check your timing and expression.
Step 12
Perform the flap card trick for a friend or family member and watch their reaction.
Step 13
Share your finished flap card on DIY.org
Help!?
What can I use instead of cardstock or glue if I don't have them?
Use a flattened cereal box or two pieces of construction paper taped or glued together for the folded card base, and replace white glue with a glue stick or double-sided tape when attaching the small strip of paper for the pull tab.
My flap sticks or tears when I try to open it—what should I check and fix?
Make sure you only cut three sides of the rectangle (leaving the top edge uncut), trim any jagged cuts, avoid getting glue on the flap edges when you glue the pull-tab strip, and let glue dry before testing so the flap opens smoothly.
How can I adapt this trick for different ages?
For younger kids have an adult pre-fold the cardstock and pre-cut the rectangle so the child can decorate and attach the pull-tab, while older kids can add extra flaps, a more detailed hidden picture, and rehearse the suspense line and timing in front of a mirror.
How can I make the flap card trick more impressive or personal?
Personalize the outside decoration to hint at the secret, hide a small photo or sticker under the flap as the hidden message, or create multiple numbered flaps and a practiced one-line suspense before pulling the tab for a bigger reveal.
Watch videos on how to make and perform the flap card trick
9 VISUAL Card Tricks Anyone Can Do | Revealed
4 Videos
9 VISUAL Card Tricks Anyone Can Do | Revealed
How To Make Flap Cards Tutorial
Why This Flap Card Is So Impressive
This ULTIMATE Card Trick Has So Many Magic Moments & Twists! (Easy)
Facts about magic tricks and paper crafts
🎩 Magicians often use everyday items like cards and envelopes to make tricks feel personal and surprising.
📬 Greeting cards have been handmade for centuries — long before printers made them easy to buy.
📐 Origami proves you can create secret pockets and clever flaps using only folds and no glue.
🤹♂️ Smooth presentation (gestures, voice, timing) makes a simple reveal feel like big magic.
😲 The same hidden message can feel different depending on timing: slow build for suspense, quick snap for shock!
How do you do the Flap Card Trick?
What materials do I need for the Flap Card Trick?
What ages is the Flap Card Trick suitable for?
What are the benefits and safety tips for the Flap Card Trick?
