Do the DIY Wall Art Challenge!
Make your own colorful wall art using paper, paints, tape, and found objects; design patterns or a collage and safely hang it in your room.


Step-by-step guide to make your own colorful wall art
Step 1
Gather all Materials Needed and put them on a clear workspace so everything is easy to reach.
Step 2
Decide whether you want to make a repeating pattern or a mixed collage for your wall art.
Step 3
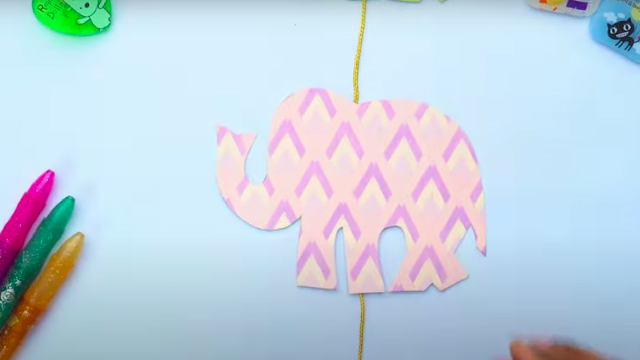
Sketch your design lightly on the paper with a pencil to plan where colors and objects will go.
Step 4
Cut the paper to the size you want for your wall display if it needs trimming.
Step 5
Place strips of masking tape on the paper to make shapes or sections you want to keep paint-free.
Step 6
Paint the exposed areas with your chosen colors using brushes or sponges.
Step 7
Let the paint dry completely before you touch the paper.
Step 8
Peel off the tape carefully to reveal clean painted edges.
Step 9
Glue your found objects or collage pieces onto the paper where you planned them.
Step 10
Add small finishing details with markers or extra paint to make your design pop.
Step 11
Prepare the back of your art for hanging by pressing poster putty on the corners or attaching small removable wall hooks.
Step 12
Have an adult help you hang your finished art safely on your room wall.
Step 13
Share your finished creation on DIY.org
Help!?
What can we use instead of poster putty or removable wall hooks for hanging the art if we can't find them?
If you can't find poster putty or removable wall hooks for the step 'Prepare the back of your art for hanging', substitute small double-sided tape squares or Command strips (following package weight limits) to safely secure the paper to the wall.
My paint bled under the masking tape and edges are messy — how can I fix that?
To avoid paint bleeding when you 'Place strips of masking tape' and 'Paint the exposed areas', press the tape edges down firmly, use low-tack masking tape, apply thin paint layers, wait until paint is fully dry, then peel the tape back slowly at a low angle for clean edges.
How should I modify this activity for different ages?
For younger children use large paper, washable tempera paints, sponge brushes, and pre-cut collage pieces with an adult doing the cutting and glue steps, while older kids can sketch complex repeating patterns, use fine brushes for 'small finishing details', and attach heavier found objects with stronger glue before hanging.
What are some ways to extend or personalize the wall art project after it's finished?
To enhance and personalize your piece, add varnish or Mod Podge over painted areas for durability, mount the trimmed paper in a simple frame, sign and date it with a marker as a finishing detail, or attach battery-powered fairy lights behind the paper before you 'Prepare the back of your art for hanging' and share the result on DIY.org.
Watch videos on how to make your own colorful wall art
🪔 DIY Paper Diya Wall Hanging for Kids 🌈 | Easy Diwali Craft | Fun Festive Activity for Children 🎉
4 Videos
🪔 DIY Paper Diya Wall Hanging for Kids 🌈 | Easy Diwali Craft | Fun Festive Activity for Children 🎉

Start your creativity now! 🎨 8 awesome ways to make DIY wall art!🤩
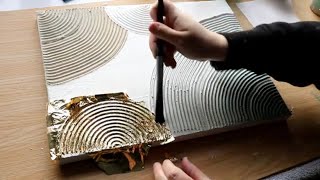
(64) DIY Textured Wall Art with Gold Leaf/ Simple DIY Wall Art with Spackle!

10 Easy DIY Wall Art Ideas to Refresh Your Home | Home Decor & Craft Projects
Facts about mixed-media crafts for kids
🎨 Collage was popularized by Pablo Picasso and Georges Braque in the early 1900s when they started gluing paper and materials onto paintings.
♻️ Artists who make assemblages often turn everyday trash or found objects into museum-ready art.
✂️ Papercrafting can be done with just scissors, glue, and tape — layering torn paper creates great texture for kids' wall art.
🖼️ Removable adhesive picture hooks and strips can hold light-to-medium wall art and come off walls without damaging paint when used correctly.
🎭 Mixed-media means you can combine paint, paper, fabric, and small objects — there’s no single ‘right’ way to create a colorful collage.
How do you do the DIY Wall Art Challenge?
What materials do I need for the DIY Wall Art Challenge?
What ages is the DIY Wall Art Challenge suitable for?
What are the benefits of doing the DIY Wall Art Challenge?
