Do A Waist Hoop Like A4 of Origanimals!
Fold several A4 origami animals, connect them into a flexible ring, and create a lightweight waist hoop to wear and decorate safely.


Step-by-step guide to make a waist hoop from A4 origami animals
Step 1
Gather all your materials and clear a flat space to work on so you have room to fold and connect your animals.
Step 2
Measure your waist by wrapping one A4 sheet or a ribbon around your waist and marking where the ends meet with a pencil so you know how long your hoop should be.
Step 3
Turn each A4 sheet into a square by folding one corner to the opposite edge and cutting off the extra rectangle to make neat square papers for folding.
Step 4
Fold each square into a simple origami animal (pick one design and repeat) until you have many animals ready to link—about 10 to 12 is a good start.
Step 5
Decorate each folded animal using your colouring materials to give your hoop personality and color.
Step 6
Strengthen the back of each animal with a small piece of clear tape where you will attach the loop so they don’t tear when worn.
Step 7
Make a small paper loop for each animal by cutting a thin strip of scrap paper forming a loop and taping its ends, then tape each loop to the back of an animal.
Step 8
Link your animals by threading one loop through the next loop and taping the loop closed so the animals form a long chain that you can measure against your waist mark.
Step 9
Keep adding animals until the chain reaches the length you marked for your waist so the hoop will fit comfortably.
Step 10
Join the two ends of the chain to form a circle and reinforce the final joins with clear tape so the hoop stays together and is safe to wear.
Step 11
Try on your lightweight origanimal waist hoop gently over clothes with an adult nearby to check the fit and make sure it feels safe and comfy.
Step 12
Share a photo and story of your finished origanimal waist hoop on DIY.org so other kids can see your creative ring!
Help!?
What can we use if we don't have A4 paper, clear tape, or a ribbon from the materials list?
If you don't have A4 paper, use any printer paper (like US Letter) trimmed into squares for folding, substitute clear tape with a glue stick or stapler to reinforce backs and attach loops, and use string or a long ribbon to measure your waist instead of an A4 strip.
Why are my origami animals tearing when I try to link them and how do I fix that step?
If animals tear when linking, follow the instructions to strengthen the back with a larger piece of clear tape where you attach the loop, make the scrap paper loops wider, and tape loop ends securely before threading to reduce stress.
How can I adapt the project for different age groups?
For younger kids have an adult pre-fold and pre-cut the A4 squares and pre-make the scrap paper loops so they can focus on decorating and linking, while older kids can fold more detailed origami animals, decorate with the colouring materials, and assemble the full chain themselves before trying it on with an adult nearby.
How can we enhance or personalize the finished origanimal waist hoop?
To personalize and strengthen the hoop, cover each decorated animal with clear tape like a laminate, add beads or small ribbons to the scrap paper loops for spacing and decoration, and reinforce the final joins with extra clear tape before sharing your photo on DIY.org.
Watch videos on how to make a waist hoop from A4 origami animals
Learn to Hoop Dance - Waist Hooping Tutorial
4 Videos
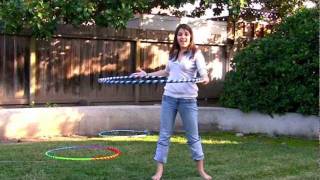
Learn to Hoop Dance - Waist Hooping Tutorial

Learn How To Hula Hoop Dance On Zoom For Beginners (Waist Hooping Tricks & Beyond Classes Tutorials)
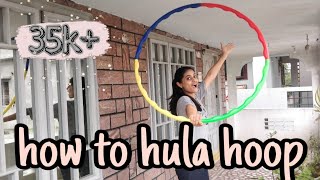
How to learn hula hoop | 3 Day Challenge | How to waist hoop | Effective Lockdown | Hula Hoop
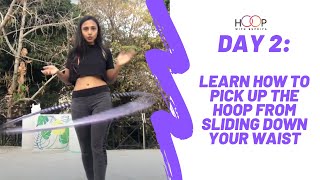
Day 2- Learn how to pick up the hoop from sliding down your waist
Facts about origami and wearable paper crafts for kids
🦢 Origami comes from Japan — 'oru' means to fold and 'kami' means paper!
📄 A4 paper is part of the ISO 216 family and keeps the same √2 aspect ratio, so sizes scale predictably when folding.
🔗 Modular origami links many identical units together—no glue needed—to build flexible rings, chains, and kusudama balls.
🎯 You can often make a wearable waist hoop from about 12–24 folded A4 animals depending on their size and how tightly you connect them.
🧠 Folding origami helps fine motor skills and spatial reasoning, so making an animal hoop is a fun brain workout!
How do you make a waist hoop from A4 origami animals?
What materials do I need to make an origami animal waist hoop?
What ages is this origami waist hoop suitable for?
Is it safe for children to wear an origami animal waist hoop?
