DIY Jewelry: Cast a Piece of Jewelry
Make a cast pendant using air-dry clay and a simple mold, then sand, paint, and seal your handmade jewelry for wearing.


Step-by-step guide to cast a pendant using air-dry clay
how to casting jewelry - jewelry casting tutorial for beginners
Step 1
Lay a sheet of parchment paper on your table to protect the surface.
Step 2
Tear off a small piece of air-dry clay and knead it until it feels soft and pliable.
Step 3
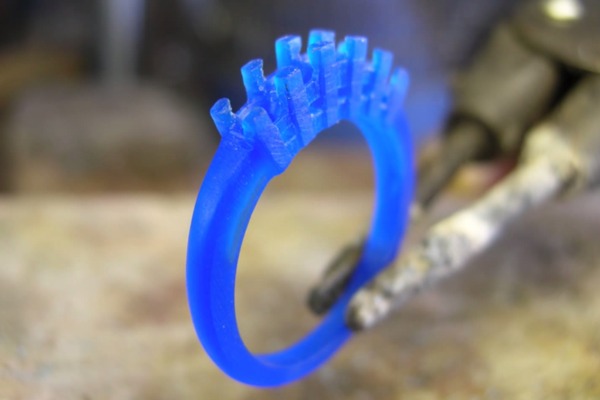
Press the clay firmly into your chosen mold so it fills the whole shape.
Step 4
Use a plastic knife to trim any extra clay so the edges are neat with the mold rim.
Step 5
Smooth the top and edges of the clay in the mold with a damp finger or a small tool.
Step 6
Poke a small hole near the top of the clay shape using a toothpick so a cord can go through later.
Step 7
Gently lift the clay piece out of the mold and place it on the parchment paper to dry.
Step 8
Let the clay piece dry completely at room temperature for about 24 hours or until it is hard.
Step 9
Lightly sand the dried piece with fine-grit sandpaper to smooth any rough spots and wipe away dust with a paper towel.
Step 10
Paint your pendant with your chosen colours and let the paint dry completely.
Step 11
Brush on a thin layer of clear sealer and let it dry; then thread the necklace cord or ribbon through the hole and tie a secure knot to finish your jewelry.
Step 12
Share a photo of your finished handmade pendant on DIY.org so everyone can see your creation.
Help!?
What can I use if I don't have air-dry clay or a store-bought mold?
You can use oven-bake polymer clay (bake per package instructions) instead of air-dry clay and household items like bottle caps or silicone ice-cube trays as molds, placing your work on parchment paper or a silicone mat as in step 1.
The clay stuck to the mold or tore when I poked the hole—how do I fix it?
To prevent sticking or repair tears, dust the mold with a little cornstarch before pressing (step 3), smooth and reinforce torn areas with a damp finger, and lift onto the parchment paper to dry fully (steps 6–8).
How can I adapt the steps for younger or older kids?
For younger children use larger shallow molds, have an adult pre-poke the toothpick hole and use a dull plastic knife for trimming (steps 3–5), while older kids can try oven-bake clay and more detailed sanding and painting (steps 8–10).
How can we personalize or upgrade the pendant after making the basic piece?
Before drying press in tiny beads or a metal charm (step 3), sand after it hardens (step 9), apply multiple coats of clear sealer (step 10), or add a jump ring and more decorative cord instead of ribbon for a professional finish.
Watch videos on how to cast a pendant using air-dry clay
Jewelry casting at home. Everything you need to know to try it!
4 Videos
Jewelry casting at home. Everything you need to know to try it!
sand casting tutorial for beginners: jewellery making secrets revealed (part 1)
Basic tools needed to start casting jewelry!
How to Make Jewelry: Tutorial for Beginners (Part 1 of 4)
Facts about jewelry making for kids
🎨 Air-dry clay hardens in the air—thin pieces can dry in about a day, while thicker pendants may take 2–3 days to fully set.
🐚 Archaeologists have found shell beads and pendants worn by people over 100,000 years ago—humans have loved jewelry for a very long time!
🪄 Everyday items like buttons, leaves, and coins make excellent simple molds that can add cool textures and tiny details to your piece.
⏳ Sanding from coarse to fine grit (for example 120 → 220 → 400) turns a rough lump into a smooth, polished-looking pendant.
💧A clear acrylic sealer or varnish helps painted clay jewelry keep its color and become more splash-resistant for wearing.
How do you make a DIY cast pendant using air-dry clay?
What materials and tools do I need to cast a clay pendant?
What ages is casting a clay pendant suitable for?
What are the benefits, safety tips, and variations for DIY clay jewelry?
