DIY Accessories for Little Toys with DIY Star TrendyMaryam
Make tiny hats, capes, backpacks, and decorative stickers for small toys using felt, yarn, safe glue, and simple sewing under adult supervision.


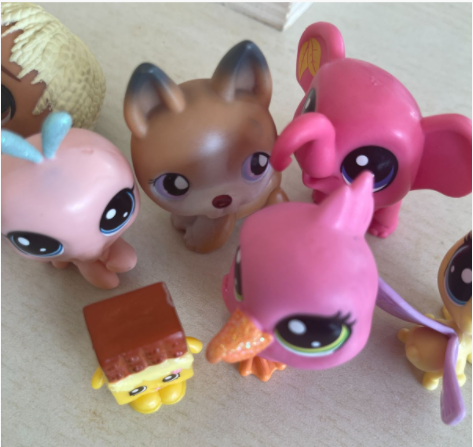

Step-by-step guide to make DIY accessories for little toys with DIY Star TrendyMaryam
Step 1
Gather all your materials and place them on a clean table so everything is easy to reach.
Step 2
Pick one small toy to dress and decide which accessories you want to make such as a tiny hat cape backpack and stickers.
Step 3
Measure the toy's head shoulders and back with a ruler or by holding a scrap of felt up to check the size.
Step 4
Draw simple patterns on felt or on sticker paper using your measurements: a small circle and a narrow strip for a hat a semicircle for a cape two small rectangles and a flap for a backpack and fun shapes for stickers.
Step 5
Cut out the felt or sticker shapes carefully with scissors.
Step 6
Form the felt strip for the hat into a loop and secure the ends with a tiny dab of glue or a few running stitches.
Step 7
Place the small felt circle on top of the loop and attach it with glue or a few stitches to finish the hat.
Step 8
Trim the straight edge of the semicircle to make a small neckline that will sit on the toy's shoulders.
Step 9
Attach a short piece of ribbon or yarn to the top center of the cape using a dab of glue or a couple of stitches to make ties.
Step 10
Fold one backpack rectangle in half so the short edges meet and line up the sides.
Step 11
Glue or stitch the two long sides of the folded rectangle to form a tiny pouch for the backpack.
Step 12
Attach narrow strips of felt yarn or ribbon to the back of the pouch with glue or stitches to make shoulder straps.
Step 13
Decorate each accessory by gluing on buttons beads and adding colour with colouring materials.
Step 14
Stick your sticker shapes onto the toy or onto the accessories using double-sided tape or glue.
Step 15
Take a photo of your finished accessories and share your creation on DIY.org
Help!?
What can we use instead of felt, sticker paper, or tiny beads if they're hard to find?
If you don't have felt or sticker paper, substitute craft foam sheets or cut sturdy cotton from an old T‑shirt for the hat, cape, and backpack patterns, and use plain paper with glue or washi tape and sequins for stickers and decoration.
What should I do if the small hat loop or backpack pouch won’t stay glued or stitched?
If glued seams like the hat loop or backpack pouch won't hold, clip the pieces with clothespins or binder clips while the craft glue dries fully, or use a tiny dab of hot glue or a couple of running stitches to reinforce the joins.
How can we change the activity for different ages so it's safe and fun?
For preschoolers, use pre‑cut felt shapes, fabric glue, and large buttons under supervision; for elementary kids have them measure and cut with scissors and try simple stitches; and for older kids encourage drawing precise patterns, detailed stitching, and bead decorations.
How can we extend or personalize the toy accessories beyond the basic hat, cape, backpack, and stickers?
Add small Velcro dots to the cape neckline and backpack straps so pieces are removable between toys, embroider a name on the cape with embroidery floss, or make themed sticker sheets and add sequins or metallic marker details to the accessories.
Watch videos on how to make DIY accessories for little toys with DIY Star TrendyMaryam
CHRISTMAS CRAFTS Simple 3D Paper Stars
4 Videos
CHRISTMAS CRAFTS Simple 3D Paper Stars
How to Make a Traditional Paper Star so easy!
Crazy DIY Doll and Toy Ideas: Surprise Your Kids!
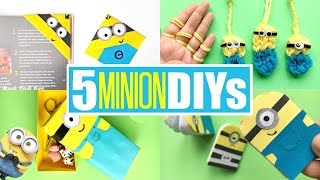
DIY Minion Ideas - Fun Minion Crafts for Kids
Facts about sewing and fabric crafts for kids
🎩 Felt is one of the oldest textiles and doesn't fray, so tiny hats and capes are easy to cut and glue without hemming.
🧶 Yarn comes in many thicknesses—bulky yarn works up fast for cozy backpacks while thin yarn is great for delicate trim.
✂️ Simple hand stitches like the running stitch and whipstitch are strong, easy to learn, and perfect for small toy accessories.
🧴 Many school glues are non-toxic and washable, making them a safe choice for kids crafting with felt and paper (always check the label!).
🧸 Little costumes and backpacks spark imaginative play—adding one accessory can create whole new stories for a toy.
How do you make tiny hats, capes, backpacks, and stickers for little toys?
What materials are needed for DIY toy accessories?
What ages are these tiny toy accessories suitable for?
What are the benefits of making tiny accessories for toys?
