Discover a need in your community
Explore your neighborhood to find a local need, interview people, list problems, and design a simple community project or helpful solution to test.


Step-by-step guide to discover a need in your community
Communities for Kids - Types of Communities | Social Studies for Kids | Kids Academy
Step 1
Ask an adult for permission to explore your neighborhood.
Step 2
With that adult choose a safe time to go exploring.
Step 3
Gather the materials from the list and put them where you can reach them.
Step 4
Choose one street or area you want to investigate.
Step 5
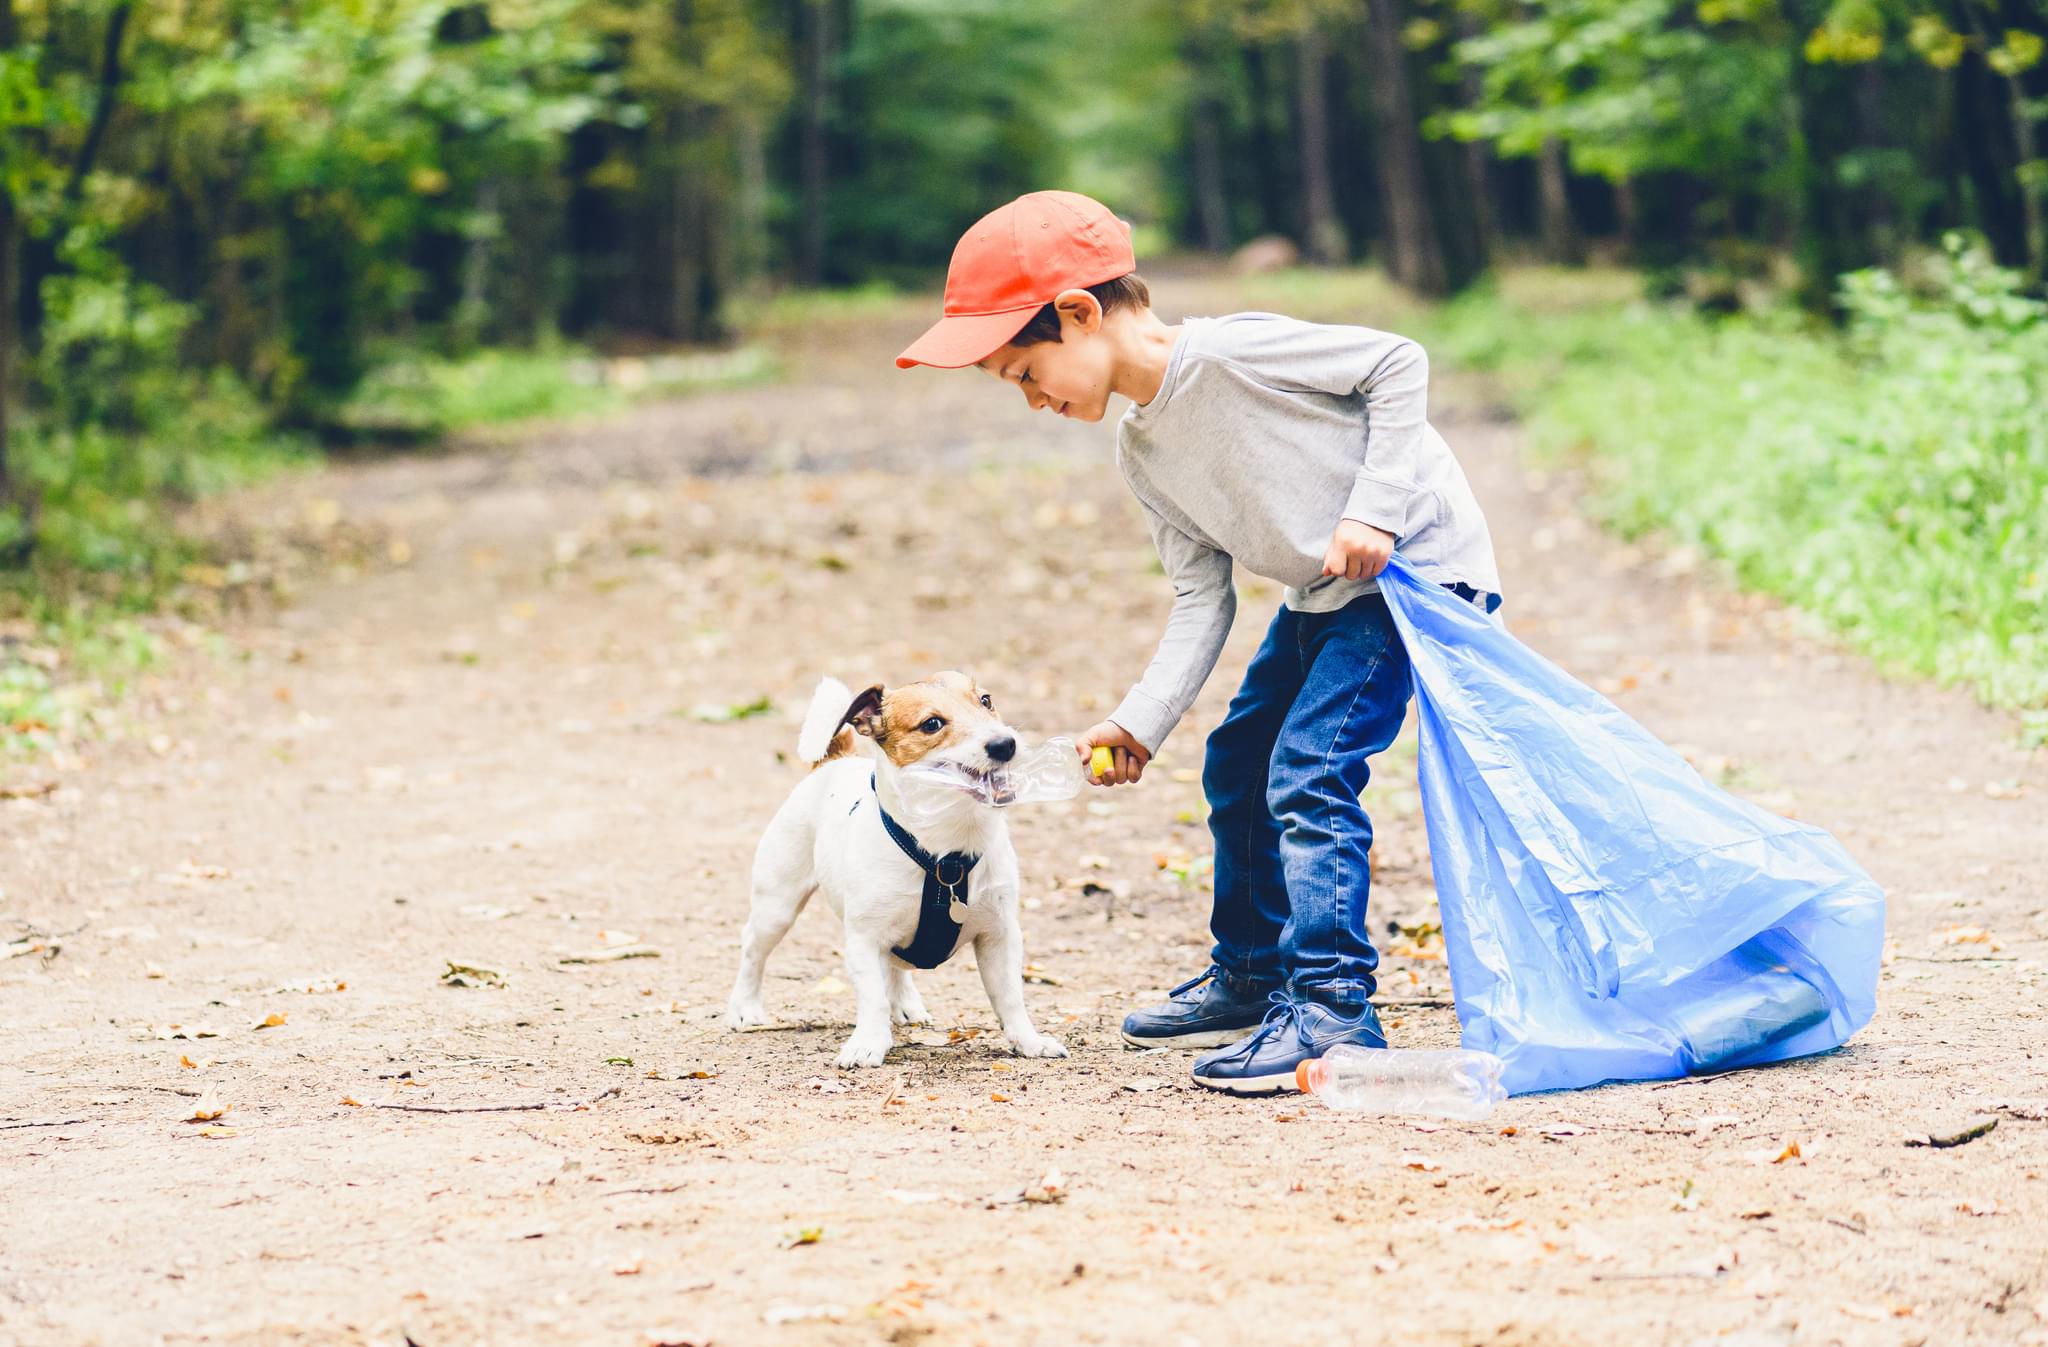
Walk through the chosen area with your adult and look carefully for things that could be better.
Step 6
For each thing you notice write one short sentence about the problem in your notebook.
Step 7
With your adult talk to at least three friendly locals and ask them two short questions about neighborhood problems.
Step 8
Write each person’s answers in your notebook so you can compare what people said.
Step 9
Back at home read all your notes and circle the top three problems that came up most.
Step 10
For each top problem write one simple idea that could help fix it.
Step 11
Choose the easiest idea to test and make a short three-step plan and a materials list for it.
Step 12
Build a small prototype or mock-up of your idea using common household items.
Step 13
Test your prototype with permission in the neighborhood and write one thing that worked and one thing to improve.
Step 14
Improve one thing on your prototype and test it again to see if it gets better.
Step 15
Share your finished creation on DIY.org and include a short description of the problem it fixes and what you learned.
Help!?
What can we use instead of a paper notebook or special craft supplies if they are hard to find?
Use a smartphone or tablet notes app or printed sheets to record each short sentence instead of the notebook, and substitute common household items like cardboard, tape, rubber bands, and empty containers from the materials list to build your prototype.
What should we do if people refuse to talk when you try to talk to at least three friendly locals?
If locals won't talk during the walk, have your adult arrange brief follow-up chats, or record visible signs of problems and write them in your notebook so you still have notes to compare.
How can we change the activity for younger children or make it more challenging for older kids?
For younger children let the adult scribe each short sentence and build a very simple prototype with glue and cardboard from the materials list, while older kids can create a detailed three-step plan, take photos during interviews, and build a sturdier prototype to test.
How can we extend or personalize the project after testing and improving the prototype?
Extend the activity by iterating the prototype with new items from your materials list, collecting more feedback from neighbors, documenting before-and-after photos and a short video, and sharing the final creation and lessons learned on DIY.org.
Watch videos on how to discover a need in your community
Together We Can | Learn About the Helpers in Your Community | PBS KIDS
3 Videos

Together We Can | Learn About the Helpers in Your Community | PBS KIDS
Let's Talk About Community Signs
Exploring Community Helpers: Understanding their Roles and Contributions| Educational Video for Kids
Facts about community service and civic engagement for kids
🏘️ Kids-led community projects have fixed playgrounds, started food drives, and helped improve parks in many neighborhoods.
🗣️ A quick 2–3 minute interview with a neighbor can reveal surprising problems and great ideas for solutions.
🧭 Drawing a simple neighborhood map helps you spot problem hotspots like broken benches, litter areas, or unsafe crossings.
🤝 Small teams of 3–5 people are great for testing ideas quickly — everyone can try a role and learn fast.
🌱 Tiny pilots (one cleanup, a flyer, or a single bench repair) are called 'pilot projects' and let you learn without big budgets.
How do I help my child explore our neighborhood to find a local need and design a simple community project?
What materials do we need to explore our neighborhood and prototype a community solution?
What ages is this community-needs exploration activity suitable for?
What are the benefits of having children explore neighborhood needs and test a community project?
