Digital Finger Drumming
Create catchy beats by finger drumming on a tablet or keyboard using a free drum app; learn rhythm, tempo, patterns, and record your own songs.


Step-by-step guide to Digital Finger Drumming
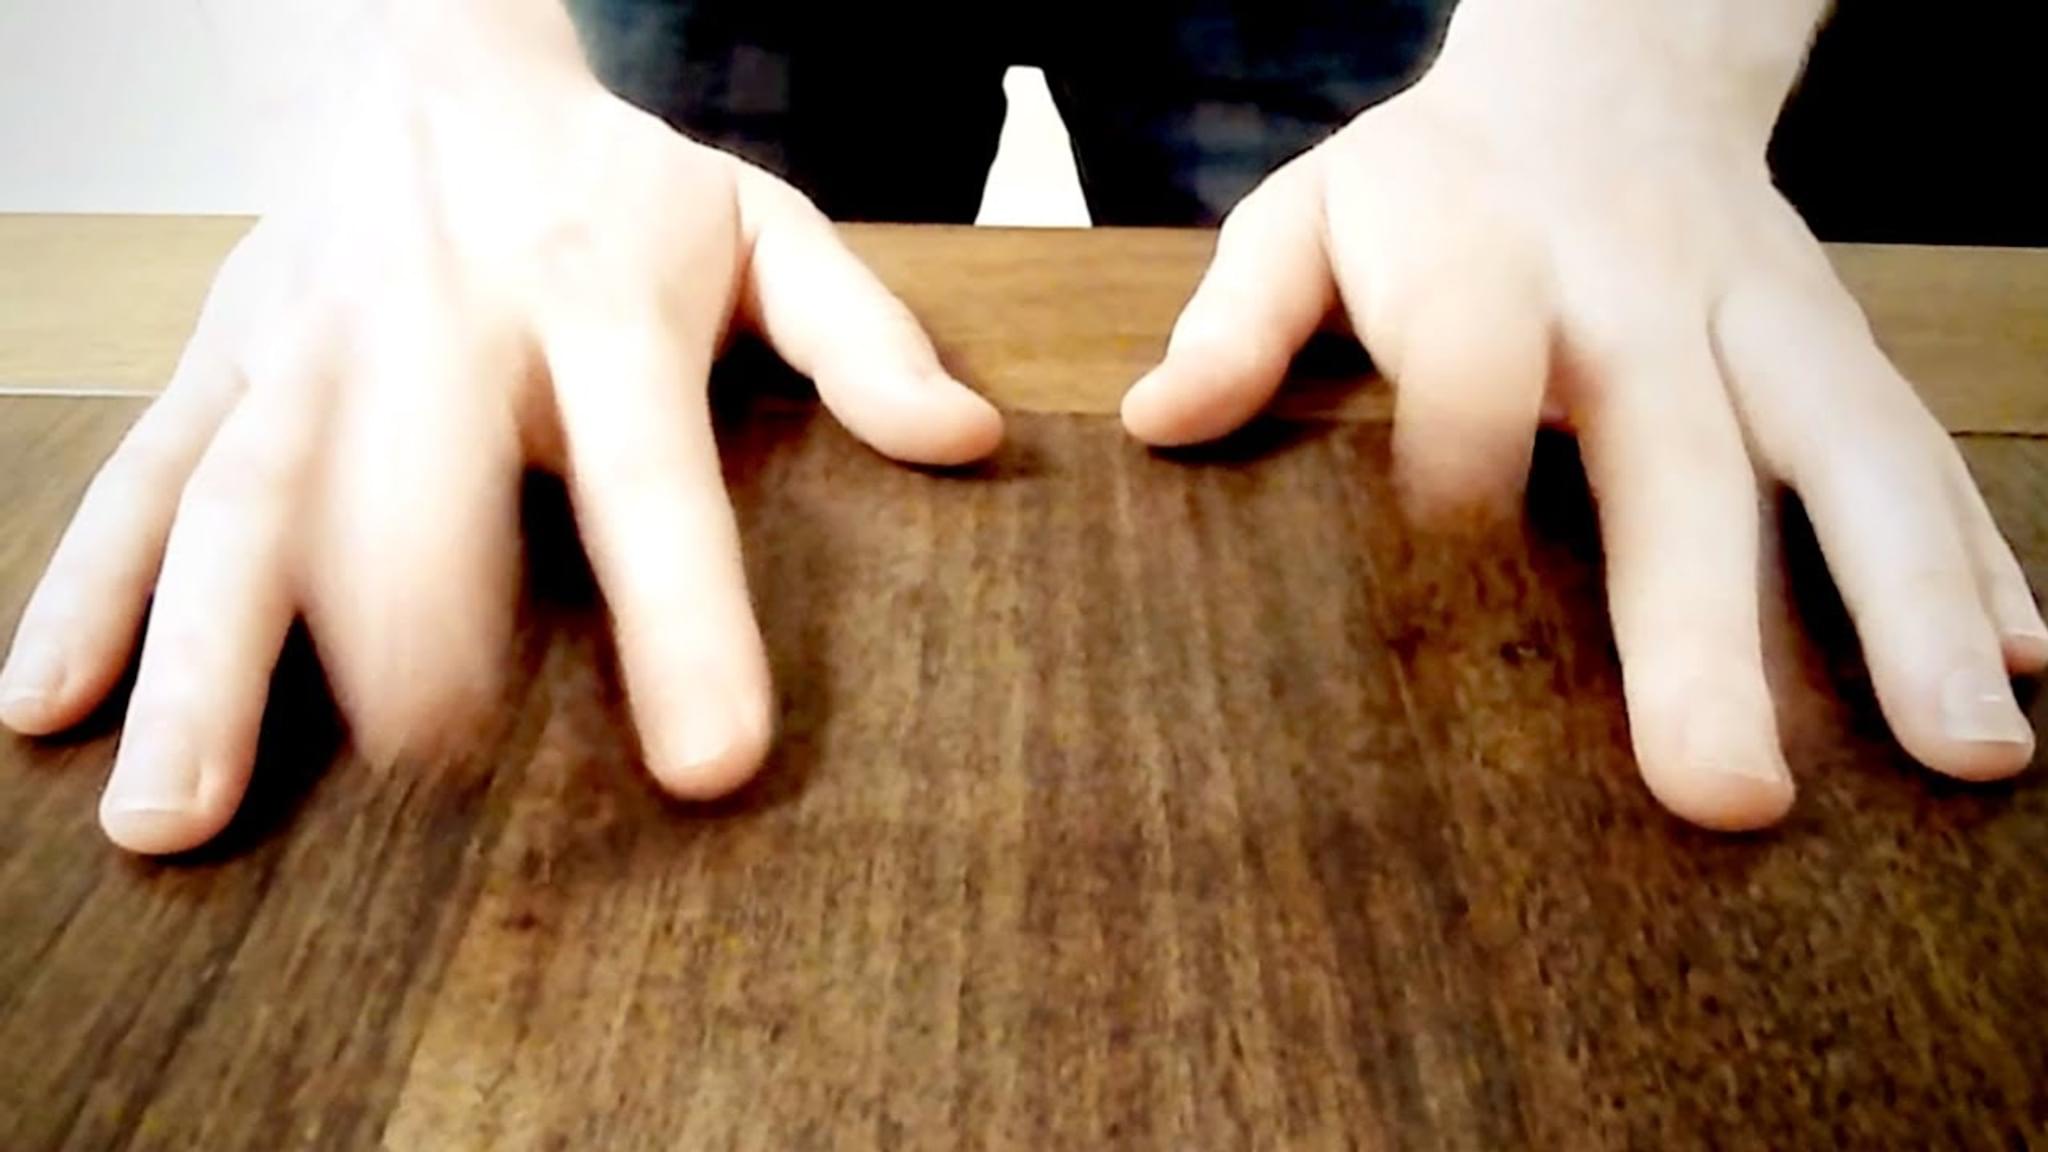
A Beginner's Guide to Finger Drumming
Step 1
Open the free drum app on your tablet or keyboard.
Step 2
Pick a drum kit sound that sounds fun to you.
Step 3
Set the metronome or tempo to a comfortable speed between 80 and 120 BPM.
Step 4
Set the loop length to 4 bars so your beat repeats.
Step 5
Practice a basic pattern by tapping the kick on beats 1 and 3 and the snare on beats 2 and 4 while following the metronome.
Step 6
Add a hi-hat on every eighth note to make a steady groove.
Step 7
Arm or press the app’s Record button so the app is ready to capture your playing.
Step 8
Play your practiced pattern for the full loop length to record your first loop.
Step 9
Play back your recording and listen for one thing you want to change.
Step 10
Overdub one new part like a drum fill or percussion on top of your loop.
Step 11
Adjust the volume of each drum so everything sounds balanced.
Step 12
Save your song and give it a fun name on the app.
Step 13
Export or bounce the recording inside the app so it’s ready to share.
Step 14
Share your finished creation on DIY.org.
Help!?
What can we use if we don't have a tablet or the free drum app?
Use a smartphone with a free drum app, a laptop with a free DAW or a MIDI keyboard with built-in drum kits to follow steps like picking a drum kit sound, setting tempo, and creating a 4-bar loop.
My recording didn't capture—what should I check?
Confirm you pressed or armed the app's Record button before playing, that the loop length is set to 4 bars, and that the app has permission to use your device's audio/MIDI so overdubs and playback are saved properly.
How can I adapt this activity for different ages?
For younger kids, keep the tempo at the lower end (around 80 BPM), focus on the basic kick-on-1-and-3/snare-on-2-and-4 pattern with eighth-note hi-hats and adult help for recording/sharing, while older kids can raise tempo toward 120 BPM, add overdubs and fills, and fine-tune volume and export settings.
How can we improve or personalize the finished beat?
Switch drum kit sounds, overdub a percussion part or fill, balance individual drum volumes, give the song a fun name, export the bounce, and then share the finished creation on DIY.org.
Watch videos on how to Digital Finger Drumming
The MOST BASIC Finger Drumming Tutorial For Beginners With The Akai MPK Mini MK3
4 Videos
The MOST BASIC Finger Drumming Tutorial For Beginners With The Akai MPK Mini MK3
Master Finger Drumming: Beginner's Step-by-Step Guide (Boots and Cats) Part 1
Finger Drumming Tutorial: Basic technique + pad layout
The ULTIMATE Introduction To Realistic Finger Drumming.
Facts about digital beat-making and rhythm
🥁 Finger drumming turns a small pad or tablet into a full drum kit you can play with just your fingers!
🎛️ Many finger drumming apps use MIDI to control sounds, so your beats can trigger synths and samples.
🎧 You can record finger-drummed loops right on a tablet and build a whole song by layering tracks in a DAW.
⏱️ Tempo is measured in BPM (beats per minute) — double the BPM and the song feels twice as fast!
👆 Learning to count beats (1-2-3-4) helps your finger drumming sound steady and professional, even if you tap slowly at first.
How do you do digital finger drumming on a tablet or keyboard?
What materials do I need for a digital finger drumming activity?
What ages is digital finger drumming suitable for?
What are the benefits of digital finger drumming and safety tips?
