Design your own mosaic with LEGO®
Design and build a colorful LEGO® mosaic using baseplates and bricks, plan a pattern, practice symmetry and color mixing while creating your own artwork.


Step-by-step guide to design your own mosaic with LEGO®
Custom LEGO Art: BIONICLE Mosaics! Tutorial and How To Make Your Own!
Step 1
Gather all materials at your workspace.
Step 2
Choose which baseplate to use.
Step 3
Decide how many studs wide and tall your mosaic will be.
Step 4
Draw a rectangle on the graph paper that matches your stud count.
Step 5
Draw a symmetry line on the paper to guide mirroring.
Step 6
Choose 4 to 6 main colors for your design.
Step 7
Sketch half of your design on the paper.
Step 8
Copy the sketch across the symmetry line to make the mirrored side.
Step 9
Mark the areas on the paper where you want to blend colors.
Step 10
Choose a simple mixing pattern for blended areas like alternating studs or checkerboard.
Step 11
Sort your LEGO bricks by color into small piles.
Step 12
Decide whether to begin building from the center or a corner of the baseplate.
Step 13
Place bricks onto the baseplate following your paper and build row by row.
Step 14
Add blended sections by alternating colors exactly as your mixing pattern shows.
Step 15
Share your finished creation on DIY.org
Help!?
What can we use if we don't have a LEGO baseplate or graph paper?
If you don't have a LEGO baseplate or graph paper, use a cardboard square or shoebox lid as a base with a hand-drawn stud grid matching your chosen stud count and draw the rectangle and symmetry line on plain paper with a ruler.
My mirrored design doesn't line up when I build—how do I fix it?
If the mirrored halves don't line up, re-count studs on your drawn rectangle and symmetry line, adjust the sketch so each row matches, and build row by row from the center or a marked corner to keep alignment on the baseplate.
How can I adapt this activity for different ages or skill levels?
For preschoolers use a small baseplate, 2–3 bold colors, and build from a simple 4×4 half-sketch; for school-age kids use larger baseplates, 4–6 colors, and add blended checkerboard sections, while teens can plan complex patterns and photograph work to share on DIY.org.
How can we make the mosaic more creative or challenging?
To enhance the project, create a color key on your graph paper, try different blending patterns (alternating studs or checkerboard), add minifigures or 3D studs at the edges, or turn the design into a framed wall mosaic and share step-by-step photos on DIY.org.
Watch videos on how to design your own mosaic with LEGO®
LEGO Store Personalized Mosaic Maker Experience & Tutorial 🖼
4 Videos

LEGO Store Personalized Mosaic Maker Experience & Tutorial 🖼
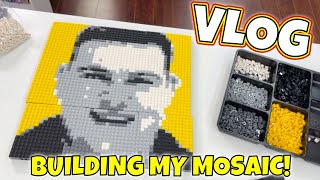
Building my LEGO Personalized Mosaic Maker Set VLOG
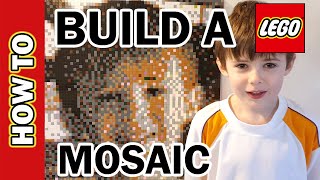
How to Create A LEGO Mosaic Portrait from a Photo with Tips, Suggestions & Time-lapse Tutorial
Beautiful LEGO Mosaic Design | Easy Tutorial
Facts about LEGO building and mosaic art
🧱 LEGO bricks made from the 1958 clutch-tube design still fit bricks made today—generations of builds stay compatible!
🎨 In LEGO mosaics you can 'mix' colors by placing different colored studs next to each other so your eye blends them from afar (a technique like dithering).
🟦 A common 32×32 LEGO baseplate has 1,024 studs—great for planning pixel-style mosaic artwork.
🔁 Ancient and modern mosaics often use mirror and rotational symmetry to create balanced, repeating patterns kids can copy and explore.
🌍 LEGO produces billions of elements every year, so there are plenty of bricks to experiment with when building mosaics.
How do you design and build a colorful LEGO® mosaic?
What materials do I need for a LEGO® mosaic?
What ages is a LEGO® mosaic suitable for?
What are the benefits and safety tips for making LEGO® mosaics?
