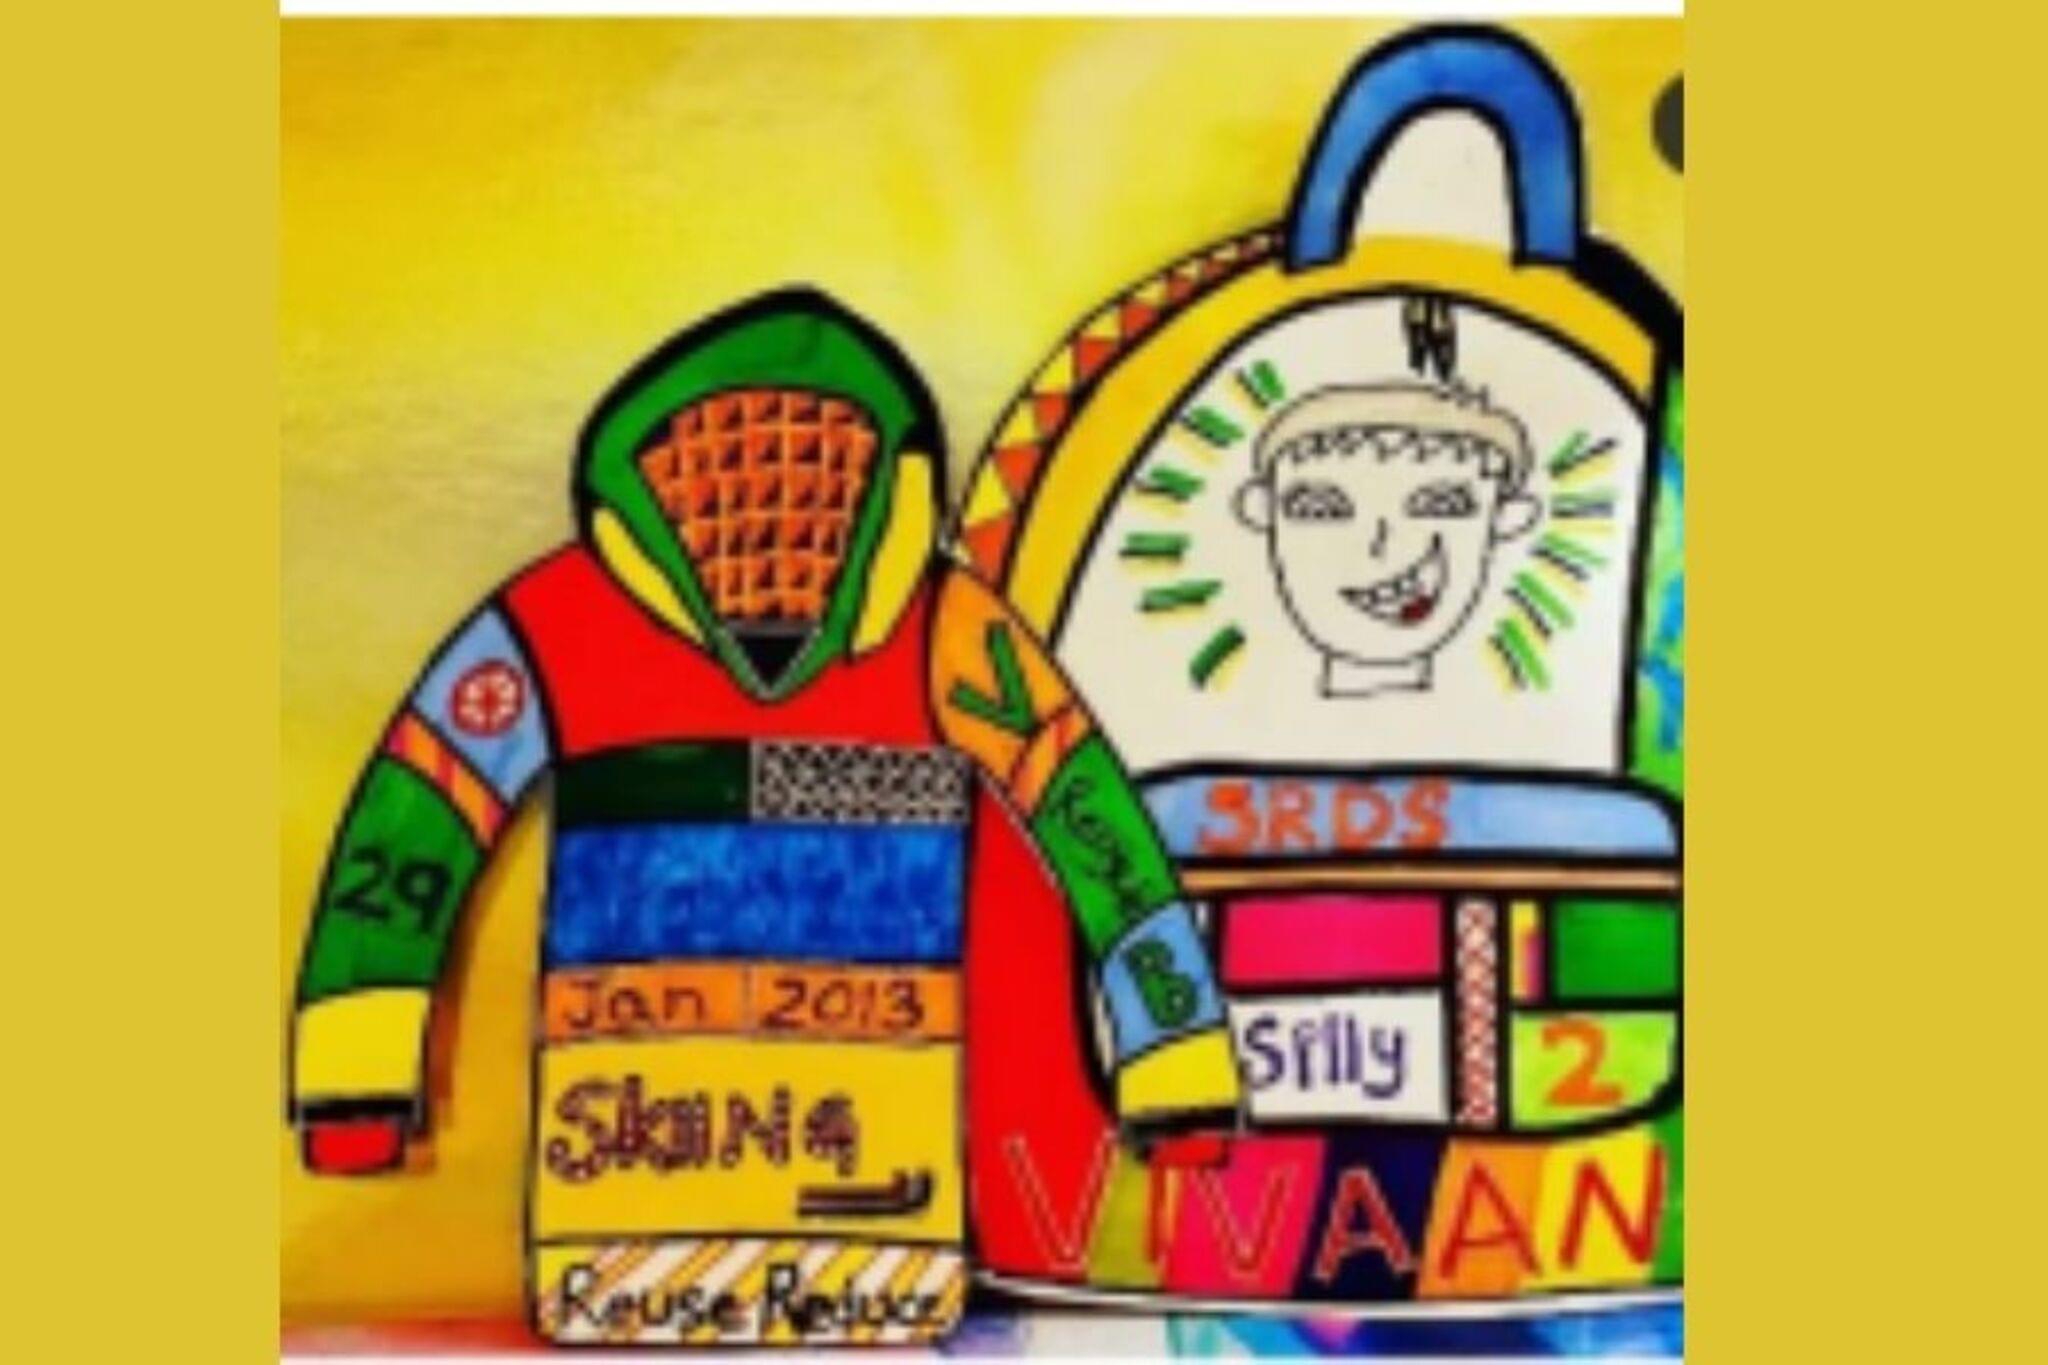
Design your own Backpack/Hoodie
Design and decorate your own backpack or hoodie using fabric markers, patches, and stencils to express style while learning planning and sewing basics.


Step-by-step guide to design your own backpack or hoodie
How to Draw a Backpack Cute and Easy | Back to School Supplies
Step 1
Lay your backpack or hoodie flat on a clean table with the area you want to decorate facing up.
Step 2
Wipe the decoration area with a clean cloth to remove dust and let it dry.
Step 3
Test one fabric marker on scrap paper or a hidden seam to check the color and how it behaves.
Step 4
Sketch your idea on scrap paper with a pencil until you like the design.
Step 5
Secure a stencil in place on your backpack or hoodie using masking tape so it won’t move.
Step 6
Trace the stencil lines with a fabric marker using steady light strokes.
Step 7
Fill in your design with fabric markers using thin layers for even color.
Step 8
Let the marker colors dry for 15 to 30 minutes before touching them.
Step 9
Arrange your patches on the item until you like their placement.
Step 10
Secure the patches temporarily with pins or a bit of masking tape so they stay put.
Step 11
Thread a needle and tie a knot at the end of the thread.
Step 12
Sew each patch on using small running stitches around the edges until the patch feels secure.
Step 13
Tie a final knot and trim any extra thread with safety scissors.
Step 14
Let your decorated backpack or hoodie rest for 30 minutes so everything sets.
Step 15
Share a photo and a description of your finished backpack or hoodie on DIY.org.
Help!?
What can I use if I don't have fabric markers, masking tape, or sew-on patches?
Use non-toxic permanent markers or acrylic paint mixed with fabric medium instead of fabric markers, painter's tape or washi tape in place of masking tape to secure stencils, and iron-on patches or fabric glue as alternatives to sewing on patches while you arrange them.
What should I do if colors bleed, the stencil moves, or a patch won't stay put?
Since you already test a marker on a seam in step 3, blot any bleeding and switch to thinner layers as in step 6, re-tape the stencil more securely with extra masking or painter's tape, and temporarily pin or add a dab of fabric glue before sewing patches as described in steps 8–11.
How can I adapt this project for different age groups?
For preschoolers skip freehand drawing and let them place stickers or iron-on patches while an adult does the sewing from step 11, for elementary kids use pre-cut stencils and supervised fabric markers and pinning, and for teens encourage freehand designs, embroidery or fabric paint with heat-setting for durability.
How can we extend or personalize the decorated backpack or hoodie after finishing?
Sew beads or sequins around patch edges when you sew each patch in step 11, add a stitched name tag before the 30-minute rest, use metallic or glow-in-the-dark markers when filling in your design in step 6, and then photograph the final result to share on DIY.org.
Watch videos on how to design your own backpack or hoodie
How To Draw A Funny Cartoon Back To School Backpack
4 Videos
How To Draw A Funny Cartoon Back To School Backpack

How To Draw A School Backpack
How To Draw A Back To School Backpack Monster
How To Get Sophisticated Backpacks in Minecraft 1.21.1
Facts about sewing and fabric crafts for kids
🎒 Backpacks have been used for centuries—early peoples carried tools and food in simple sacks long before modern designs appeared.
👕 Hoodies started as 1930s workwear to keep warehouse and outdoor workers warm and later became a global casual-fashion icon.
✂️ The running stitch and whipstitch are two of the easiest hand-sewing stitches and are perfect for attaching patches and fixing hems.
🖍️ Fabric markers contain pigments that bond to fibers; many need heat-setting (with an iron) to stay bright through washes.
🎨 Stenciling goes way back—prehistoric handprint stencils appear in cave art—and it's a fast way to repeat crisp shapes on fabric.
How do you design and decorate a backpack or hoodie?
What materials do I need to decorate a backpack or hoodie?
What ages is this activity suitable for?
What safety tips, benefits, and variations are there?
