Design your concert tickets
Design and decorate personalized concert tickets using paper, markers, and stickers; include seat numbers, pricing, and cool artwork to practice layout and creativity.


Step-by-step guide to design your concert tickets
How to easily make custom Concert Tickets or Concert Ticket Invitations with MS Word
Step 1
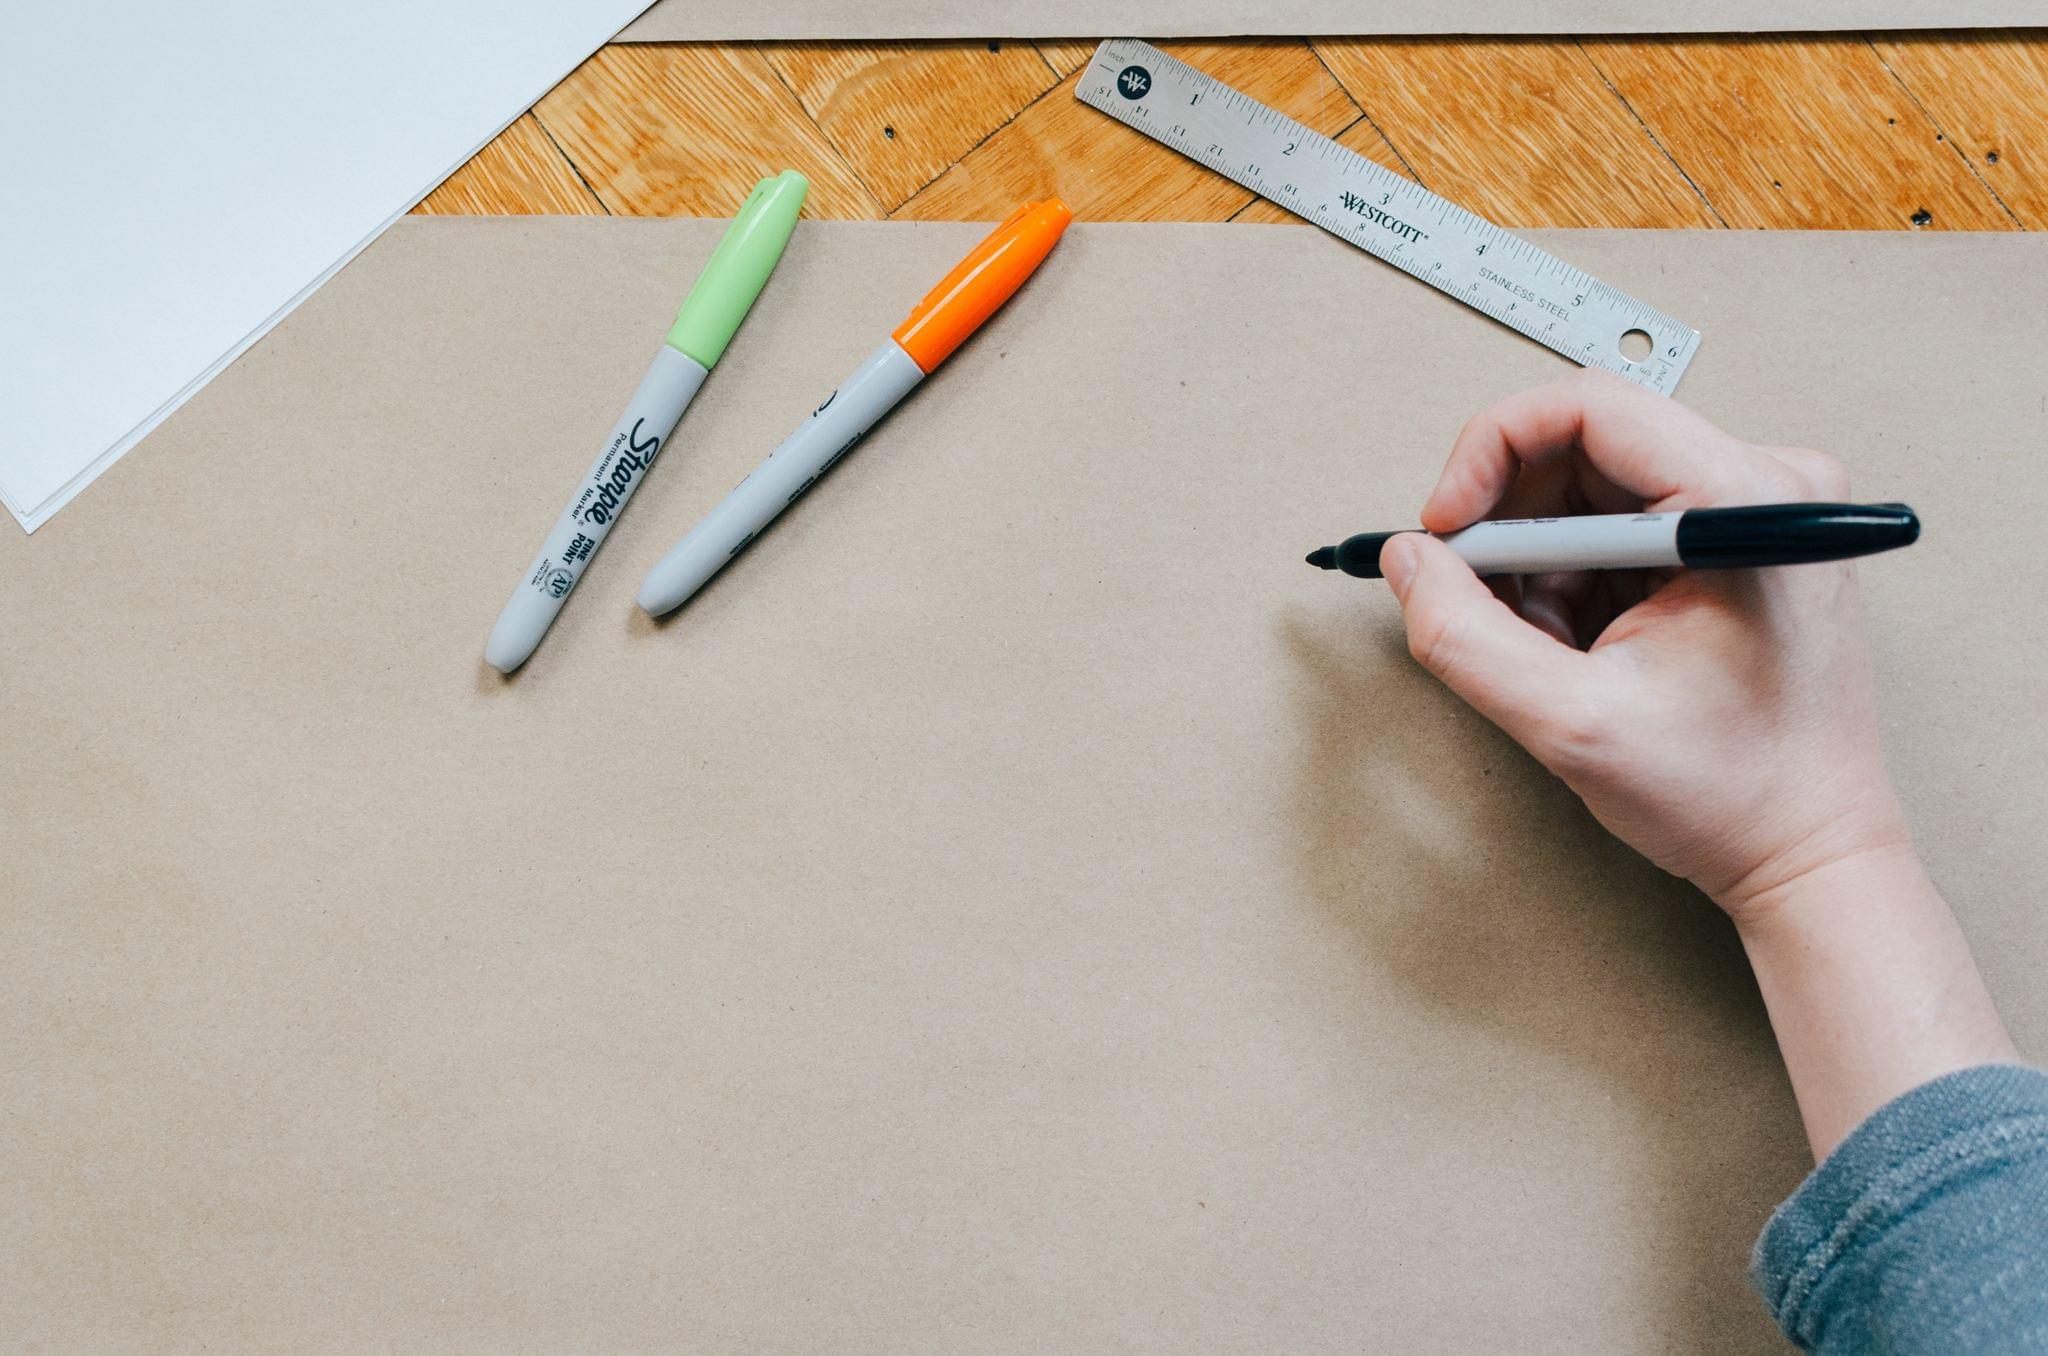
Gather all your materials and find a clear workspace.
Step 2
Use the ruler and pencil to draw a rectangle for one ticket about as wide as your hand.
Step 3
Draw more rectangles if you want multiple tickets.
Step 4
Cut out each rectangle carefully with scissors.
Step 5
Lightly write the concert name and date at the top of each ticket with your pencil.
Step 6
Write a seat number and a price on each ticket with pencil.
Step 7
Add a unique ticket number or a simple barcode on each ticket.
Step 8
Trace over your pencil writing with markers to make it bold and colorful.
Step 9
Draw concert-themed artwork like musical notes instruments or a stage with your markers.
Step 10
Stick stickers on the tickets to make them extra special.
Step 11
Draw a dashed line to mark a tear-off stub and decorate the stub with the seat info.
Step 12
Share a photo of your finished concert tickets on DIY.org
Help!?
What can I use instead of a ruler, markers, or stickers if I don't have them?
Use the straight edge of a book or cereal box to draw the ticket rectangles, colored pencils or crayons to trace over your pencil writing instead of markers, and cut paper shapes or hand-drawn decorations in place of stickers.
My paper tore or the markers smudged — how can I fix that?
If cutting rectangles rips the paper, make small controlled snips with sharp scissors or fold and cut, and to prevent marker smudges erase excess pencil lightly and let each marker area dry before adding more details while reinforcing the dashed tear-off stub with tape if it rips.
How can I adapt this ticket activity for different ages?
For younger kids pre-draw the rectangles and let them stick stickers and color with crayons, while older kids can add unique ticket numbers or simple barcodes, design seat maps, and use cardstock for sturdier tickets.
How can we make the tickets more special or realistic?
Use colored cardstock, add foil or glitter stickers, laminate or cover with clear tape for durability, include a perforated dashed tear-off stub and matching backstage pass, and then share a photo of the finished tickets on DIY.org.
Watch videos on how to design your concert tickets
DIY: HOW TO MAKE YOUR OWN COMMEMORATIVE CONCERT TICKET
4 Videos

DIY: HOW TO MAKE YOUR OWN COMMEMORATIVE CONCERT TICKET
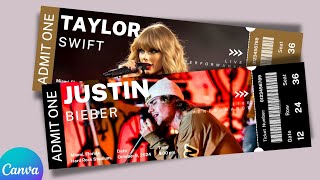
How to Design Music Concert Ticket in Canva | Concert Tickets - Justin Bieber -Taylor Swift
How To Easily Make Concert Ticket Designs (No Skills Needed)

How To Make Tickets On Canva In EASY Way
Facts about graphic design and layout for kids
🎫 Concert tickets used to be simple paper slips—now many shows use digital e-tickets you can keep on your phone.
🎟️ Perforated ticket stubs were invented so organizers could keep one half and fans could keep the other as a souvenir.
🎨 A ticket's colors, fonts, and layout are part of graphic design and help show the concert's style—bright and bold for rock, soft and elegant for classical.
🔢 Seat numbers, row letters, and prices are used to organize crowds and make sure everyone has the right spot.
🌟 Some vintage concert tickets become collectors' items and can be worth a lot to fans and memorabilia hunters.
How do I run a concert ticket design activity for kids?
What materials do I need to design concert tickets?
What ages is a concert ticket design activity suitable for?
What are the benefits of designing concert tickets?
