Design Thinking 101
Learn the design thinking steps by interviewing a friend, sketching ideas, building a simple prototype with craft materials, and testing improvements.


Step-by-step guide to Design Thinking 101
Instructor Interview: Teaching Design Thinking
Step 1
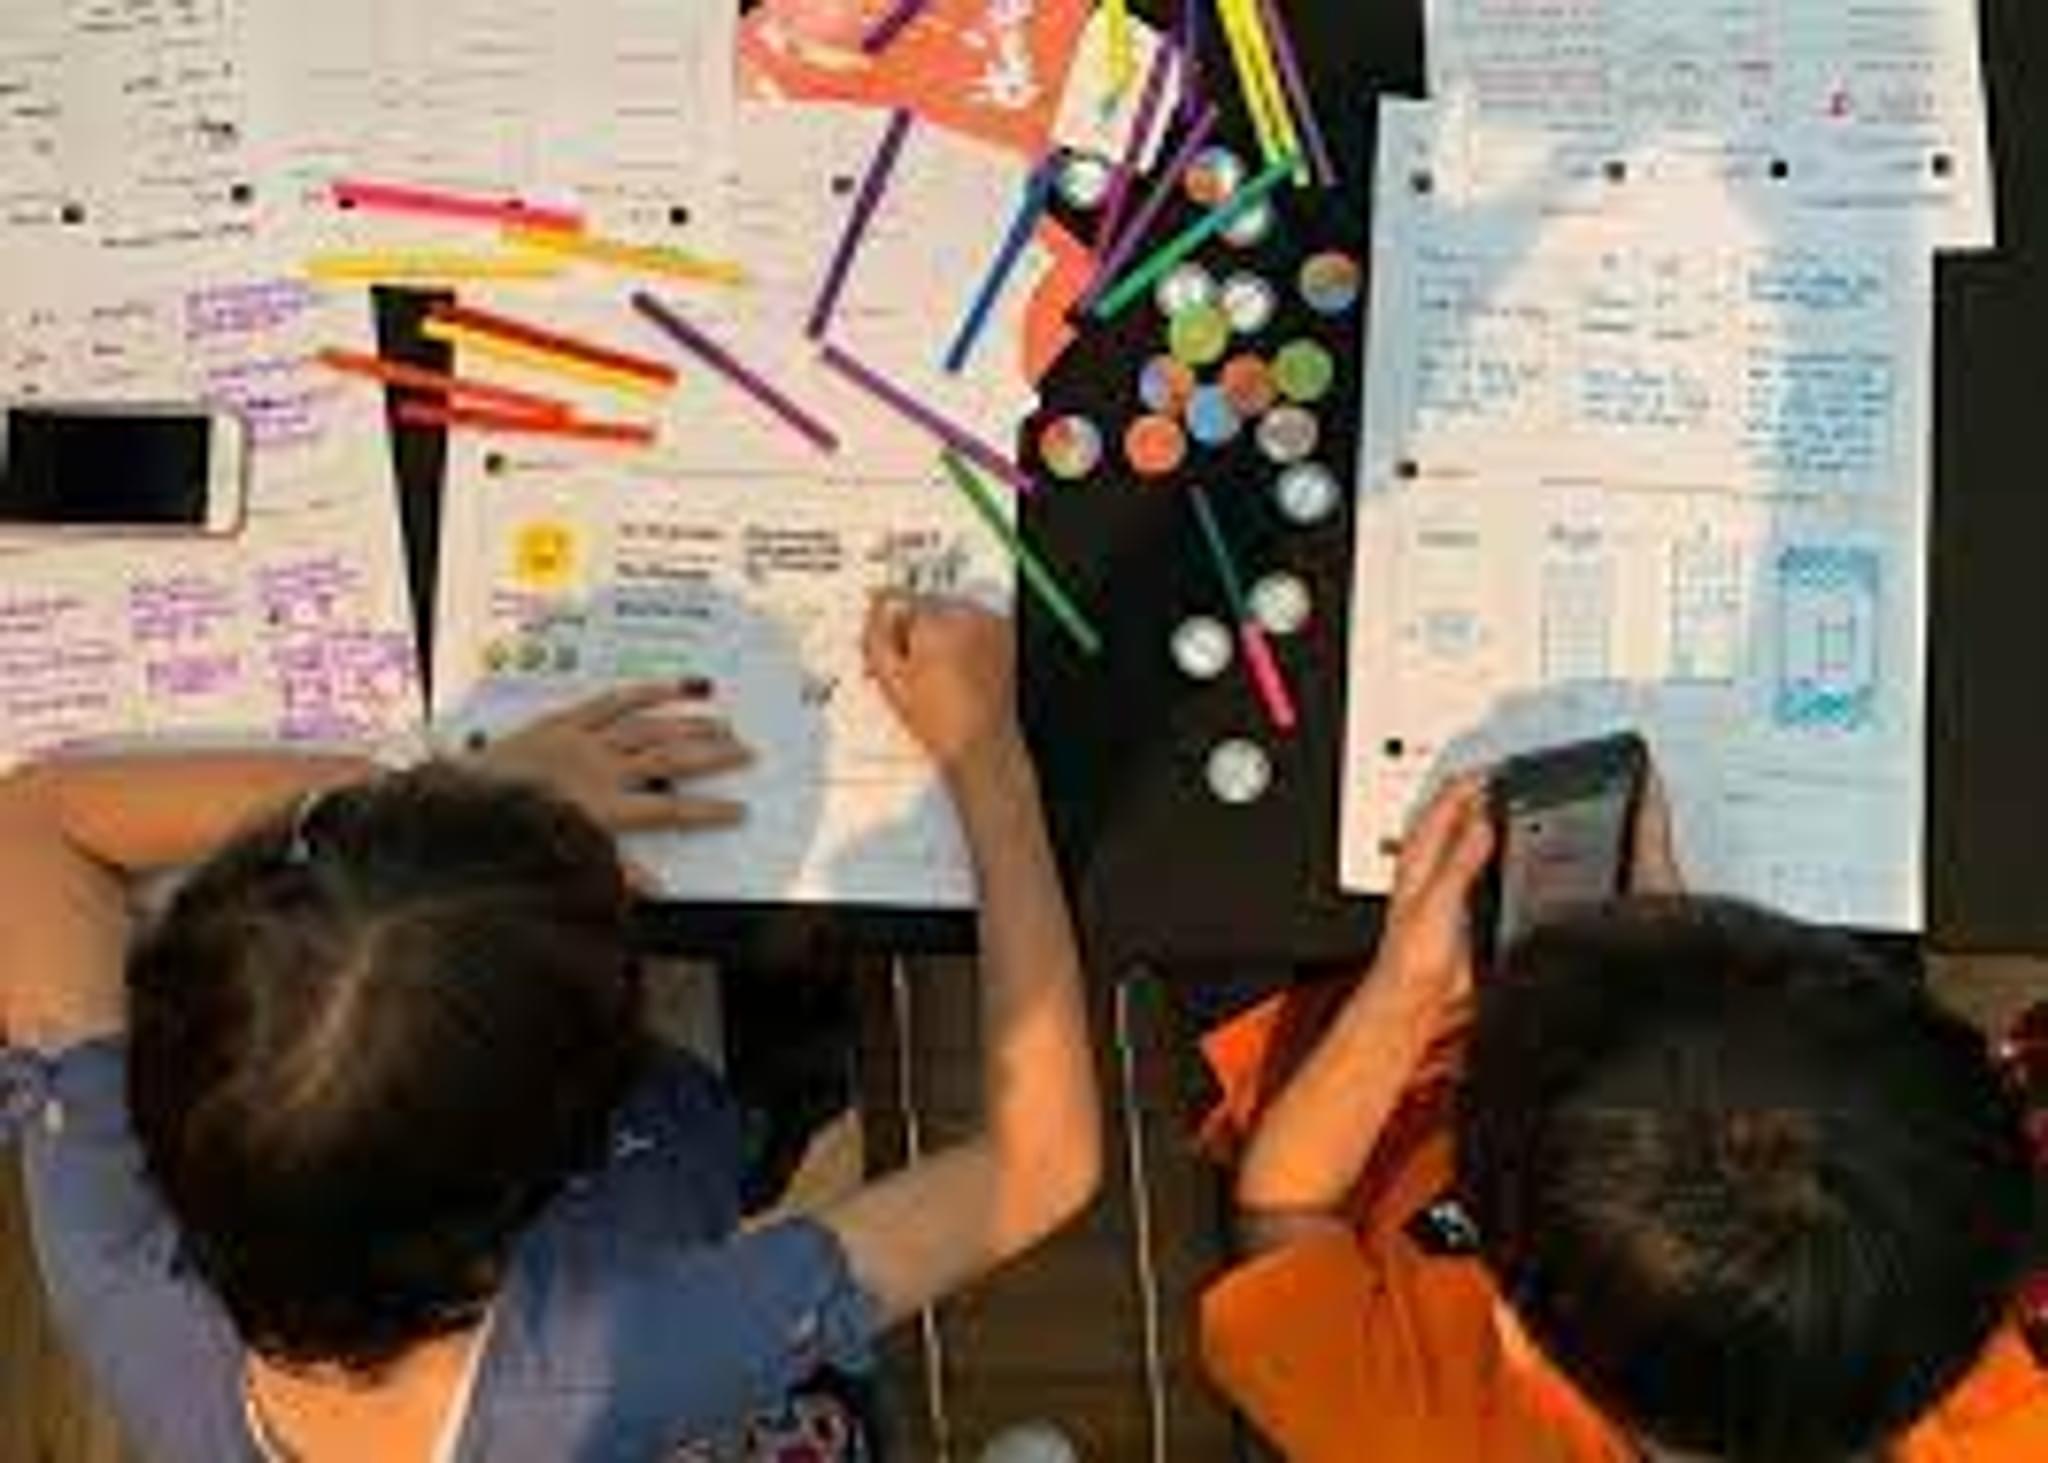
Gather all your materials and bring them to a clear workspace.
Step 2
Pick one simple problem to solve with your friend like carrying snacks or keeping pencils tidy.
Step 3
Ask your friend at least three questions to learn what they need about the problem.
Step 4
Write your friend’s answers on sticky notes so you can see their ideas.
Step 5
Turn the most important need into a "How might we..." question on a new sticky note.
Step 6
Make three quick sketches of different solutions on paper.
Step 7
Choose one sketch that looks easiest to build and place a circle around it.
Step 8
Build a simple prototype of your chosen idea using the craft materials.
Step 9
Ask your friend to try the prototype while you watch how they use it.
Step 10
Write down one or two things your friend liked and one thing they want improved on sticky notes.
Step 11
Make one change to your prototype using the feedback you wrote.
Step 12
Share a photo and description of your finished creation on DIY.org
Help!?
What can we use if we don't have sticky notes or craft materials?
Tear small squares from printer paper or use masking-tape flags instead of sticky notes, and use recycled boxes, yogurt cups, rubber bands, and tape as craft materials to build your prototype.
My friend won't give clear answers or won't try the prototype; what should I do?
If your friend gives unclear answers, ask a follow-up like "Can you show me how you'd use it?" while writing their words on sticky notes, and if they won't try the prototype, ask them to perform one small task with it while you quietly watch and take notes.
How can we adapt the activity for younger or older kids?
For younger kids, choose a very simple problem, limit to one sketch and an adult-helped, tape-or-glue prototype with pre-cut shapes, while older kids can ask more than three questions, make three detailed sketches, build sturdier prototypes from cardboard and hot glue, and iterate on feedback before sharing.
How can we extend or personalize the project after finishing the first prototype?
Test the prototype with several friends to gather more sticky-note feedback, decorate or label the design for personalization, make one improved version using stronger materials, and post photos plus a short description of the changes on DIY.org.
Watch videos on how to Design Thinking 101
How Coding & Creativity Come Together in Game Design!
4 Videos

How Coding & Creativity Come Together in Game Design!

Teaching Critical Thinking through Art, 4.5: Focal Point: How do art teachers use Artful Thinking?

A Japanese Method to Develop Creativity in Kids

Mental Math Strategies | Strategies for Addition | Written Methods for Kids | Key Stage Three
Facts about design thinking for kids
🧠 Design thinking starts with empathy — understanding people's needs before making solutions.
✍️ Quick sketches help capture ideas fast; a tiny doodle can spark a big change.
🔧 Prototypes can be made from cardboard, tape, and markers — cheap materials teach fast lessons.
🧪 Usability experts say testing with about 5 users often uncovers roughly 85% of major problems.
🎯 Stanford's d.school and design firms like IDEO popularized design thinking for solving real-world problems.
How do I teach a child Design Thinking 101 using interviews, sketches, and prototypes?
What materials are needed for a kid-friendly design thinking prototype session?
What ages are suitable for Design Thinking 101 activities for kids?
What are the benefits of doing design thinking activities with children?
