Design Supercool Stickers w/ Reesespuffs
Design and create supercool stickers using Reese’s Puffs cereal as texture stamps and inspiration, decorating adhesive sheets then sealing art safely with clear tape.


Step-by-step guide to design supercool stickers using Reese's Puffs
Step 1
Cover your table with scrap paper or paper towels to keep your workspace clean.
Step 2
Gather all the materials and put them where you can reach them easily.
Step 3
Think of the sticker shapes or fun faces you want to make and picture them in your head.
Step 4
Squeeze a few small blobs of washable paint onto the paper plate.
Step 5
Dip one Reese's Puff lightly into a blob of paint so it picks up color on one side.
Step 6
Press the painted Reese's Puff gently onto the adhesive sticker sheet to make a textured stamp print.
Step 7
Repeat stamping with fresh cereal and different colors to build up your design.
Step 8
Throw away any cereal you used for stamping and do not eat it.
Step 9
Use markers to add details like eyes outlines names or patterns on and around your stamped textures.
Step 10
Let the paint dry completely before you touch the stickers.
Step 11
Cut out your sticker shapes carefully with scissors.
Step 12
Place a strip of clear packing tape over each sticker and smooth it down to seal the art.
Step 13
Trim the tape edges if needed to match the sticker shape and press the edges down so nothing peels up.
Step 14
Share your finished supercool stickers on DIY.org
Help!?
What can I use if I can't find Reese's Puffs or an adhesive sticker sheet?
Use other round puffed cereals like Cheerios or puffed rice for stamping and substitute cardstock or label paper with double-sided tape for the adhesive sticker sheet so you can still press and cut the designs.
My stamped prints are smudging or not showing color—what should I do?
Dip the Reese's Puff lightly and blot excess paint on the paper plate before pressing gently and lifting straight up, let the paint dry completely as instructed before adding marker details or cutting, and smooth the clear packing tape down carefully to avoid wrinkles.
How can I adapt this activity for younger or older kids?
For younger children, skip scissors and have an adult pre-cut sticker shapes and supervise the dip-and-press steps, while older kids can design complex shapes, add detailed marker art, seal with packing tape themselves, trim tape edges, and share finished stickers on DIY.org.
How can we make the stickers last longer or more unique?
After the paint dries, layer stamped textures and add marker or glitter details, then seal with clear packing tape as instructed or use a laminator or contact paper for extra durability and trim to shape or punch a hole to make a tag.
Watch videos on how to design supercool stickers using Reese's Puffs
HOW TO MAKE STICKERS ✨️STEP BY STEP✨️! (without baking paper)
4 Videos
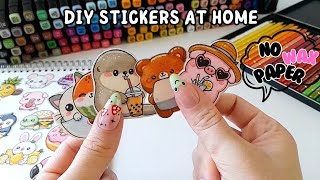
HOW TO MAKE STICKERS ✨️STEP BY STEP✨️! (without baking paper)

How to Make Stickers at Home | Step by Step!
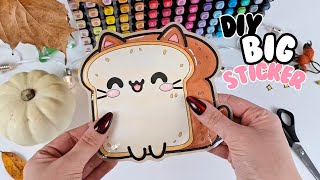
How to make a BIG STICKERS🥰?! (Tutorial)
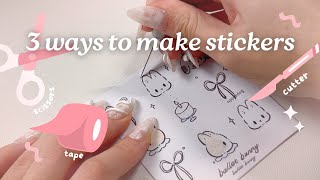
how to make stickers (step-by-step) 🌸 | with & without tape / printer / procreate 🖨️✏️✂️
Facts about sticker-making and food-based stamping
🥜 Reese's Puffs mixes chocolate and peanut-butter flavors inspired by the Reese's candy line.
🏭 General Mills, the maker of Reese's Puffs, is one of the largest breakfast cereal companies in the United States.
🏷️ The modern self-adhesive sticker was invented in 1935 by R. Stanton Avery — the start of peel-and-stick labeling!
🎨 Crafters often use everyday objects (like cereal, leaves, or bubble wrap) as texture stamps to make unique patterns.
🛡️ Sealing stickers with clear tape or a laminate is a simple DIY trick to protect colors and make them more water-resistant.
How do you design supercool stickers with Reese's Puffs cereal?
What materials do I need for Reese's Puffs sticker stamping?
What ages is the Reese's Puffs sticker activity suitable for?
What safety tips and variations should I know for this sticker craft?
