Design a winter outfit
Design and make a cozy winter outfit using paper or fabric, sketch measurements, add decorations, and test warmth and mobility safely with adult help.


Step-by-step guide to design and make a cozy winter outfit
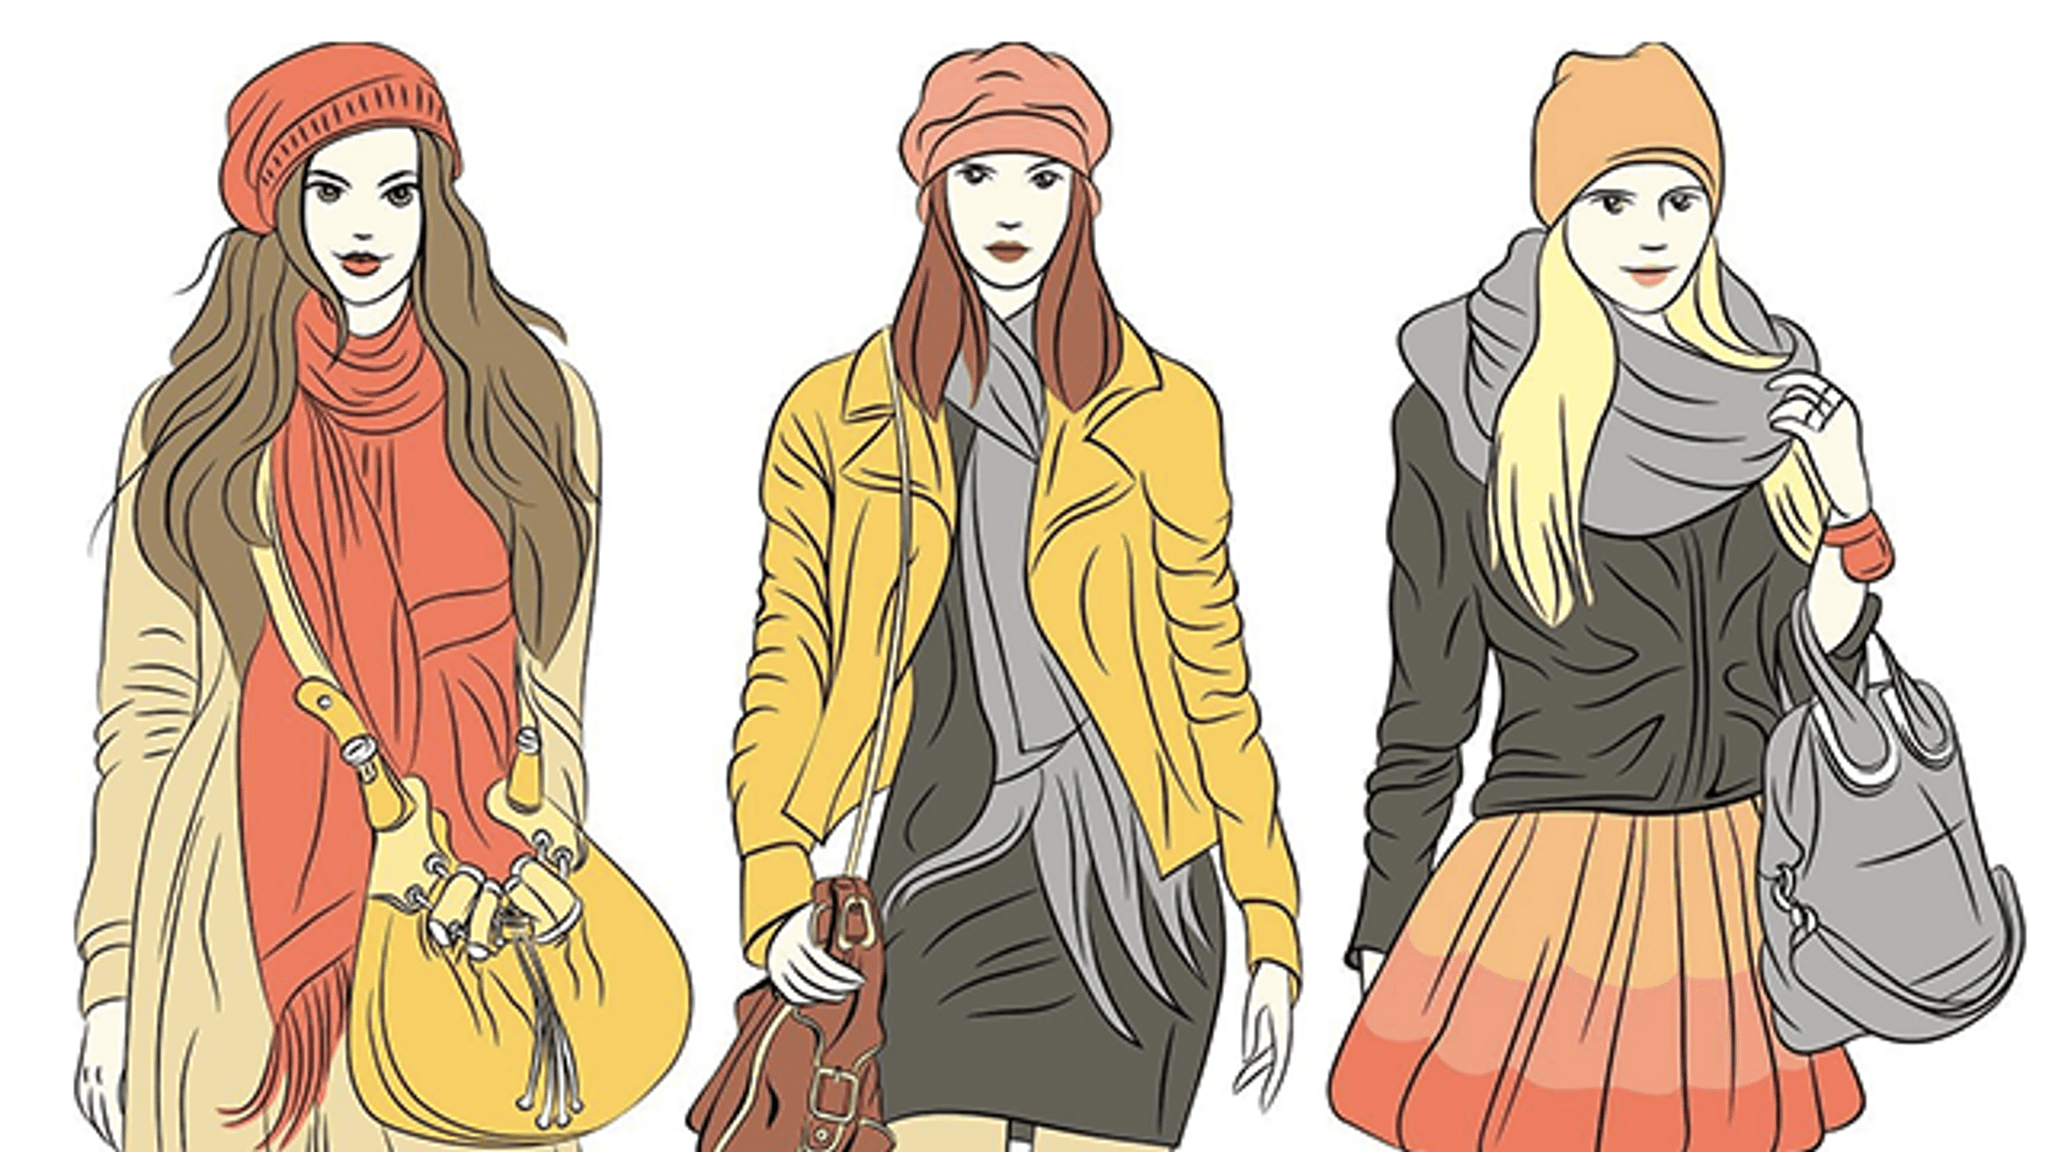
Trending Winter Fashion for Kids Cute & Comfy Looks 🌟
Step 1
Gather all your materials and put them where you can reach them easily.
Step 2
Decide whether you will make a hat scarf mittens or a cozy jacket.
Step 3
With an adult measure the body parts you need and write each measurement down.
Step 4
Draw a simple sketch of your outfit on paper and label each part with its measurements.
Step 5
Draw paper pattern pieces using your measurements so each piece matches your sketch.
Step 6
Cut the paper pattern pieces out carefully with scissors.
Step 7
Lay each paper pattern on fabric and trace around it with your pencil.
Step 8
Cut the fabric pieces out with scissors while an adult watches or helps if needed.
Step 9
Pin or tape the fabric pieces together to make a quick mock-up so you can check the shape.
Step 10
Try the mock-up on with an adult and mark any places that need to be bigger smaller or moved.
Step 11
Sew or glue the final seams with adult help to join the fabric pieces into the finished outfit.
Step 12
Decorate your outfit by attaching buttons ribbons stickers or drawing designs with colouring materials.
Step 13
With an adult put the outfit on and stand still to check how warm it feels.
Step 14
With an adult move your arms walk and sit to check that you can move comfortably in the outfit.
Step 15
Share a photo and a short description of your finished cozy winter outfit on DIY.org.
Help!?
What can we use instead of fabric or a sewing machine if they're hard to find?
Use felt, fleece, or pieces cut from an old sweater as fabric, secure seams with fabric glue or hot glue instead of a sewing machine, and make pattern pieces from cardboard or construction paper for the 'Draw paper pattern pieces' and 'Lay each paper pattern on fabric and trace' steps.
If the mock-up doesn't fit right after step 11, what should we do?
Re-check the body measurements you wrote down in step 3, add or reduce seam allowance on the paper pattern pieces from step 5, adjust the pinned mock-up from step 9, then try it on again to see if the shape matches your sketch.
How can this project be adapted for a 4-year-old versus a 12-year-old?
For a 4-year-old let them choose colors, help decorate in step 12, and have an adult handle measuring, cutting and sewing, while a 12-year-old can complete steps 3–10 themselves with supervision and try more advanced techniques like hand-stitching or neat seam finishing.
How can we make the winter outfit cozier or more unique after finishing it?
Sew or glue a fleece lining before joining the final seams in step 10, add pockets or a removable hood when drafting the paper patterns in step 5, attach buttons or embroidered designs during step 12, and then share the finished look and description on DIY.org as the last step suggests.
Watch videos on how to design and make a cozy winter outfit
Winter Outfit Ideas ❄️ Cozy Aesthetic Fits & Minimal Soft Girl Style
3 Videos
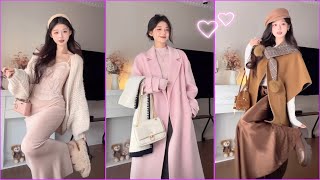
Winter Outfit Ideas ❄️ Cozy Aesthetic Fits & Minimal Soft Girl Style
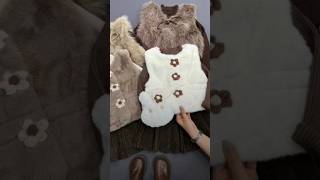
Adorable Winter Dresses for Kids (and How to Style Them) 🥰
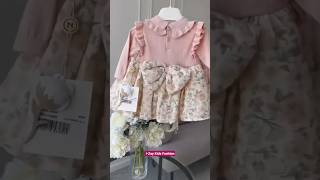
Baby Girl Winter Dress | Stylish & Cozy Kids Fashion | I-Zay Kids Fashion 2025
Facts about textile crafts and clothing design for kids
🧣 Layering is key — wearing three layers (base, insulating, outer) traps air and keeps you much warmer than a single heavy coat.
✂️ Paper patterns and templates let designers plan sizes and decorations before cutting fabric, saving mistakes and scraps.
🧵 Wool (especially from breeds like Merino) is a superstar for warmth because its fibers trap tiny pockets of air.
❄️ Many winter outfits use faux fur, fleece, or down because these materials trap air and dry quickly to stay comfy.
📏 Even small measurement changes (1–2 cm) can affect comfort and mobility, so accurate measuring helps clothing fit better.
How do I help my child design and make a cozy winter outfit using paper or fabric?
What materials do I need to make a child-sized winter outfit from paper or fabric?
What ages is this cozy winter outfit activity suitable for?
What are the safety tips and benefits of making a winter outfit with a child?
