Design a t-shirt to promote your band
Design a t shirt to promote your band by sketching a logo, choosing colors and slogans, then making a paper or fabric mockup.

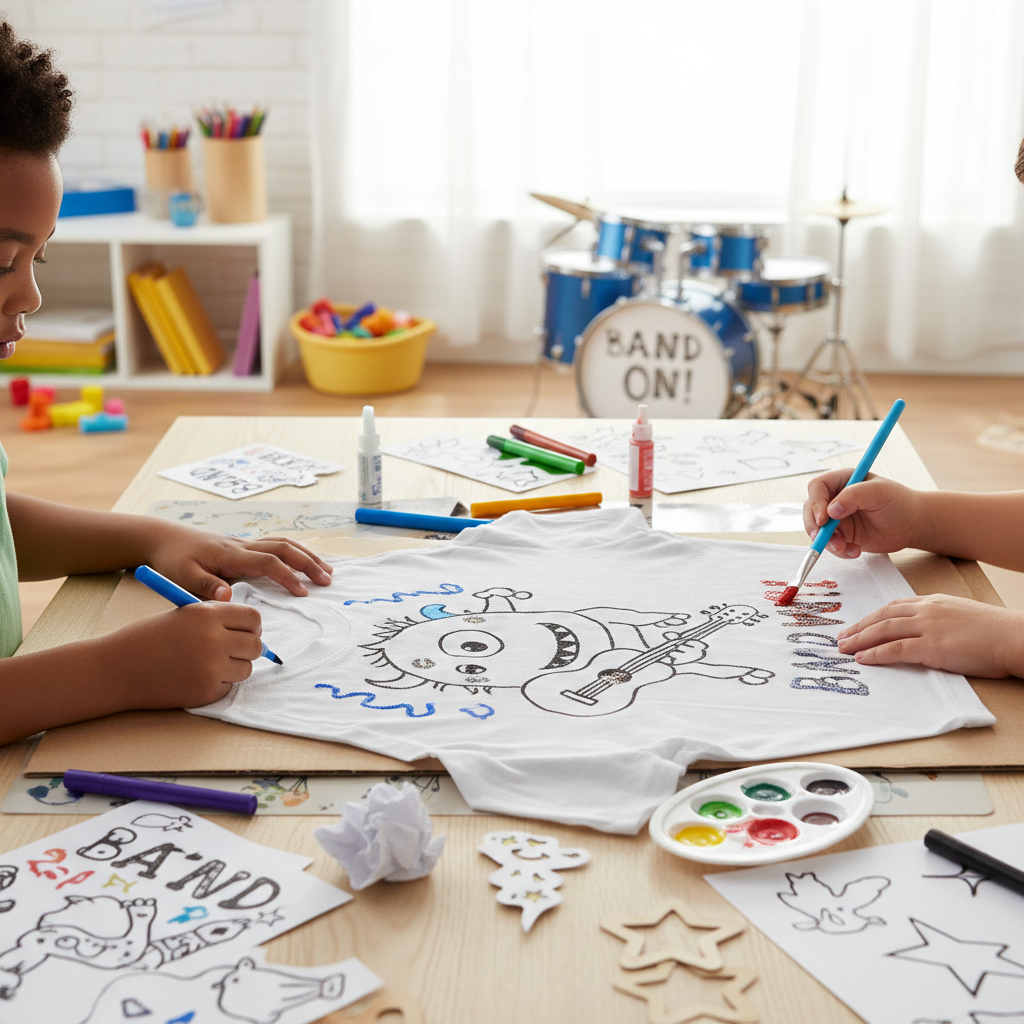

Step-by-step guide to design a t-shirt to promote your band
Step 1
Pick a fun band name and say what kind of music your band plays.
Step 2
Choose three words that describe your band’s vibe like loud cool dreamy or silly.
Step 3
Think of three simple images that match those words and write each image down once.
Step 4
Draw three small thumbnail logo sketches on scrap paper using your pencil.
Step 5
Circle the thumbnail you like best to choose your logo.
Step 6
Pick two or three colours for your logo and test them on a scrap paper patch.
Step 7
Write two slogan ideas and pick the one that sounds the most catchy.
Step 8
Make a clean full-size drawing of your chosen logo and slogan on a fresh sheet of paper.
Step 9
Decide whether you will make a paper mockup or a fabric mockup of the T-shirt.
Step 10
If you chose a paper mockup cut out a T-shirt shape from cardstock or paper.
Step 11
If you chose a fabric mockup place your clean drawing on the shirt and trace the design lightly with a pencil or fabric pencil.
Step 12
Colour or paint your design onto the paper T-shirt or onto the fabric using your chosen colours and markers or paints.
Step 13
Let the ink or paint dry completely before touching it.
Step 14
Try the mockup on a shirt or lay it over a T-shirt to see how the design looks in real life.
Step 15
Share a photo of your finished T-shirt mockup and your band story on DIY.org.
Help!?
What can we use if we don't have a fabric pencil or cardstock for the mockup?
For steps 10–11 you can substitute cardstock with a flattened cereal box or spare cardboard and use a regular HB pencil or a washable marker in place of a fabric pencil to lightly trace the design.
My paint is bleeding on the shirt—how can I fix or prevent that when colouring the fabric mockup?
To stop paint from bleeding in step 12, slide a piece of cardboard inside the shirt, apply thin layers of fabric paint or mix your paint with a textile medium, and allow each layer to dry completely as called for in step 13 before adding more.
How can I adapt this activity for a 4-year-old versus a 13-year-old?
For ages 4–6 simplify steps 2–6 by choosing one vibe word and one matching image and using stickers or stamps on a paper mockup, while ages 10–13 can follow all steps, refine the full-size drawing in step 8, and attempt a fabric mockup or digital transfer.
How can we improve or turn the mockup into a real T-shirt after finishing the project?
Once you have your clean full-size drawing from step 8 and a finished mockup to photograph for DIY.org in step 15, scan or photograph the design and use iron-on transfer paper, a local print shop, or heat-set fabric paint to make a permanent wearable T-shirt.
Watch videos on how to design a t-shirt to promote your band
How to Read Music - Basics for Beginners - Music Theory Lesson
4 Videos
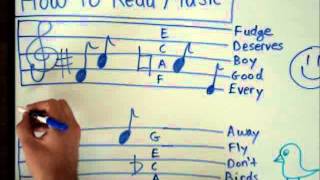
How to Read Music - Basics for Beginners - Music Theory Lesson
How to Make Loom Bands / Rainbow Loom Charms: PEACE SIGN

GarageBand for Kids - Learn GarageBand on iPad or iPhone - Studio Kids Today Episode #1

I DID ALL OF FAMOUS RAPPERS GANG SIGNS - COMPILATION + TUTORIAL
Facts about graphic design for kids
👕 The T-shirt is named for its T shape and became a popular standalone garment in the early 1900s after being used as underwear and workwear.
🎵 For many bands, selling T-shirts and other merch on tour is one of the biggest ways they earn money.
🎯 Simple, bold logos are easiest to recognize from far away—perfect for making a band T-shirt that stands out in a crowd.
🖨️ Screen printing and heat transfer are two common T-shirt printing methods; screen printing is known for vivid, long-lasting colors.
🎨 Colors change how people feel—bright hues feel energetic while darker tones feel more serious, so choose colors that match your band's vibe.
How do I help my child design a t-shirt to promote their band?
What materials do I need to design a band t-shirt mockup with my child?
What ages is this t-shirt design activity suitable for?
What are the benefits of designing a band t-shirt with my child?
