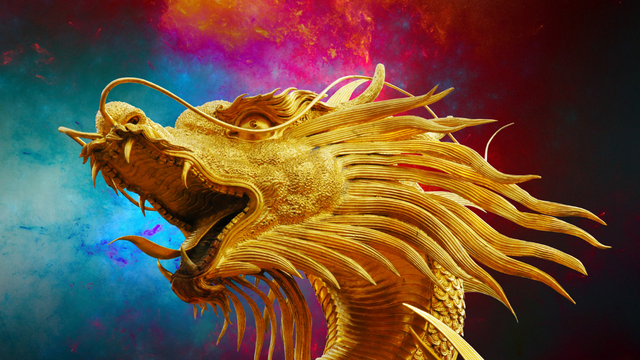
Design a Fantasy Creature
Design and build a fantasy creature model using paper, clay, and recycled materials; name it, sketch its habitat, and explain its special abilities.


Step-by-step guide to design a fantasy creature
Step 1
Gather all your materials and set them on a clean workspace so everything is easy to reach.
Step 2
Choose a fun name for your fantasy creature and write it at the top of a sheet of paper.
Step 3
Draw the creature’s body shape and its main features on the paper using your pencil.
Step 4
Sketch the creature’s habitat next to the creature drawing or on a separate sheet of paper.
Step 5
Pick the clay pieces and recycled bits you will use for the creature’s body and lay them out neatly.
Step 6
Build the creature’s main body by shaping modelling clay or by forming and taping recycled cardboard pieces together.
Step 7
Make limbs wings tails or horns from recycled bits or clay and attach them securely to the body.
Step 8
Add eyes a mouth and surface textures using googly eyes clay pieces or markers.
Step 9
Decorate and color your creature with markers crayons or colored pencils to make it bright and unique.
Step 10
Create a habitat base from a sheet of paper or a small box and arrange your creature on it.
Step 11
Write a small card that names the habitat and place it beside your creature.
Step 12
On the card list three special abilities your creature has and write one short sentence about a favorite behavior.
Step 13
Share a photo and the description of your finished fantasy creature on DIY.org.
Help!?
I can't find modelling clay or googly eyes—what can I use instead?
If modelling clay is unavailable, use playdough, air-dry clay, or tightly crumpled foil shaped and wrapped with masking tape for the creature’s body, and replace googly eyes with buttons, beads, or eyes drawn on paper with markers to follow the 'add eyes a mouth and surface textures' step.
My creature's limbs keep falling off—how can I make them stay attached?
When making limbs, wings, tails, or horns from recycled bits or clay, reinforce attachments by inserting toothpicks or short skewers into the main body, secure taped cardboard joints with extra tape or craft glue, and let air-dry clay fully harden before decorating.
How can I adapt this project for a 4-year-old or a 12-year-old?
For ages 4–6, simplify by pre-cutting cardboard body shapes, using larger clay pieces and big googly eyes and focusing on naming and coloring, while for ages 10–12 add complexity like building a wire armature, detailed surface textures, and a longer habitat description and abilities card.
What are some ways to make my creature and habitat more unique or interactive?
Enhance the project by creating a layered habitat base inside a small box with glued recycled bits, adding moving parts with brads or string, painting textures on the creature, and writing three special abilities on the card that match its interactive features before sharing photos on DIY.org.
Watch videos on how to design a fantasy creature
How to Draw Fantasy Creatures: Unicorn, Dragon, Mermaid & Centaur | Magical Drawing for Kids
4 Videos
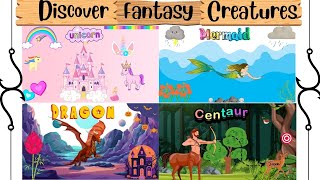
How to Draw Fantasy Creatures: Unicorn, Dragon, Mermaid & Centaur | Magical Drawing for Kids
The BEST Way to Create Fantasy Creatures from Imagination
Create Your Own Creature in Procreate - Easy Drawing Tutorial
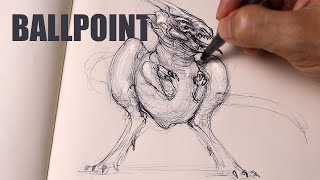
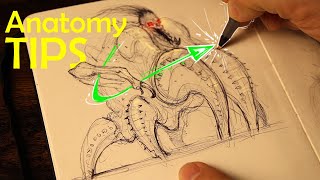
Creature Design with a Ballpoint Pen | Sketching Fantasy Creatures Step by Step
Facts about character design and mixed-media crafts for kids
🐉 Mythical creatures often mix traits from real animals — griffins combine eagles and lions to look both fierce and familiar.
🎨 Character designers use bold silhouettes and simple shapes so a creature is recognizable even as a tiny sketch.
♻️ Turning recycled materials into art helps reduce waste and teaches resourcefulness — trash can become treasure!
✂️ Papercraft includes ancient practices like origami, which has been made in Japan for over a thousand years.
🧪 Plasticine modeling clay was invented by William Harbutt in 1897 and is still beloved by artists and animators today.
How do I guide my child to design a fantasy creature model?
What materials do I need to design a fantasy creature?
What ages is designing a fantasy creature suitable for?
What are the benefits of designing a fantasy creature?
