Design a Dragon
Design and build a colorful dragon model from paper, cardboard, and recycled materials; plan scales, wings, and movement while learning symmetry and creativity.


Step-by-step guide to design a dragon
Easy Dragon Drawing Step by Step | How To Draw Dragon for Kids & Beginners
Step 1
Gather all your materials and set them on a clear workspace so you can reach everything easily
Step 2
Fold a sheet of paper in half to create a center line that will help you make a symmetrical dragon
Step 3
Draw half of your dragon outline on the folded paper and mark where the wings tail and head will be
Step 4
Pick two to four bright colors you want to use for your dragon design
Step 5
Cut along your drawing while the paper is still folded to make a symmetrical paper template
Step 6
Place the paper template on cardboard and trace around it to copy the dragon shape
Step 7
Cut out the cardboard dragon body along the traced line carefully
Step 8
Cut small scale shapes from colored paper or from egg carton pieces to make lots of scales
Step 9
Glue the scales onto the cardboard body starting at the center line and match positions on both sides for symmetry
Step 10
Cut two wing shapes from cardboard and add a crease down the middle so they can fold and flap
Step 11
Attach the wings to the body with a paper fastener or tape so the wings can move freely
Step 12
Make a tail from a toilet paper roll or rolled paper and tape or glue it to the body so it can sway
Step 13
Add eyes horns legs and other fun details using bottle caps paper scraps and glue
Step 14
Test your dragon by flapping the wings and swaying the tail and tighten any loose parts
Step 15
Share your finished dragon creation on DIY.org
Help!?
What can we use instead of a paper fastener, egg carton pieces, or a toilet paper roll if we don't have them?
If you don't have a paper fastener, egg carton, or toilet paper roll, you can use a brad or split pin for the wings, cut scales from construction paper or foam sheets instead of egg carton pieces, and make the tail from a rolled cereal-box strip or a paper towel tube.
My wings are stuck or fall off when I try to flap them — how do I fix that?
If the wings won't flap freely or keep coming loose after attaching them with a paper fastener or tape, punch a small pilot hole through the cardboard first, use a larger brad or add a washer or two glued cardboard rings under the fastener, and tighten just enough so the wings move without binding.
How can I adapt the Design a Dragon activity for younger or older kids?
For younger kids, pre-fold and pre-cut the dragon template and provide big pre-cut scales to glue, while older kids can design intricate scale patterns, add creased movable wings, articulate legs with paper fasteners, or wire-reinforce the tail from the traced cardboard.
What are some fun ways to enhance or personalize our finished cardboard dragon?
To personalize and extend the project, paint the cardboard body, glue glitter or sequins to specific scales, add coin-cell LEDs behind bottle-cap eyes for glowing eyes, or attach a string to the toilet-paper-roll tail so the dragon can sway on display.
Watch videos on how to design a dragon
How To Draw a Dragon | Step by Step Art Lesson for Beginners
4 Videos
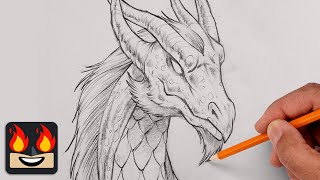
How To Draw a Dragon | Step by Step Art Lesson for Beginners
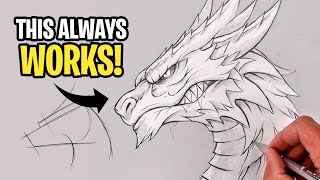
How To Draw a DRAGON | Step By Step Sketch Tutorial
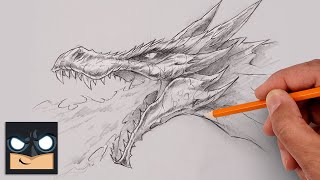
How To Draw a DRAGON | 16 Minute Sketch Tutorial
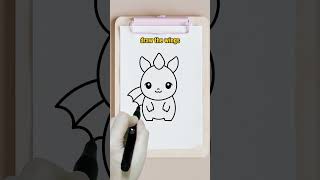
HOW TO DRAW A CUTE DRAGON TUTORIAL
Facts about paper and recycled-material crafts
🐉 Dragons appear in myths worldwide — in China they often symbolize luck and power, while in Europe they were usually fearsome opponents.
✂️ Papercraft artists can build incredibly detailed models from paper; some complex designs use hundreds of glued pieces for realism.
📐 Using bilateral symmetry (mirroring left and right) makes planning dragon bodies and wings easier and helps the model balance.
⚙️ Simple mechanisms like brads, straws, and rubber bands can make paper dragons flap wings, wag tails, or open jaws.
♻️ Recycled materials like cereal boxes, bottle caps, and scrap paper are sturdy, colorful, and keep waste out of the landfill.
How do I design and build a colorful paper and cardboard dragon step-by-step?
What materials do I need to make a Design a Dragon craft with recycled supplies?
What ages is the Design a Dragon activity suitable for?
What are the learning benefits and safety tips for making a dragon model?


