Design a craggy cliff with LEGO®
Design and build a craggy cliff model using LEGO bricks, creating layers, textures, and miniature plants to learn about rock shapes and erosion.


Step-by-step guide to design a craggy cliff with LEGO®
Building Twisting LEGO Squares
Step 1
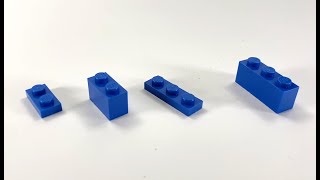
Gather all Materials Needed and put them within reach.
Step 2
Place the LEGO baseplate on a clear flat table to be your cliff foundation.
Step 3
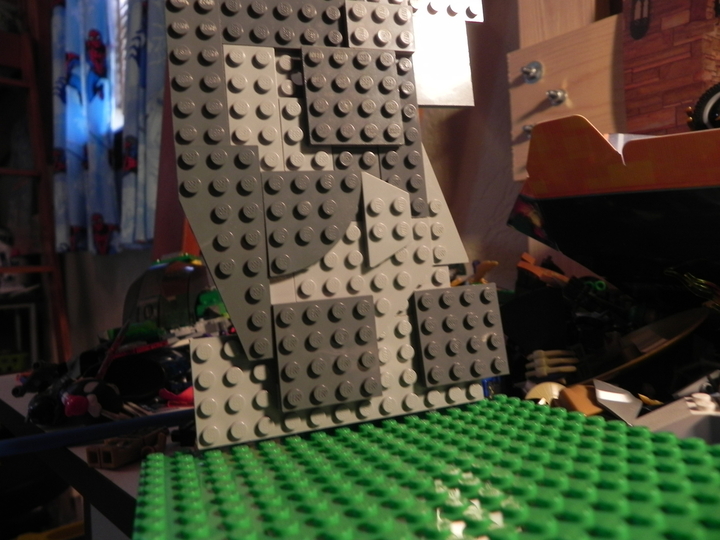
Build a wide strong base by placing large bricks across the bottom of the baseplate in a staggered pattern.
Step 4
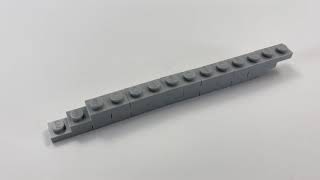
Add thin plate layers on top of the base to create visible rock strata using different colors for each layer.
Step 5
Attach slope and wedge bricks to the outer face to form jagged rock shapes and angled ledges.
Step 6
Create small overhangs by offsetting higher layers one or two studs back from the layer below.
Step 7
Add texture by pressing small flat tiles and round studs onto the cliff face to look like rough rock.
Step 8
Make cracks and crevices by leaving one-stud gaps or using inverted slopes to form hollow spots.
Step 9
Scatter loose plates and small round pieces at the cliff base to make fallen rubble and scree.
Step 10
Place tiny plant pieces and green plates into crevices and ledges to show vegetation growing on the cliff.
Step 11
Gently press the top and sides to test stability so you can find any loose parts.
Step 12
If any parts wobble add supporting bricks behind weak spots to make the cliff sturdy.
Step 13
Share your finished craggy cliff model on DIY.org.
Help!?
What can we use if we don't have a LEGO baseplate or specific slope/wedge bricks?
If you don't have a LEGO baseplate, use a sturdy piece of cardboard or wood as the 'cliff foundation' and substitute missing slope or wedge bricks by stacking small plates or angled household items behind the face to mimic jagged rock shapes.
What should we do if parts wobble or the cliff falls over when we press the top and sides?
When the cliff wobbles during the 'gently press the top and sides' test, stabilize it by adding supporting bricks behind weak spots, reinforcing the 'wide strong base' with larger bricks, and filling one-stud gaps that weaken layers.
How can we change the activity for younger or older kids?
For younger children, simplify by building only the 'wide strong base' with large bricks and adding a few big plates as strata, while older kids can add thin plate layers, inverted slopes, detailed crevices, and tiny plant pieces for realism.
How can we extend or personalize the craggy cliff after finishing it?
To enhance the model, create removable panels to rearrange the 'jagged rock shapes' and 'fallen rubble', add more tiny plant pieces in crevices for varied vegetation, or place minifigures on ledges to build cliff-climbing scenes to share on DIY.org.
Watch videos on how to design a craggy cliff with LEGO®
Kids Build with a LEGO Expert | HiHo Kids
4 Videos

Kids Build with a LEGO Expert | HiHo Kids
A simple, elegant LEGO build
A simple but surprising LEGO build

How To Make A Pole Vault using Lego | DIY Course
Facts about geology and erosion
🪨 Cliffs form where harder rock layers resist erosion and leave steep faces—some sea cliffs reach over 1,000 meters tall.
🌊 Water, wind, ice, and even plants cause erosion; coastal waves can remove tons of rock from shorelines every year.
🧱 LEGO bricks are great for modeling rock layers because their stacked plates mimic sedimentary strata.
🌱 Tiny plants and lichens can speed up rock breakdown by wedging into cracks and releasing acids.
📏 Making a scale model helps: a 1:50 LEGO cliff 20 cm tall represents a real cliff about 10 meters high.
How do I build a craggy cliff with LEGO®?
What materials do I need to design a LEGO® craggy cliff?
What ages is designing a craggy cliff with LEGO® suitable for?
What are the educational benefits of making a LEGO® craggy cliff?
