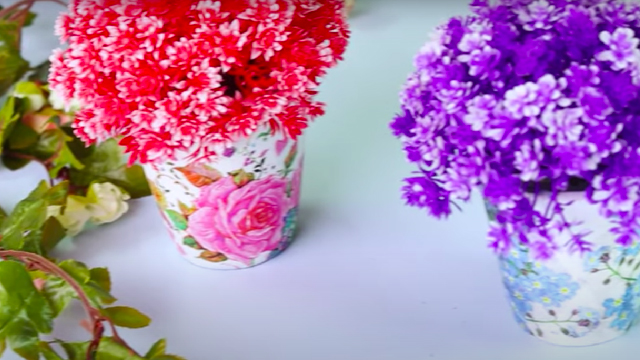
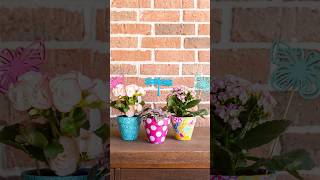
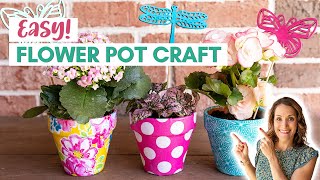
Decoupage a Pot
Decorate a flowerpot by decoupaging paper shapes and glue onto a terracotta or plastic pot, practicing design, cutting, and sealing for durability.

Step-by-step guide to Decoupage a Pot
Step 1
Gather all materials and place them on a clean table.
Step 2
Wipe the pot with a damp paper towel to remove dust.
Step 3
Let the pot dry completely before you start.
Step 4
Cut or tear the decorative paper into shapes you like.
Step 5
Arrange the paper shapes on the pot without glue to plan your design.
Step 6
Mix decoupage glue with a little water in the small bowl if you are using school glue.
Step 7
Brush a thin layer of glue onto a small area of the pot.
Step 8
Place one paper shape onto the glued area.
Step 9
Smooth the paper gently with your fingers or a brush to remove air bubbles.
Step 10
Brush a thin layer of glue over the top of the paper to seal it.
Step 11
Repeat steps 7 to 10 to cover the rest of your design.
Step 12
Let the glued pot dry completely for at least 30 minutes.
Step 13
Apply a clear sealer with adult supervision if you are using a spray or brush-on varnish.
Step 14
Let the sealer dry completely according to the product instructions.
Step 15
Share a photo of your finished decoupaged pot on DIY.org.
Help!?
What can we use if we don't have decoupage glue or a spray sealer?
If you can't find decoupage glue, use school glue mixed with a little water in the small bowl as described in step 6, and substitute a clear brush-on acrylic sealer for a spray sealer in step 12 under adult supervision.
Why does my paper wrinkle or get air bubbles when I stick it on the pot and how can I fix it?
If paper wrinkles or bubbles during steps 8–9, gently lift the paper, apply a thinner layer of glue from the small bowl, then smooth from the center outward with your fingers or a brush to remove trapped air.
How can I adapt this decoupage pot activity for different age groups?
For younger children, pre-cut large shapes for them to place and brush glue onto small areas (steps 4–9) with close supervision, while older kids can tear finer shapes, mix the glue themselves in the small bowl, and apply multiple sealed layers in steps 11–12 for a neater result.
What are some ways to make the finished pot more special or long-lasting?
To enhance the finished pot, paint a base color before step 4, add metallic or glitter paper pieces during steps 7–10, and apply an extra coat of clear sealer in step 12 for added shine and durability.
Watch videos on how to Decoupage a Pot
Easy Decoupage tutorial I 1 DIY How to make DIY planter on plastic pot with floral & craft stamping
4 Videos
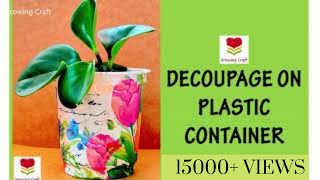
Easy Decoupage tutorial I 1 DIY How to make DIY planter on plastic pot with floral & craft stamping
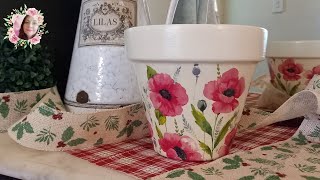
How to decoupage a terracotta pot from scratch with paper napkins
EASY Decoupage Flower Pots in Under 10 Minutes!
😍 SIMPLE Decoupage Flower Pots | Pro Tips!
Facts about decoupage and paper crafts
🎨 Decoupage comes from the French word "découper," which means "to cut out," and is all about decorating with paper cutouts.
🌱 Terracotta means "baked earth" in Italian and has been used for flowerpots for thousands of years because it's porous and breathes.
✂️ Layering paper shapes (2–3 thin layers) not only builds color but also adds texture and strength to your decoupaged design.
💧 Sealing a decoupaged pot with a water-based varnish or sealer helps protect the paper from moisture and makes it easier to clean.
🧴 White PVA school glue can double as a decoupage adhesive and a sealing coat when thinned with a little water—great for kid-friendly projects.
How do I decoupage a flowerpot with my child?
What materials do I need to decoupage a pot?
What ages is decoupaging a flowerpot suitable for?
What are the benefits of decoupaging a pot with children?
