Decorate for Halloween DTIYS
Make spooky Halloween decorations like paper bats, pumpkin faces, and garlands, then invite friends to recreate them in their own artistic style.
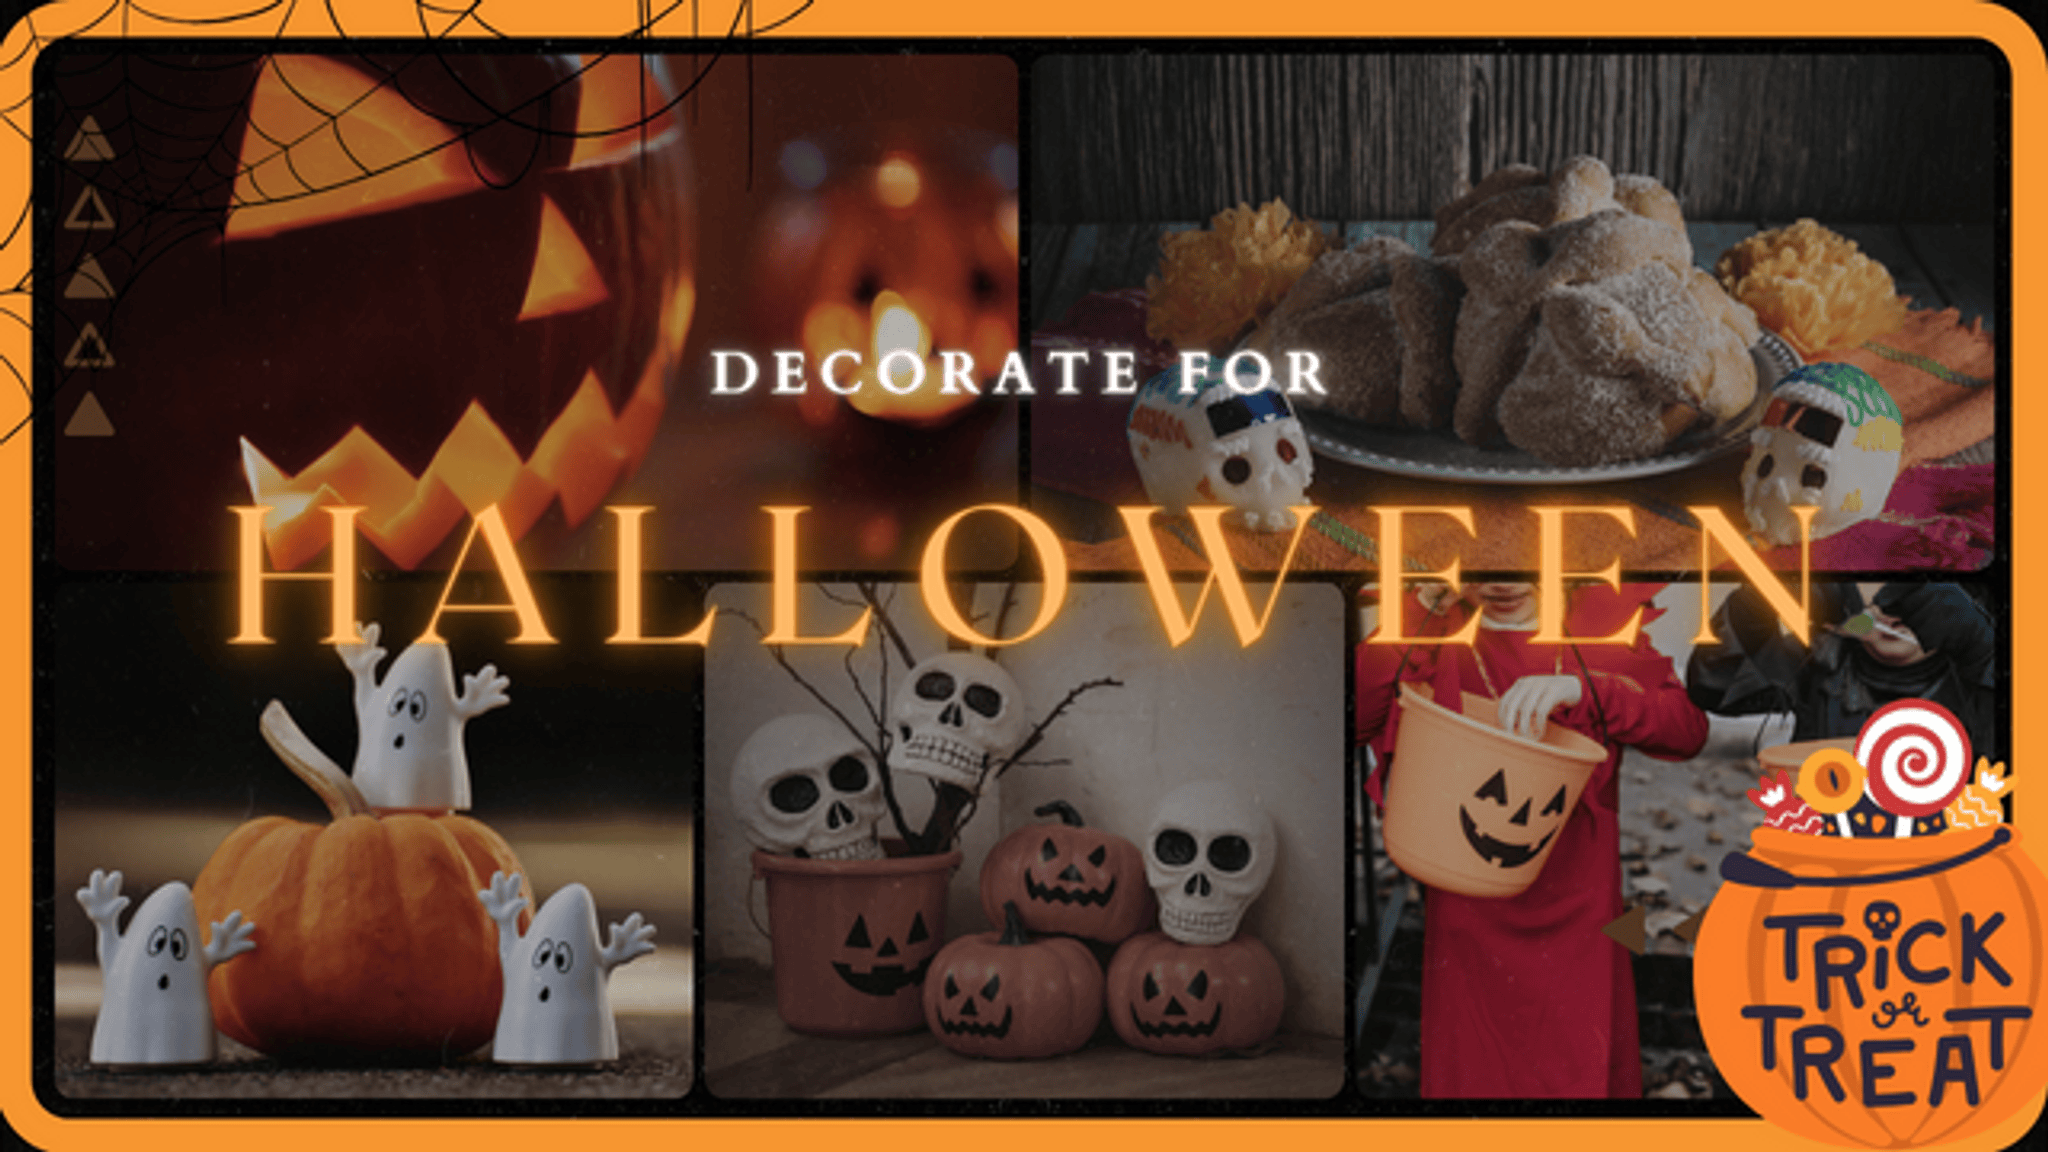
About this activity
Make spooky Halloween decorations like paper bats, pumpkin faces, and garlands, then invite friends to recreate them in their own artistic style.
What you need
Step by step
- 1
Step 1
Clear a flat workspace so you have room to create.
- 2
Step 2
Fold a sheet of black paper in half to make a bat template.
- 3
Step 3
Draw half of a bat along the folded edge with a pencil.
- 4
Step 4
Cut along your pencil line through both layers using scissors.
- 5
Step 5
Unfold the cut paper to reveal your bat shape.
- 6
Step 6
Decorate the bat by adding eyes teeth or fun patterns with your marker and coloring materials.
- 7
Step 7
Draw a circle on orange paper with a pencil to make a pumpkin base.
- 8
Step 8
Cut out the pumpkin circle with scissors.
- 9
Step 9
Draw and color a spooky or silly pumpkin face on the circle using your marker and coloring materials.
- 10
Step 10
Cut 6 to 8 more shapes like bats pumpkins or ghosts from colored paper for the garland.
- 11
Step 11
Lay your string across the table where you want the garland to hang.
- 12
Step 12
Arrange your paper shapes along the string in the order you like.
- 13
Step 13
Attach each shape to the string using tape or by punching holes and tying them on.
- 14
Step 14
Make a small invite card and write a friendly challenge asking friends to recreate your decorations in their own style.
- 15
Step 15
Share your finished decorations and your invite challenge on DIY.org.
Fun facts
How do I run a Halloween DTIYS craft activity for kids?
Set a simple plan: pick 3–4 designs (paper bats, pumpkin faces, garlands), make easy templates, and prep a clear workspace. Demonstrate basic steps — folding and cutting bats, drawing pumpkin faces, stringing garlands — then let the child personalize each piece. Photograph or write short instructions for friends and give a deadline. Share the templates and invites so friends can recreate the designs in their own style, then host a mini reveal.
What materials do I need for Halloween DTIYS decorations?
Gather cardstock or construction paper, child-safe scissors, glue sticks or tacky glue, washable markers or paint, pencils, a hole punch, string or twine for garlands, and stickers or sequins for decoration. Optional extras: LED tea lights for pumpkin faces, stencils, and templates you pre-cut. Use non-toxic, washable supplies for little hands and have scrap paper and wipes on hand for quick cleanups.
What ages is a Halloween DTIYS activity suitable for?
This activity suits many ages: toddlers (3–5) can stick pre-cut shapes with close adult help; early elementary kids (6–8) can cut simple shapes, draw faces, and assemble garlands with supervision; older kids (9–12) can design templates and experiment with paint and details independently. Teens can lead the project and organize the invite. Always supervise young children and avoid small parts for under-3s.
What safety tips should I follow for a Halloween DTIYS?
Use non-toxic, washable supplies and child-safe scissors. Avoid small embellishments for kids under three and replace loose glitter with paper confetti or washable alternatives. Never use real candles in paper pumpkins; choose LED tea lights. Supervise cutting, hot-glue use, and hole-punching. When sharing photos or invites online, check privacy settings and get permission before posting pictures of other children.
Watch & Learn
Need help?
What can we use instead of black or orange paper, string, or a hole punch if those are hard to find?
If you don't have black or orange paper, color white printer paper with markers for the 'Fold a sheet of black paper...' and 'Draw a circle on orange paper...' steps, swap string for yarn, ribbon, or even twist ties when you 'lay your string across the table', and replace a hole punch by taping or stapling shapes to the string as in 'attach each shape to the string'.
My bat tears when I cut or unfold it, or the tape won't hold the shapes to the string—what should I do?
To prevent tearing during 'cut along your pencil line through both layers', keep the fold tight and use sharp scissors or make small snips then unfold carefully, and if tape won't hold when you 'attach each shape to the string', punch holes and tie with yarn or use glue dots/staples for a stronger hold.
How can I adapt the steps for younger kids or make it more challenging for older kids?
For younger children, pre-cut the bat and pumpkin shapes and let them 'decorate the bat' and 'draw and color a spooky or silly pumpkin face' with stickers and chunky crayons, while older kids can add intricate cutouts, layered paper details, or tiny LED lights when they 'arrange your paper shapes along the string'.
What are some ways to make the garland and invite card more special or reusable?
Make the project more special by writing each friend's name on the 'small invite card', backing shapes with cardstock or laminating them for reusing the garland, gluing on googly eyes during the 'decorate the bat' step, and sharing the finished decorations and invite challenge on DIY.org as suggested.