Customize Your Bridge!
Build and customize a small model bridge from popsicle sticks, cardboard, glue, and paint; test strength with small weights and compare designs.


Step-by-step guide to customize your bridge
Step 1
Gather all materials and set them on a clear workspace.
Step 2
Draw two different bridge designs on paper and label them Design A and Design B.
Step 3
Measure and mark a cardboard base for Design A using the ruler and pencil.
Step 4
Cut out the cardboard base for Design A with scissors.
Step 5
Glue popsicle sticks side by side onto the cardboard base to make the bridge deck for Design A.
Step 6
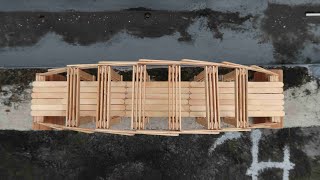
Build triangular support trusses from popsicle sticks and glue them to the sides of the deck for Design A.
Step 7
Let the glue dry completely before touching the bridge.
Step 8
Paint and decorate Design A with your chosen colors.
Step 9
Let the paint dry completely before testing.
Step 10
Test Design A by placing small weights one at a time at the center of the bridge until it bends or fails.
Step 11
Repeat steps 3 through 9 to build Design B using your other drawing.
Step 12
Test Design B by placing small weights one at a time at the center of the bridge until it bends or fails.
Step 13
Compare the number of weights each bridge held to see which design was stronger.
Step 14
Write a short note on your paper about why you think the stronger bridge held more weight.
Step 15
Share your finished bridges and your test results on DIY.org.
Help!?
What can we use if we can't find popsicle sticks or a large piece of cardboard for the bridge deck?
If you can't find popsicle sticks, use wooden coffee stirrers or cut thin strips from a cereal box and glue them side-by-side onto a sturdy substitute like foam-core or a double-layered corrugated cardboard base (step 5).
My bridge fell apart during testing—what likely went wrong and how can I fix it?
If the bridge failed during the weight test (steps 11–12), it usually means joints weren't fully set—clamp popsicle sticks with clothespins while the white glue dries, add a bead of stronger glue (hot glue) along truss joints (step 6), and reinforce the cardboard base edges with tape before testing.
How can I adapt this activity for different age groups?
For preschoolers have an adult pre-measure and cut the cardboard base (steps 3–4) and let them glue and paint a simple deck (steps 5 and 8), while older kids can design longer spans, build more complex triangular trusses (step 6), and record precise weight measurements during testing (steps 11–12).
What are some ways to improve or personalize our bridge designs beyond the instructions?
To enhance the bridges, add toothpick or string guardrails and a roadway texture on the deck (steps 5–8), varnish painted surfaces before testing (step 9), and document comparative results with photos and notes to share on DIY.org (final step).
Watch videos on how to customize your bridge
How to Build a Bridge with MAGNA-TILES!
4 Videos
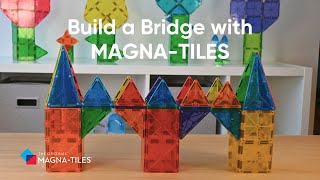
How to Build a Bridge with MAGNA-TILES!
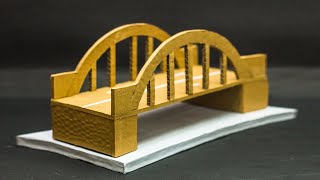
School Science Projects | How To Make A Bridge From Cardboard
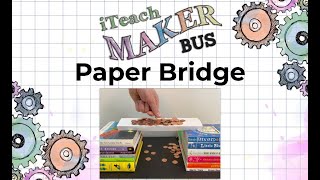
How to make a PAPER BRIDGE!
How to make a strong bridge using popsicle sticks #223
Facts about bridge building and basic engineering
🏗️ Triangles are the superhero shape of bridges—truss designs use triangles because they keep their shape and spread loads evenly.
🌉 The world's longest bridge (Danyang–Kunshan Grand Bridge in China) is over 160 km long—longer than many cities!
🪵 Popsicle-stick and craft-wood model bridges can hold many times their own weight; clever classroom designs often support hundreds of times what they weigh.
📏 Engineers test bridge strength by adding weight little by little until the bridge bends or breaks—this shows which design handles loads best.
🎨 Small details like joint glue and how much paint you use matter—a tiny strong joint can beat a sloppy big one, and too much paint just adds weight.
How do you build and customize a small model bridge?
What materials do I need to build the popsicle-stick bridge?
What ages is this Customize Your Bridge activity suitable for?
What are the benefits, safety tips, and variations for this bridge activity?
