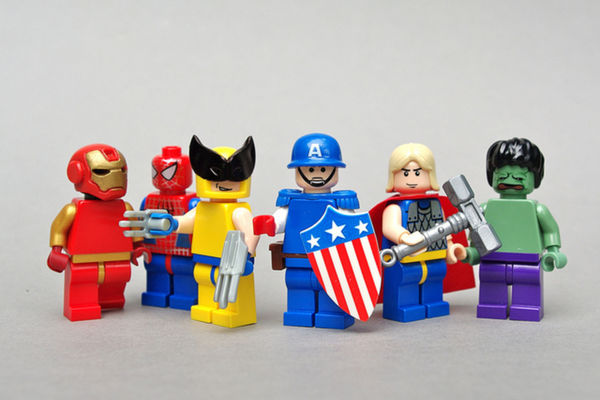
Customize a LEGO® minifig
Customize a LEGO minifigure by designing, painting, and swapping parts; practice creativity, fine motor skills, and simple design planning with safe materials.


Step-by-step guide to customize a LEGO® minifig
Creating the Most AMAZING Custom LEGO Minifigure Ever!
Step 1
Draw a simple plan of your minifigure design on paper with a pencil and choose colors.
Step 2
Lay down the paper towel and arrange your minifigure parts and all materials on it.
Step 3
Carefully pull the minifigure apart into head torso legs and hair or hat and place the parts separately.
Step 4
Use painter's tape to cover any areas you want to keep unpainted.
Step 5
Paint the base colors on each part using your brushes and the paint on the plate.
Step 6
Leave the painted parts to dry completely for about 30 minutes.
Step 7
Add small details like facial features buttons or patterns with a fine-tip marker or a tiny brush.
Step 8
Let the detailed areas dry fully for about 15 minutes.
Step 9
Ask an adult to spray or brush a thin coat of clear acrylic sealer on each part in a well-ventilated area and let it dry.
Step 10
Reassemble the minifigure and try swapping heads hats or accessories with other figures to test different looks.
Step 11
Share your finished custom minifigure on DIY.org
Help!?
What can I substitute if I can’t find painter’s tape or clear acrylic sealer?
Use low-tack masking tape or washi tape to cover areas instead of painter’s tape, and replace clear acrylic sealer with a thin brush-on clear craft varnish applied by an adult in a well-ventilated area (test on a spare part first).
My paint looks streaky or chips after I reassemble the minifigure—what should I check or redo?
Make sure you use acrylic craft paints, allow the base colors to dry the full ~30 minutes and detailed areas the 15 minutes specified, and have an adult apply a thin coat of clear acrylic sealer before reassembling to prevent chipping.
How can I adapt the steps for younger kids or make it more challenging for older kids?
For younger children, simplify by drawing the plan together, using washable tempera paints or stickers on the parts and having an adult handle disassembly/reassembly, while older kids can add tiny facial features with a fine-tip marker, mix custom colors on the plate, and practice finer brushwork.
What are some ways to extend or personalize the minifigure project after following the basic instructions?
Enhance the project by mixing custom shades on the paint plate, adding tiny decals or glitter before sealing, creating themed outfits and swapping heads/hats with other figures to test looks, then photograph and share the finished custom minifigure on DIY.org.
Watch videos on how to customize a LEGO® minifig
Building an EPIC Custom LEGO Minifigure From Scratch!
3 Videos

Building an EPIC Custom LEGO Minifigure From Scratch!
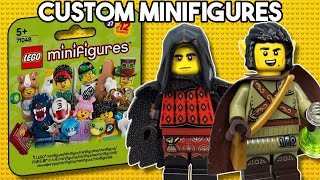
20 Cool Ways To Customize The LEGO Series 27 Minifigures

How to MAKE COOL LEGO minifigures?
Facts about toy customization and model making for kids
🧱 The LEGO minifigure first appeared in 1978 and quickly became an iconic toy piece in thousands of sets.
🎨 Acrylic paint is water-based, dries fast, and many non-toxic varieties are great for painting plastic safely.
🔁 Minifigure parts (heads, torsos, legs, and many accessories) are designed to be interchangeable for easy mix-and-match play.
🤏 Tiny tasks like painting details and swapping parts are fun ways for kids to practice and improve fine motor skills.
🧰 Kid-friendly tools like brick separators and small brushes make customizing easier and safer—no cutting required.
How do you customize a LEGO minifigure step by step?
What materials do I need to customize a LEGO minifigure?
What ages is customizing a LEGO minifigure suitable for?
What are the benefits and safety tips for painting and swapping LEGO minifigure parts?
