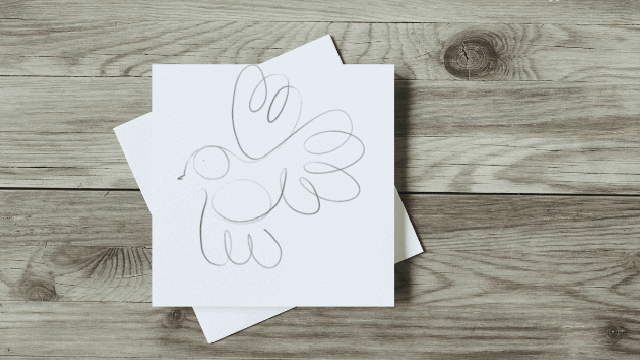
Curvy One Line Bird
Draw a bird using a single continuous curvy line, adding simple details and color to learn smooth line control and shape planning.

Step-by-step guide to draw a Curvy One Line Bird
Step 1
Place your paper on a flat table or desk so it won't move.
Step 2
Hold your pencil lightly so your hand can make smooth curvy lines.
Step 3
Close your eyes for a few seconds and imagine a simple curvy bird shape in your head.
Step 4
Make a tiny dot near the paper edge where you want the bird's beak to start.
Step 5
Starting at the dot draw one continuous curvy line that makes the beak then flows into the head then the body then a tail then back along the back and belly to the beak without lifting your pencil; add a small loop for an eye and a curved loop for a wing as part of the same line.
Step 6
Look at your curvy line and erase any little stray marks outside the main line.
Step 7
Trace your favorite curvy line carefully with a darker crayon or marker so the bird shape stands out.
Step 8
Wait a few seconds for any marker ink to dry so it won't smudge.
Step 9
Color the bird inside the curvy line using your coloring materials and choose bright fun colors.
Step 10
Add simple decorations like dots or stripes inside the wing or body to make your bird unique.
Step 11
Share your finished Curvy One Line Bird on DIY.org.
Help!?
What can we use if we don't have a darker crayon or marker for tracing and coloring?
Use a colored pencil, ballpoint pen, or washable felt-tip to trace your favorite curvy line after erasing stray marks and to color inside the bird, and if you use ink wait a few seconds for it to dry so it won't smudge.
I accidentally lift my pencil while drawing — how do I fix the single continuous curvy line?
Lightly erase the small gap where you lifted and redraw a smooth connecting curve so the line flows from the beak dot through the head, wing loop and tail back to the beak before you trace with a darker crayon or marker.
How can this activity be adapted for younger or older children?
For toddlers, use larger paper, a big washable crayon and a pre-made beak dot to practice smooth curvy lines, while older kids can add detailed dots, stripes, patterns inside the wing/body, try drawing with their non-dominant hand, or prepare a high-quality photo to share on DIY.org.
How can we extend or personalize our Curvy One Line Bird?
Personalize the bird by adding a collage tail from colored-paper scraps, painting a watercolor background before tracing, tracing your chosen line with a metallic marker and waiting for it to dry, then decorate inside the wing with dots or stripes and upload the finished Curvy One Line Bird to DIY.org.
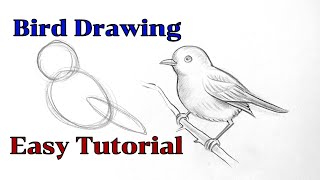
Watch videos on how to draw a Curvy One Line Bird
How to draw a bird drawing easy step by step Basic drawing lessons for beginners pencil drawings
4 Videos
How to draw a bird drawing easy step by step Basic drawing lessons for beginners pencil drawings

How to Draw a Bird / follow along drawing lesson

How to Draw a Bird with Pencil Very Easy adn Step by Step
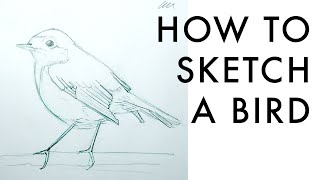
How to sketch birds for beginners - quick step by step
Facts about line drawing and shape planning
🐦 Birds use smooth curved shapes for wings and bodies — perfect guides for a single flowing line.
✏️ Pablo Picasso made many famous continuous single-line drawings, showing how one stroke can create a whole image.
🎯 Practicing one-line drawings improves hand-eye coordination and smooth motor control in kids.
🌀 Contour drawing asks artists to draw outlines in steady lines without lifting the pen — just like curvy one-line art.
🎨 Line art can suggest motion and form with only curves and thickness changes, and color adds fun details afterward.
How do you draw a Curvy One Line Bird step-by-step?
What materials do I need to make a Curvy One Line Bird?
What ages is the Curvy One Line Bird activity suitable for?
What are the benefits, safety tips, and fun variations for the Curvy One Line Bird activity?


