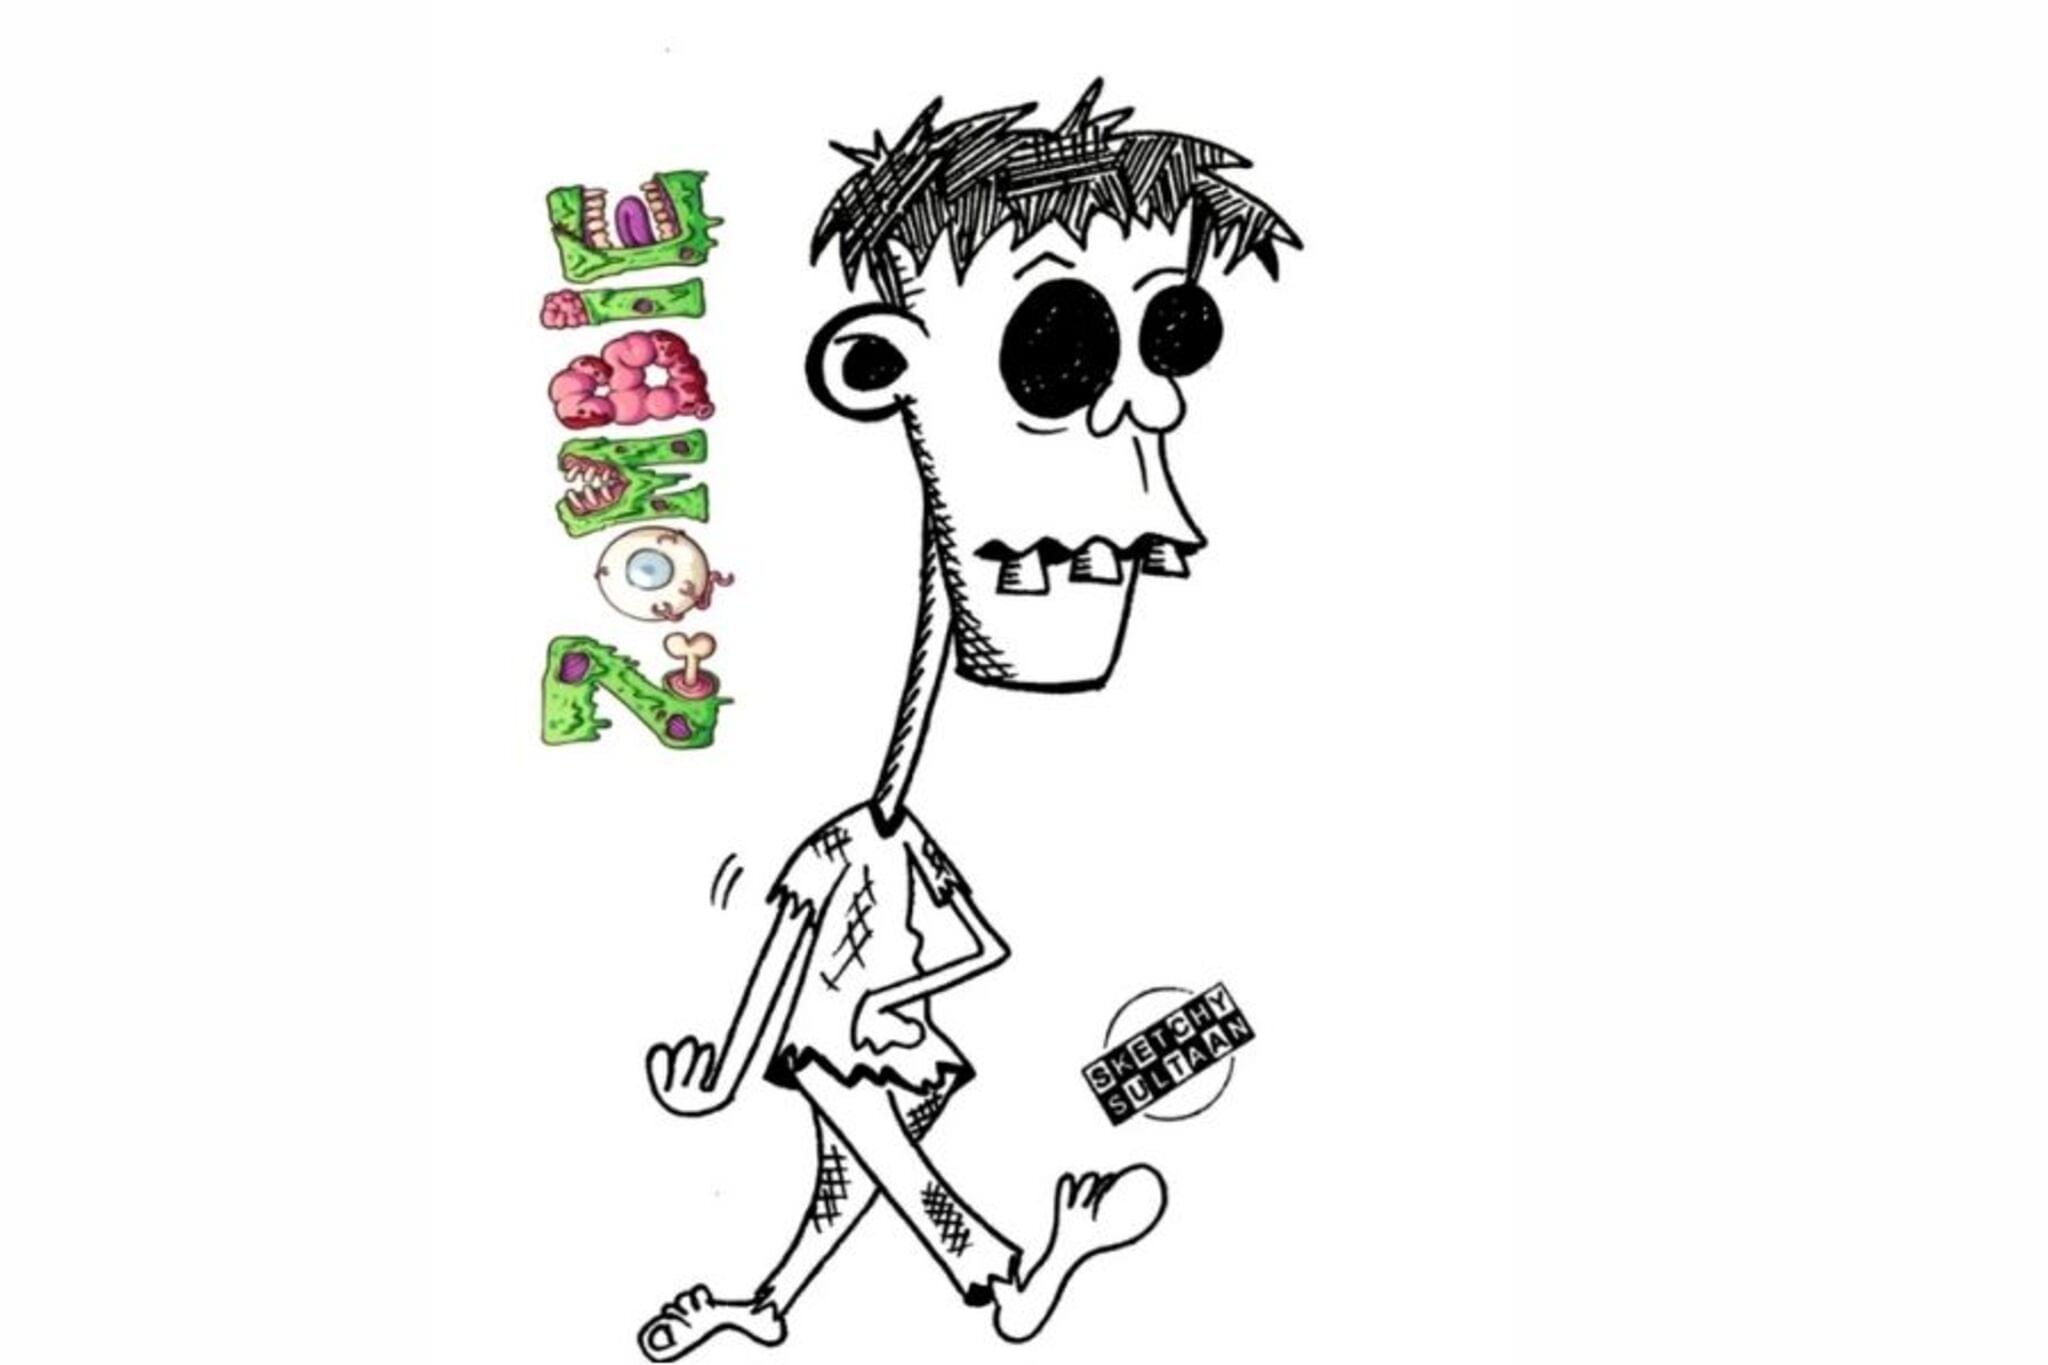
Create Fun & Scary Zombie Doodles
Draw and decorate fun and scary zombie doodles using simple shapes, pencils, markers, and shading techniques while learning facial expressions and creative storytelling.


Step-by-step guide to Create Fun & Scary Zombie Doodles
OUTDOOR ACTIVITIES for Kids at Home - Budget Friendly Outside Play Ideas
Step 1
Sit at a table and lay out all your materials so everything is easy to reach.
Step 2
Lightly draw a simple shape for the zombie head like a circle oval or square.
Step 3
Add simple shapes for the body arms and legs so your zombie has a pose.
Step 4
Draw big eyes and a mouth shape that show the expression you want such as scared silly or grumpy.
Step 5
Add spooky details like stitches scars missing teeth or cracks using short lines and zigzags.
Step 6
Use your pencil to add light shading under the eyes cheekbones and inside the mouth with short strokes.
Step 7
Gently smudge the shaded areas with a soft tissue to make the shadows look soft.
Step 8
Trace the main outlines and spooky details with your black marker to make them pop.
Step 9
Erase any leftover pencil guide lines carefully so the marker lines stay clean.
Step 10
Color your zombie using pale greens purples browns and darker tones for shadows.
Step 11
Write a one sentence caption or tiny story next to your zombie that explains who it is or what it wants.
Step 12
Share your finished zombie doodle and its story on DIY.org
Help!?
What can we use if we don't have a soft tissue or black marker from the materials list?
If you don't have a soft tissue or black marker, use a cotton ball or your fingertip to gently smudge pencil shading and a fine-tip pen, dark crayon, or even a sharpened charcoal stick to trace the main outlines and spooky details.
My marker lines smeared or pencil guides stayed visible—how do I fix that during the tracing and erasing steps?
Avoid heavy pencil marks, let the black marker dry completely after you trace the main outlines and spooky details, then carefully erase leftover pencil guide lines with a soft eraser so the marker lines stay clean.
How can I adapt this zombie doodle activity for different ages?
For younger kids, pre-draw the head and body shapes and let them add big eyes, simple spooky details, and color with washable markers, while older kids can add more detailed pencil shading, smudge with tissue for softer shadows, use darker tones for dramatic shadows, and expand the one-sentence caption into a longer tiny story.
What are fun ways to enhance or personalize the finished zombie doodle and its one-sentence caption?
Personalize your zombie by adding a painted or collaged background, gluing on tiny fabric scraps for tattered clothes, experimenting with colored pencils for textured skin tones, or turning several poses into a flipbook and expanding the one-sentence caption into a short comic before sharing on DIY.org.
Watch videos on how to Create Fun & Scary Zombie Doodles
10 EDUCATIONAL ACTIVITIES TO DO OUTDOORS WITH YOUR KIDS
4 Videos

10 EDUCATIONAL ACTIVITIES TO DO OUTDOORS WITH YOUR KIDS
Fun and Affordable OUTDOOR ACTIVITIES for Kids on a Budget
10 FUN OUTDOOR PARTY GAMES for KIDS (Perfect for Summer Camp)
*OUTDOOR ACTIVITIES* for Toddlers & Preschoolers
Facts about drawing and character design for kids
🧟♂️ George A. Romero's Night of the Living Dead (1968) helped invent the modern movie zombie we often doodle today.
✏️ A 2009 study found doodling can boost memory and attention — doodlers sometimes remember nearly 30% more detail.
🎨 Simple shading (from light to dark) can turn flat shapes into chunky, 3-D-looking zombie features.
😄 Learning to draw facial expressions helps kids show emotions like surprise, fear, or silliness in characters.
📚 Adding a tiny caption or prop (like a bandage or hat) instantly gives your zombie doodle a fun backstory.
How do I guide my child to draw fun and scary zombie doodles step by step?
What materials do I need to make zombie doodles?
What ages is the zombie doodle activity suitable for?
What are the benefits and safe variations of drawing zombie doodles?
