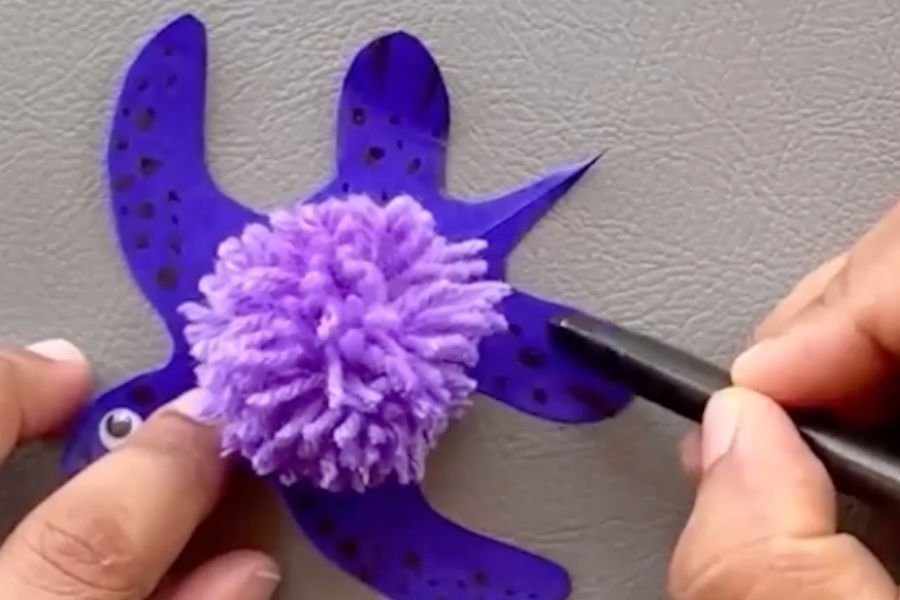
Create Fluffy and Super-Cute Yarn Turtles!
Make fluffy yarn turtles using pom poms, felt, glue, and pipe cleaners; learn basic crafting skills, scissors safety, and simple pattern assembly.


Step-by-step guide to make fluffy yarn turtles
Step 1
Gather all your materials on a clean table so everything is ready to use.
Step 2
Cut two cardboard rings to make pom-pom templates one large for the shell and one small for the head.
Step 3
Wrap yarn around both cardboard rings until each ring looks thick and fluffy with yarn.
Step 4
Carefully cut the wrapped yarn loops all the way around each cardboard ring using scissors.
Step 5
Tie a short piece of yarn tightly around the middle of each ring to secure the pom-poms and then slide off the cardboard.
Step 6
Trim the large pom-pom into a round fluffy shell and trim the small pom-pom into a neat small head.
Step 7
Cut five short pieces of pipe cleaner to make four legs and one tail.
Step 8
Bend each pipe cleaner piece into a little foot shape and curl the tail piece slightly.
Step 9
Cut a small oval from felt for the belly and four tiny felt pads for the feet.
Step 10
Glue the tiny felt pads onto the pipe cleaner feet if you want little toes on your turtle.
Step 11
Glue the felt belly onto the underside of the large pom-pom shell.
Step 12
Glue the small pom-pom head to the front edge of the large pom-pom shell.
Step 13
Push or glue the pipe cleaner legs and tail into the underside of the shell so your turtle can stand.
Step 14
Glue on googly eyes or draw eyes with a black marker to give your turtle a friendly face.
Step 15
Share a photo of your fluffy yarn turtle on DIY.org.
Final steps
You're almost there! Complete all the steps, bring your creation to life, post it, and conquer the challenge!


Help!?
What can we use instead of the cardboard rings, pipe cleaners, or felt if we don't have them?
Cut rings from a cereal-box or stiff cardstock for the pom-pom templates, substitute short pieces of floral wire wrapped in tape or thin craft foam for the pipe cleaner legs and tail, and replace the felt belly and pads with scrap fabric or construction paper glued to the pom-pom shell.
My pom-poms keep falling apart when I slide off the cardboard or trim them—how can I fix that?
Make sure you tie a short piece of yarn tightly around the middle of each ring as described in the instructions before sliding off the cardboard, use sharp scissors to cut all wrapped loops cleanly, and add a drop of craft glue to the tied center if the strands feel loose.
How can I adapt this yarn turtle activity for different ages?
For toddlers, have an adult pre-cut the cardboard rings and supervise wrapping and gluing while letting them stick googly eyes and felt pieces, for school-age kids let them cut rings, wrap yarn, and shape pom-poms with minimal help, and for older kids encourage making patterned shells by wrapping multiple yarn colors and adding sewn-on details or bead embellishments.
What are simple ways to personalize or extend the yarn turtle project after it's finished?
Customize your turtle by trimming the large pom-pom shell into different shapes, wrapping contrasting yarn stripes before trimming, adding painted or glittered felt patterns to the belly, or creating a whole turtle family and a fabric or cardboard 'pond' display to share photos on DIY.org.
Watch videos on how to make fluffy yarn turtles
How to Make a cute turtle with Play Dough | Fun Craft for Kids!
4 Videos
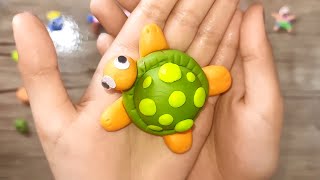
How to Make a cute turtle with Play Dough | Fun Craft for Kids!

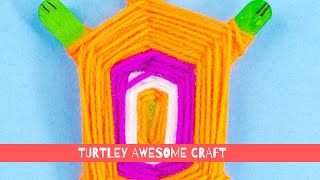
DIY woolen craft Pom Pom Turtle 🐢 || woolen crafts animals || yarn animals

Knit a Tiny Turtle - Easy and Fun Mini Knitting Project
HOW TO MAKE A TURTLE WITH POPSICLE STICKS AND YARN. Its so cute! Easy kids craft.
Facts about yarn and pom-pom crafts for kids
🧶 Yarn can be made from natural fibers like wool and cotton or from synthetic fibers like acrylic — different yarns give your pom-pom turtles unique fluffiness!
🧵 Felt is one of the oldest textiles; archaeologists have found felted items that are thousands of years old.
🎈 The word "pom-pom" comes from the French "pompon" and pom-poms have been used for hat and costume decorations for centuries.
🌀 Pipe cleaners (also called chenille stems) began as tools for cleaning tobacco pipes but became a craft favorite because they bend and hold shapes easily.
✂️ Kid-safe scissors have rounded tips and specially designed blades so children can practice cutting with much less risk of pokes or big cuts.
How do I make fluffy yarn turtles step-by-step?
What materials do I need to make fluffy yarn turtles?
What ages are fluffy yarn turtles suitable for?
What are the benefits, safety tips, and variations for making yarn turtles?


