Create an original garment
Design and sew a simple, original garment like a colorful fabric cape or decorated t-shirt using basic sewing, cutting, and decorating techniques to express creativity.


Step-by-step guide to design and sew an original garment
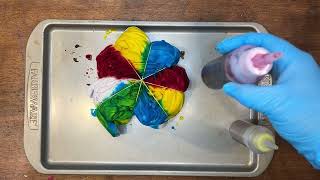
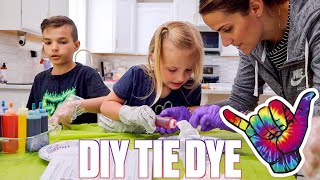
How to Tie-Dye a shirt for Kids! Try These Cool, Fun, & Easy Techniques & Tutorials
Step 1
Gather all the materials and set up a clean flat workspace where you can cut and sew safely.
Step 2
Sketch a simple cape design on your scrap paper showing how long you want it and what decorations you will add.
Step 3
Lay your fabric flat and fold it in half so the two sides of the cape will match.
Step 4
Use the measuring tape and chalk to mark the cape length and the center of the folded edge for the neck.
Step 5
Cut along your chalk marks to create the cape shape using scissors.
Step 6
Cut a small semicircle at the folded edge where you marked the neck opening.
Step 7
Fold each raw edge under about 1 centimeter all the way around the cape.
Step 8
Sew the folded edges with a simple running stitch to make a neat hem.
Step 9
Cut two fabric strips about 30 centimeters long to make ties for the neck.
Step 10
Sew each tie securely to the two sides of the neck opening.
Step 11
Decorate the cape using your chosen decorating materials to match your sketch.
Step 12
Try on your cape to check the fit and make any changes you want.
Step 13
Share a photo and a short description of your finished cape on DIY.org
Help!?
What can we use instead of a measuring tape, tailor's chalk, or the recommended fabric if we don't have them?
If you don't have a measuring tape, use a ruler or a paper strip marked with a known length, replace tailor's chalk with a pencil or washable fabric marker for marking in step 4, and use an old t-shirt or pillowcase as the fabric in step 3.
What should we do if the cape sides don't match or the raw edges fray when we cut and hem the cape?
If the two sides don't match after cutting in step 5, refold the fabric carefully along the original fold and trim small amounts until they align, and if raw edges fray after step 7 use a zigzag stitch, fray‑check glue, or iron‑on hem tape before sewing the 1 cm hem in step 8 and secure ties with a backstitch when attaching them in step 9.
How can we adapt this cape project for different age groups?
For preschoolers have an adult do steps 1–9 (fold, cut the semicircle, and sew the hem and 30 cm ties) and let the child do step 11 decorating and step 12 trying on, while older kids can measure and mark in step 4, cut and sew all steps themselves and add complex decorations in step 11.
What are some ways to extend or personalize the cape once the basic version is finished?
To enhance the cape, add a contrasting lining before cutting in step 5, sew a hood on at the folded edge in step 6, replace fabric ties in step 9 with velcro or a snap for easier fastening, and personalize decorations in step 11 with appliqués, fabric paint, or battery LED lights before sharing on DIY.org.
Watch videos on how to design and sew an original garment
Kids Crafts! Make a Groovy Tie-Dye T-Shirt with Craft Warehouse
4 Videos
Kids Crafts! Make a Groovy Tie-Dye T-Shirt with Craft Warehouse

Kylee Makes Tie-Dye Shirts! How to Make Five Different Designs with Two Minute Tie Dye for Kids
HOW TO TIE DYE T-SHIRTS AT HOME | 3 COLOR TIE DYE CHALLENGE | TIE DYING STUFF AT HOME WITH FOUR KIDS

How to Tie Dye a T-Shirt | Heart Design | Kids Crafts by Three Sisters
Facts about sewing and textile crafts for kids
🧵 Sewing tools like needles and thread have been used by humans for thousands of years — bone sewing needles date back over 20,000 years.
👗 Charles Frederick Worth is often called the “father of haute couture” for starting the first modern fashion house in the 19th century.
🪡 The first practical sewing machine was patented in 1846 by Elias Howe; Isaac Singer later made machines common in homes.
✂️ You can make a simple, colorful cape from one rectangle of fabric — just cut a neckline and hem the edges for a quick garment.
🌈 Tie-dye, fabric paints, and appliqué let kids turn plain t-shirts into unique wearable art without needing advanced sewing skills.
How do I design and sew a simple original garment like a cape or decorated t‑shirt?
What materials do I need to make a child’s original garment at home?
What ages is designing and sewing a simple garment suitable for?
What are the benefits, safety tips, and variations for this garment activity?
