Create An Adorable Puppy GIF In Procreate
Draw and animate a cute puppy in Procreate by sketching frames, adding colors and simple motion, then export it as a looping GIF.


Step-by-step guide to Create An Adorable Puppy GIF In Procreate
How to Draw a Cute Puppy 🐶 | Easy Procreate Tutorial
Step 1
Open Procreate and create a new square canvas about 2000 x 2000 pixels.
Step 2
Open the Actions menu (wrench icon) then tap Canvas and turn on Animation Assist.
Step 3
In the Animation Assist bar tap Settings and set the frames per second (FPS) to 8.
Step 4
Tap the '+' in the Animation Assist timeline until you have six frames.
Step 5
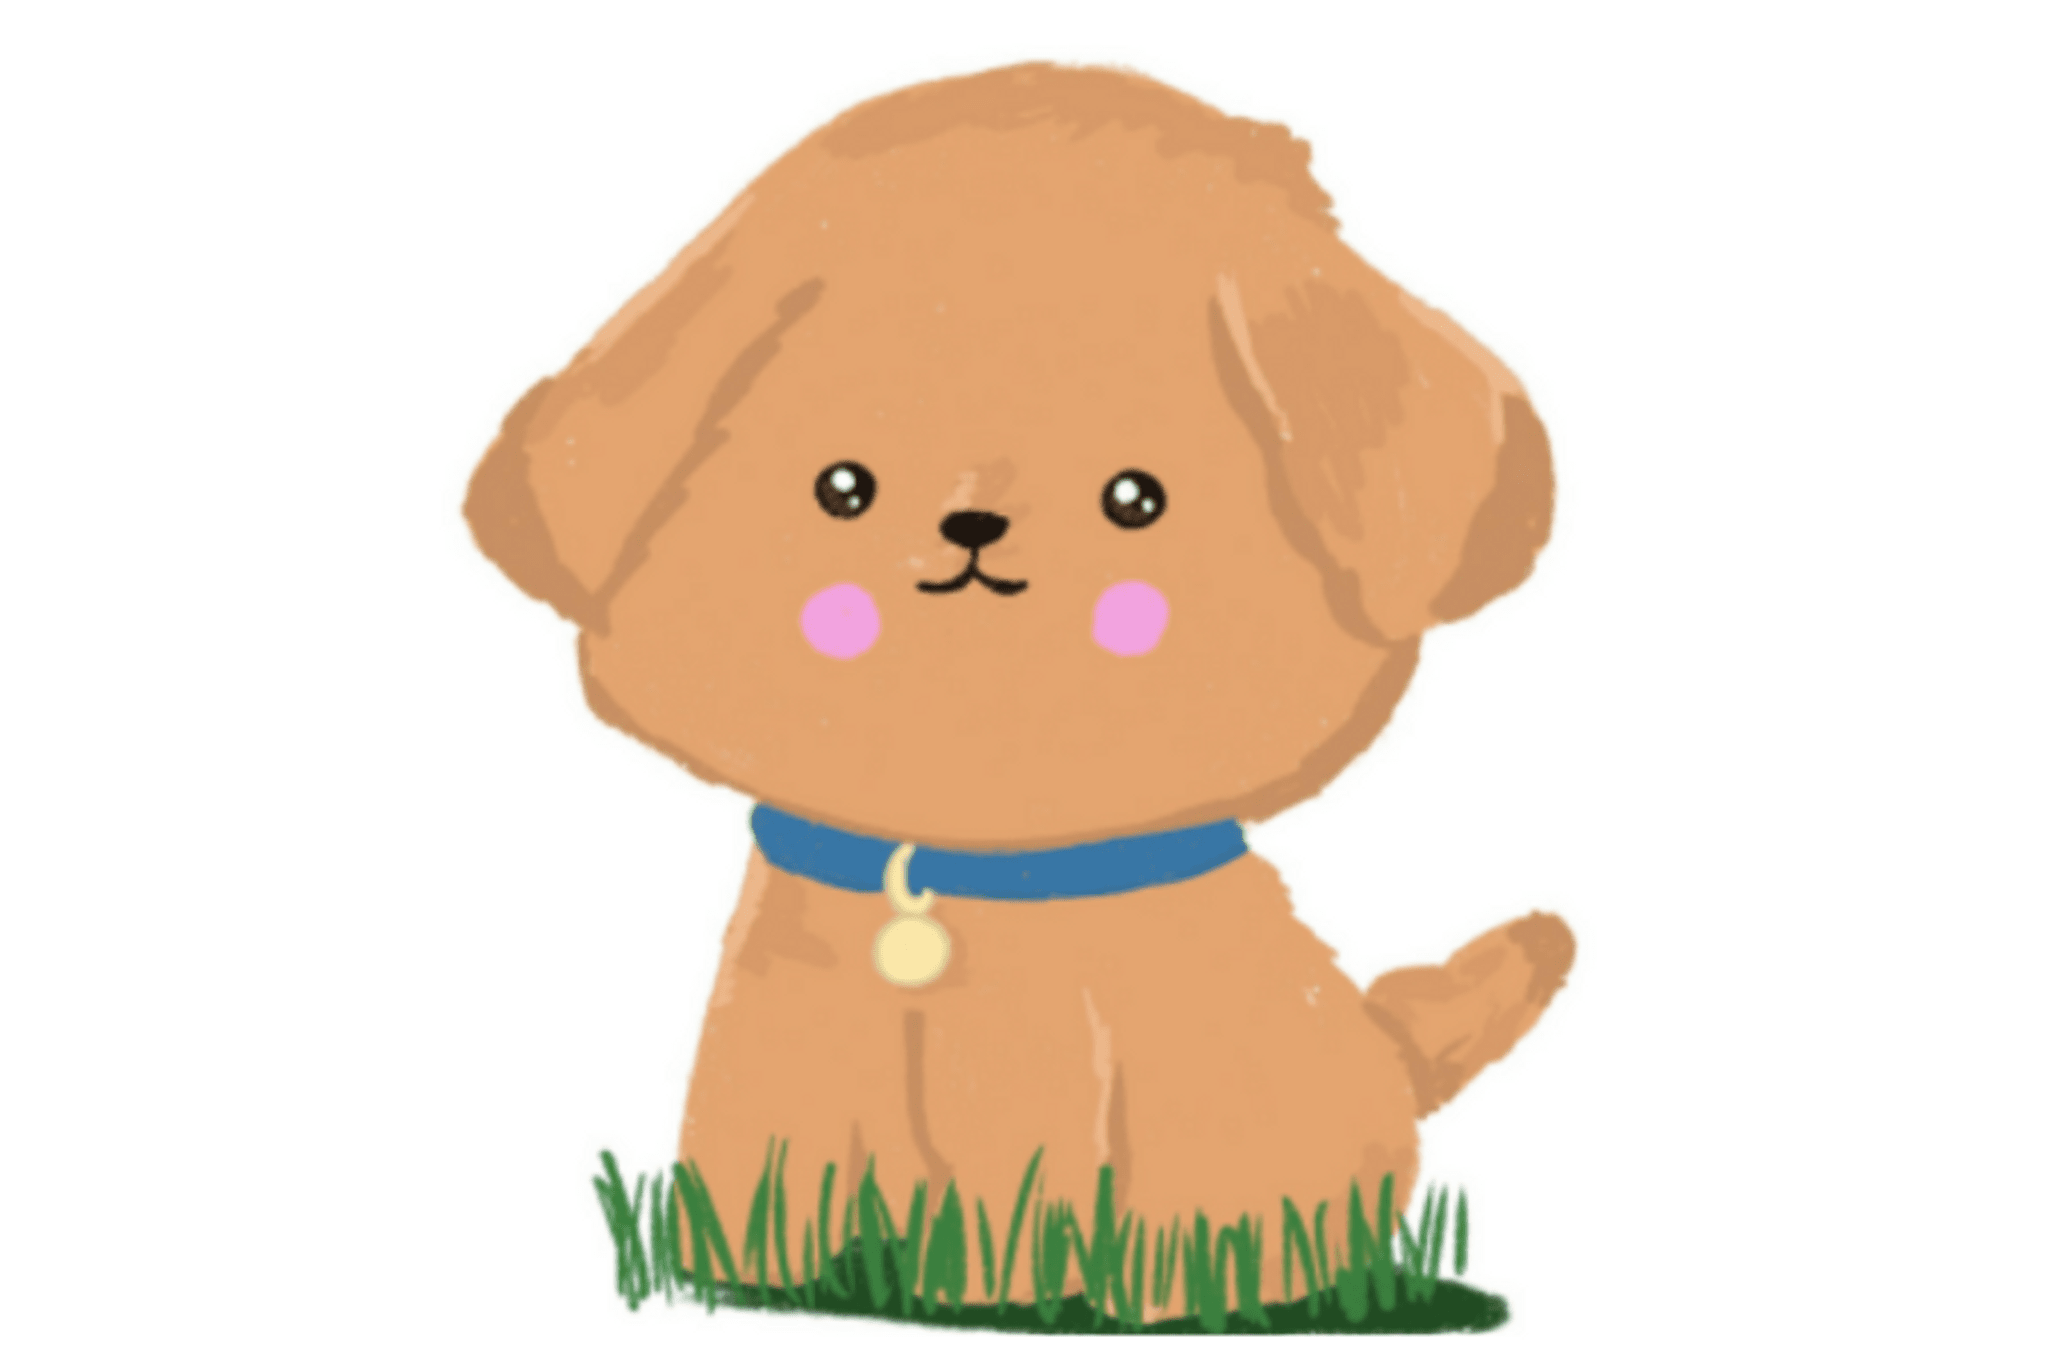
Import your reference puppy image onto a background layer so you can look at it while you draw.
Step 6
Turn on Onion Skinning in the Animation Assist settings to see faint ghost images of other frames while you draw.
Step 7
Select Frame 1 in the timeline and sketch the puppy’s basic pose using a light pencil brush.
Step 8
Select Frames 2–6 one at a time and make small changes to the tail and eyes so the motion progresses across the frames.
Step 9
Press Play in the Animation Assist timeline to preview the animation and note any frames you want to fix.
Step 10
Use an inking brush to draw clean line art over the sketches on every frame.
Step 11
Create color layers under the line art and paint flat colors for the puppy on each frame.
Step 12
Tap Actions > Share > Animated GIF then choose looping and export settings and save your looping GIF.
Step 13
Share your finished puppy GIF on DIY.org.
Help!?
What can we use if we don't have the reference puppy photo or the exact inking brush listed?
If you don't have the reference puppy image, photograph a toy dog or download a royalty-free pup to import onto a background layer, and if you lack Procreate's inking brush use any hard round or ink-style brush in your app to do the clean line art.
My animation looks jumpy when I press Play — what should I check or fix?
Check that Animation Assist > Settings is set to 8 FPS, turn on Onion Skinning to align motion between frames, and either add more frames by tapping '+' or make smaller incremental changes to the tail and eyes across frames 2–6 to smooth the motion.
How can we adapt the project for younger children or make it more challenging for older kids?
For younger kids use a 3-frame timeline with simple shape sketches on Frame 1 and big, bold color layers under the line art, while older kids can increase to 8–12 frames, refine inking strokes, add shading on separate color layers, and fine-tune motion with Onion Skinning.
What are some easy ways to personalize or improve the puppy GIF before exporting?
Add a collar or toy on its own layer, create background movement on separate color layers under the line art, experiment with different FPS in Animation Assist, then use Actions > Share > Animated GIF and choose looping settings to export your final personalized GIF.
Watch videos on how to Create An Adorable Puppy GIF In Procreate
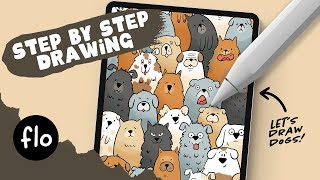
You Can Draw This Cute Puppy in PROCREATE - Step by Step Procreate Tutorial
3 Videos
You Can Draw This Cute Puppy in PROCREATE - Step by Step Procreate Tutorial
Fill Your Screen with Cute Dogs - Easy & Fun Drawing in Procreate!

How to Draw a Cute Dog in Procreate 🐶 | Digital Art Tutorial #procreatetimelapse
Facts about digital art and animation for kids
🎨 Procreate was first released in 2011 and now millions of artists use it to sketch, paint, and even animate on iPad.
🖼️ GIFs (Graphics Interchange Format) can include multiple frames to animate and support up to 256 colors per frame.
⏱️ Simple looping GIFs often look great at low frame rates like 6–12 frames per second — perfect for beginner animators.
👻 Onion-skinning (called Animation Assist in Procreate) shows faint images of other frames so you can draw smooth motion.
🐾 Tiny details like a wagging tail, ear flop, or blink — just a few extra frames — make a puppy GIF feel alive.
How do I make an adorable puppy GIF in Procreate?
What materials and tools do I need to draw and animate a puppy in Procreate?
What ages is creating a puppy GIF in Procreate suitable for?
What are the benefits of making a puppy GIF in Procreate?
