Create a spider diagram for an animation
Create a spider diagram to plan a short animation, organizing characters, scenes, actions, and timing using paper, pens, and simple sketches to guide production.


Step-by-step guide to create a spider diagram for an animation
Step 1
Gather your paper pencil eraser ruler colouring materials and sticky notes and place them on a clear table so you can work comfortably.
Step 2
Write the title of your animation in the middle of the paper and draw a circle around it to make the central idea node.
Step 3
Draw four thick branches coming out from the center and label them Characters Scenes Actions Timing so each topic has its own space.
Step 4
On the Characters branch draw a small thumbnail sketch for each character to show how they look.
Step 5
Next to each character sketch write one short sentence that explains who they are or what they do in the story.
Step 6
On the Scenes branch draw a box for each scene and label them Scene 1 Scene 2 etc to set the sequence.
Step 7
On the Actions branch write one short action bullet for each scene that says what happens in that scene.
Step 8
On the Timing branch estimate how many seconds each scene will last and write the number next to the matching scene.
Step 9
Use different colours for Characters Scenes Actions and Timing so each branch is easy to read and stands out.
Step 10
Add arrows or lines to link characters to the scenes and actions where they appear so you can see who does what.
Step 11
Draw 1 or 2 tiny keyframe sketches for the most important scenes to show how the motion should look.
Step 12
Check your spider diagram make any small fixes to actions or timing and then share your finished creation on DIY.org
Help!?
What can we use if we don't have sticky notes, a ruler, or colouring materials from the instructions?
Tear small pieces of scrap paper and tape them to the page instead of sticky notes, use a book or box edge as a straightedge in place of a ruler, and substitute markers, crayons, coloured pencils, or magazine colour swatches for colouring materials.
My branches and links look messy and I can't tell which character is in which scene—how can I fix that?
Redraw the four thick branches with different coloured markers as the instructions say, place character names or sketches on movable sticky notes to rearrange before finalizing, and use a ruler to draw clear arrows or lines linking characters to the scene boxes and actions.
How can I change the activity for younger kids or make it harder for older kids?
For younger children simplify to two branches (Characters and Scenes), use pre-drawn thumbnail stickers and one-word action sticky notes, while older kids should keep all four branches, add seconds on the Timing branch, include 1–2 tiny keyframe sketches, and add frame counts or camera-angle notes.
How can we extend or personalize the spider diagram project after finishing the page?
Turn the diagram into a simple animatic by photographing each scene box in order, using the Timing numbers as frame durations and recording a short narration or sound effects before sharing the finished animatic on DIY.org.
Watch videos on how to create a spider diagram for an animation
How to Create Animated Educational Video for Kids - Full Tutorial 🎨📚
4 Videos
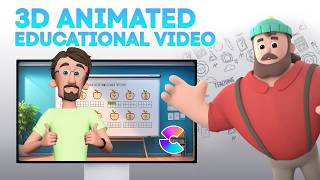
How to Create Animated Educational Video for Kids - Full Tutorial 🎨📚

How to animate for beginners? (Easiest method!)

🎬 How to Create a 3D Animated Video for Kids Using Just ONE App! (No Watermark!) 🎨✨
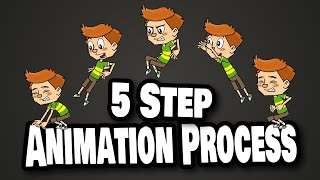
5 Step Animation Process - For beginners
Facts about storyboarding and animation planning
🕸️ Spider diagrams (mind maps) help you connect ideas visually — Tony Buzan popularized mind mapping in the 1970s.
🎬 Storyboards were developed at Walt Disney in the early 1930s as a way to plan animated sequences before drawing every frame.
✏️ Animators often start with tiny thumbnail sketches to quickly try camera angles and action without wasting time on details.
⏱️ Traditional film and many animations run at 24 frames per second, so a 10-second scene has about 240 frames to consider.
🎞️ An animatic (a filmed storyboard with sound) is a fast way to test pacing and timing before full animation work begins.
How do I create a spider diagram to plan a short animation?
What materials do I need to make a spider diagram for an animation?
What ages is this activity suitable for?
What are the benefits of using a spider diagram to plan an animation?
