Create a ramp with a loop
Build a safe toy car ramp with a cardboard loop using tape and supports. Test different heights and materials to explore speed and force.


Step-by-step guide to create a ramp with a loop
HOW TO BUILD a Homemade JUMP RAMP w/ Perfect Launch!!! // Building DIY RC Car JUMPS Tutorial
Step 1
Gather all your materials and set them on a clear floor or table.
Step 2
Ask an adult to help cut a long ramp strip from the large cardboard so it is straight and smooth.
Step 3
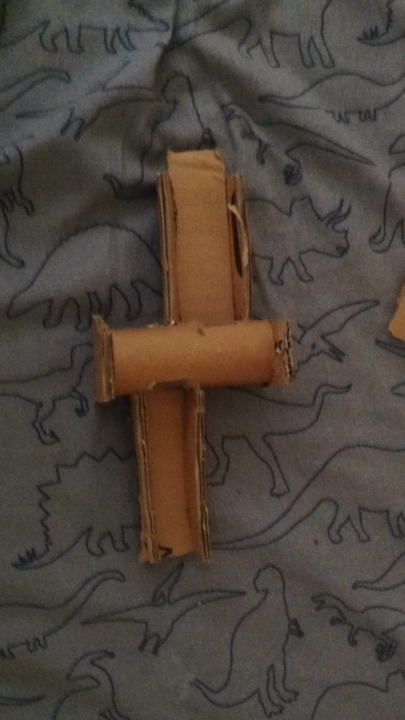
Cut an extra cardboard strip about the same width as the ramp to use as a loop form.
Step 4
Bend the extra strip into a circle the car can fit through and tape the seam to make a sturdy loop.
Step 5
Cut a short curved transition piece from cardboard to connect the ramp end to the bottom of the loop.
Step 6
Tape the transition piece firmly to the end of the ramp so the car will move smoothly into the loop.
Step 7
Stand the loop upright and tape its bottom to the transition and to a flat base so the loop cannot wobble.
Step 8
Add tape or folded cardboard along the ramp edges to make guardrails so the car stays on track.
Step 9
Place books or boxes under the top of the ramp to set your first starting height and tape the ramp to the supports so it is stable.
Step 10
Ask an adult to check the loop and supports for safety and tightness before you test.
Step 11
Put the car at the top of the ramp and release it without pushing so you can see if it completes the loop; record the height with the ruler.
Step 12
Change one thing at a time: raise the ramp height or swap the ramp surface with aluminum foil sandpaper or felt and run the car again to explore how speed and force change.
Step 13
Try at least three different heights and two different surfaces and write down which combos made the car complete the loop best.
Step 14
Share a photo and a short note about your finished ramp and what you learned on DIY.org
Final steps
You're almost there! Complete all the steps, bring your creation to life, post it, and conquer the challenge!


Help!?
What can we use if we don't have large cardboard, a toy car, or sandpaper mentioned in the instructions?
Substitute the large cardboard ramp with flattened moving boxes or a thin wooden plank, use a marble or a taped bottle cap as the car, and replace sandpaper with coarse grip tape or carpet samples while keeping the loop form and transition piece the same.
What should we do if the car keeps falling off the ramp or the loop wobbles during the test?
Firmly add tape or folded-cardboard guardrails along the ramp edges, reinforce the loop seam and its bottom with extra tape and a folded cardboard brace, and retape the transition piece to the ramp so the car enters the loop smoothly.
How can I adapt this ramp-and-loop activity for younger or older children?
For younger kids have an adult pre-cut the ramp, loop, and transition and let them tape and test with a durable car, while older children can design different loop diameters, swap ramp surfaces as in the instructions, and rigorously record results for three heights and two surfaces.
What are easy ways to extend or personalize the ramp and loop project once it works?
Decorate the cardboard, use a stopwatch or smartphone video to time runs and calculate speed, add a second loop or a jump by cutting another transition piece, and compare the height-and-surface combinations from the instructions to see which wins most often.
Watch videos on how to create a ramp with a loop
DIY How to make a car track with a loop
3 Videos
DIY How to make a car track with a loop
Cardboard car ramp. DIY children's toys
Make a Quick Cardboard Ramp
Facts about motion and forces for kids
🎢 Real roller coaster loops are teardrop-shaped (not perfect circles) so riders don't feel extreme G-forces.
📦 Corrugated cardboard was first used for packaging in the 19th century and is strong because of its fluted inner layer.
⚖️ An inclined plane (a ramp) makes lifting easier: a gentler slope needs less push but a longer distance.
⚡ Kinetic energy increases with the square of speed — if a toy car goes twice as fast, it has four times the energy!
🛠️ Triangle-shaped supports are very stable, so bracing your loop with triangles helps prevent wobble.
How do I build a cardboard loop ramp for toy cars?
What materials do I need to make a safe toy car loop ramp?
What ages is this cardboard loop ramp suitable for?
What are the safety tips and learning benefits of a toy car loop ramp?


