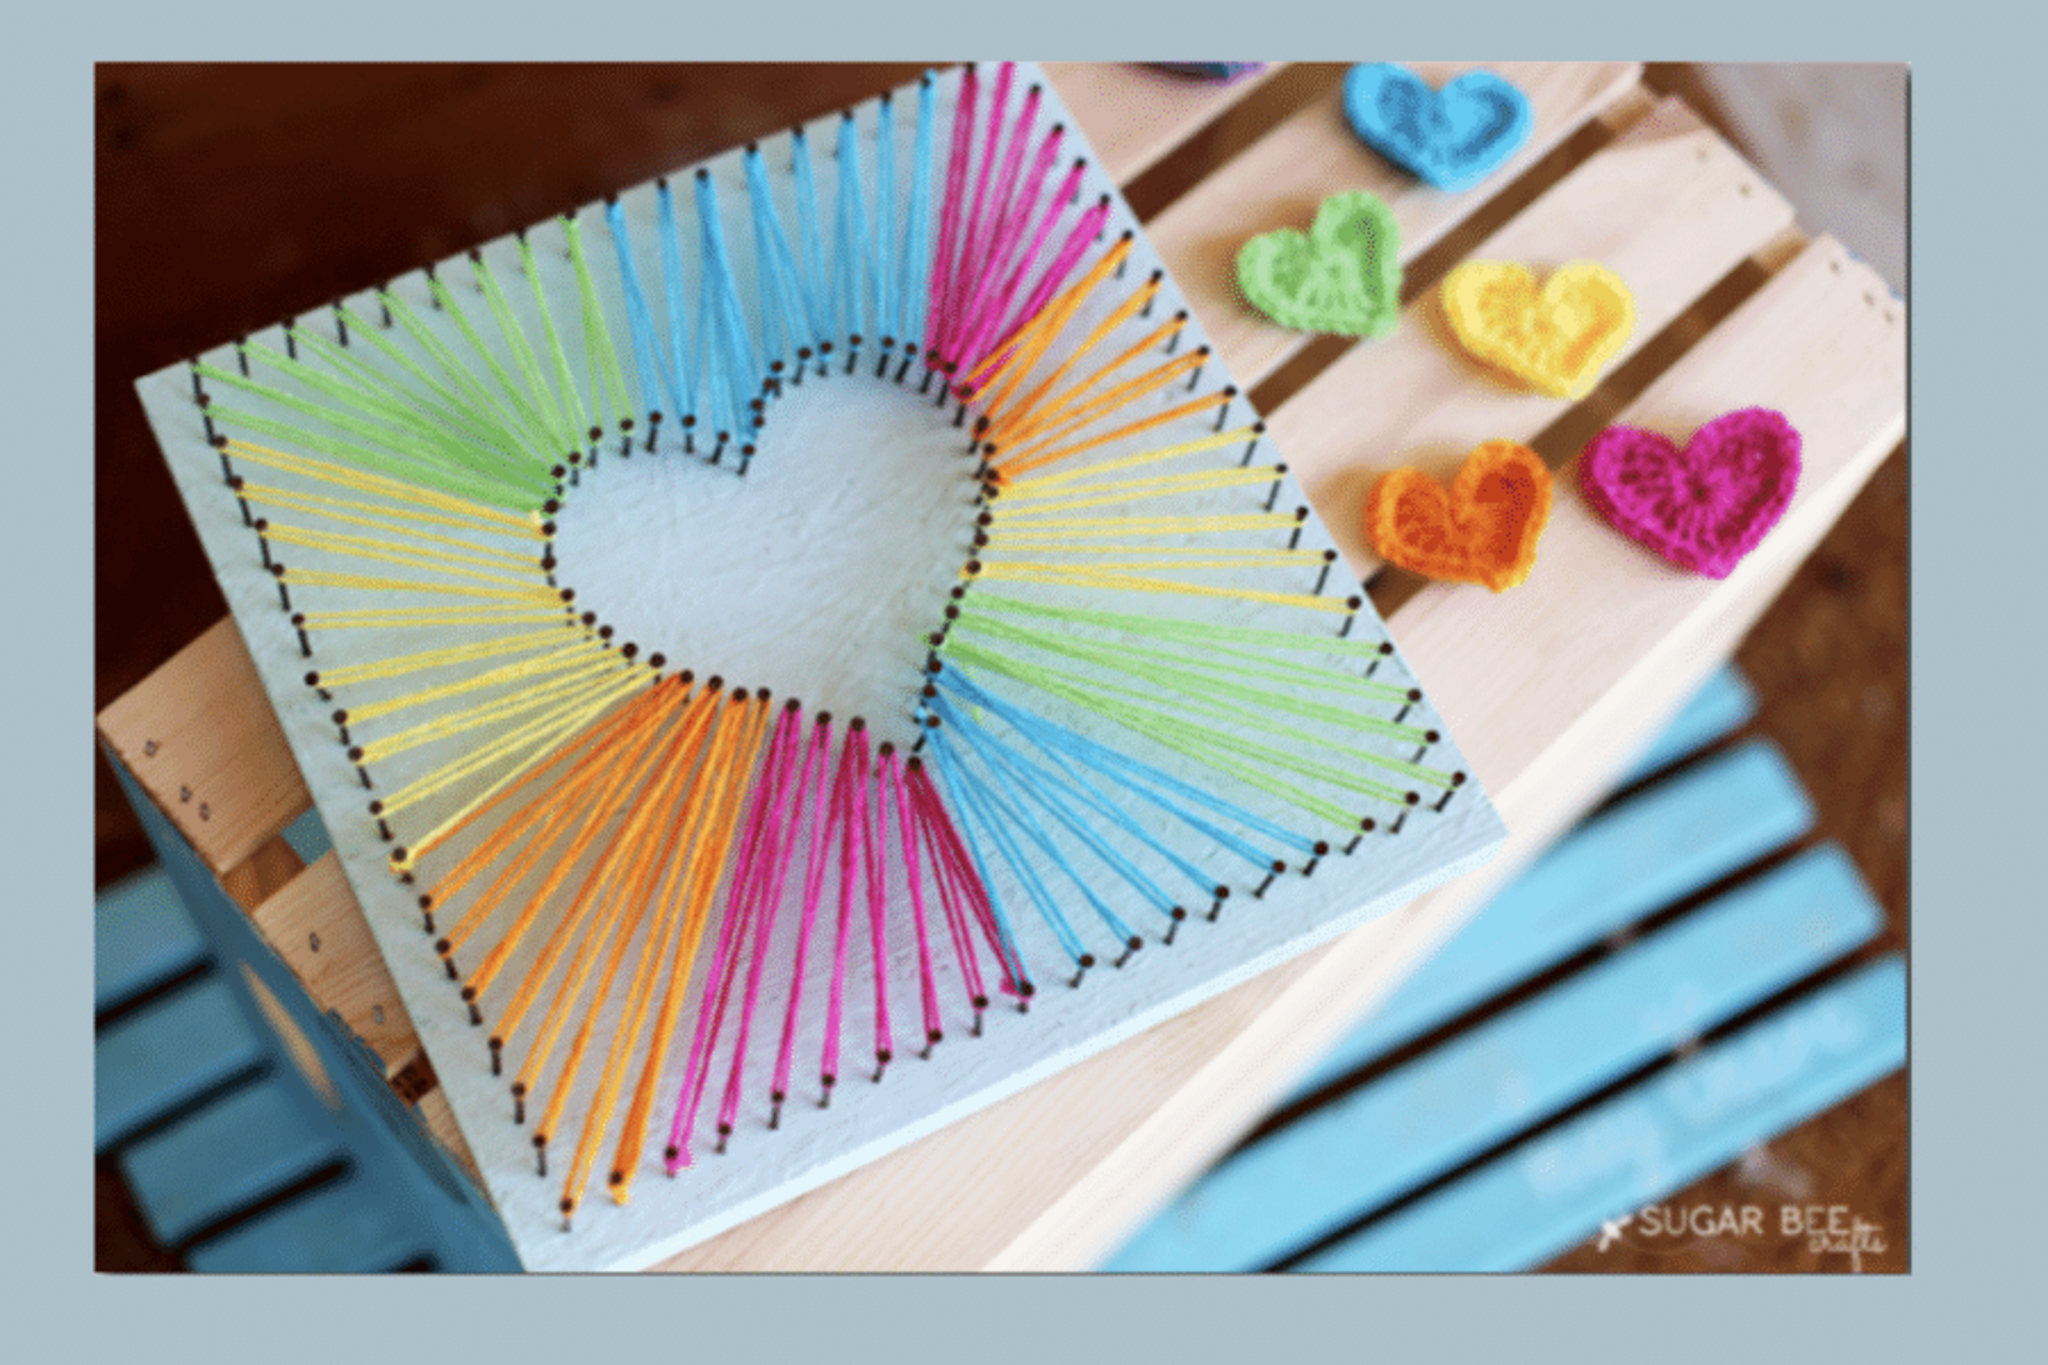
Create A Rainbow Heart String Art
Create a rainbow heart string art with adult help by hammering nails into a board, then wrapping colorful thread to make patterned designs.


Step-by-step guide to create a rainbow heart string art
String Art for beginners - Heart - step by step DIY tutorial
Step 1
Choose a flat table and place the wooden board on it so you have lots of room to work.
Step 2
Put the paper heart template on the board and tape the edges down so the paper cannot move.
Step 3
Use the pencil and ruler to mark evenly spaced dots about 1 centimeter apart along the heart outline.
Step 4
With adult help hold the board steady and hammer the first nail into one dot leaving about 5 to 10 millimeters of the nail head above the board.
Step 5
With adult help hammer a nail into each marked dot until the whole heart outline is lined with nails.
Step 6
Carefully tear away the paper template so only the nails remain in the wooden board.
Step 7
Tie a double knot of your first color thread around one nail to start and leave a short tail.
Step 8
Stretch the thread across the heart to a nail on the opposite side and loop the thread around that nail once.
Step 9
Continue wrapping the same color by choosing different nails and looping the thread to make a pattern until that color fills part of the heart.
Step 10
Cut the first thread and tie the next color to a nearby nail with a double knot to start the next color band.
Step 11
Repeat wrapping with each new color to build a rainbow from one side of the heart to the other.
Step 12
Tie a secure knot with the final color and trim any extra thread tails close to the knot.
Step 13
Remove any tape and tidy your workspace by putting away nails scissors and leftover thread.
Step 14
Take a photo of your rainbow heart string art and share your finished creation on DIY.org
Help!?
What can we use instead of a wooden board, nails, or thin thread if we can't find them?
If you don't have a wooden board or nails use a thick piece of cardboard or foam board with pushpins or thumbtacks and yarn or embroidery floss instead of thin thread when following the same marking and wrapping steps.
What should we do if the nails bend, sink too far, or the paper template rips when tearing it away?
If nails bend or sink while hammering, have an adult pre-drill small pilot holes or use a thicker board and hammer gently holding the nail with pliers, and if the paper template rips when tearing away, carefully cut it along the nails with scissors or a craft knife.
How can we adapt the activity for younger kids or make it more challenging for older children?
For younger children, have an adult pre-hammer the nails and swap thin thread for bulky yarn or pipe cleaners and larger spacing, while older kids can measure 1 cm spacing precisely, use thinner embroidery thread, and create tighter geometric string patterns across the nails.
How can we extend or personalize the rainbow heart string art after finishing the basic project?
To personalize and extend the project, paint or stain the wooden board beforehand, add beads or sequins to the thread as you wrap, varnish the finished piece, or mount LED fairy lights around the heart and then take the photo to share your unique design on DIY.org.
Watch videos on how to create a rainbow heart string art
String Art Heart Tutorial for Kid's Kit
3 Videos
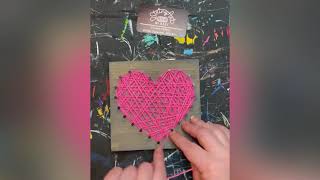
String Art Heart Tutorial for Kid's Kit

DIY Rainbow String Art Tutorial
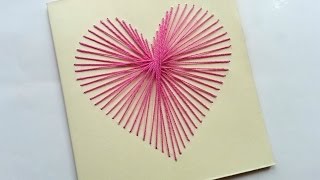
How To Create a Beautiful String Art Heart Card - DIY Crafts Tutorial - Guidecentral
Facts about string art and basic woodworking for kids
🎨 String art started as "curve stitching" used by Mary Everest Boole in the 1800s to teach math, and it became a popular craft in the 1960s.
❤️ The stylized heart shape we draw in art first appeared in medieval times and doesn't look like a real human heart.
🌈 A rainbow is actually a full circle — we usually see only the arc because the ground blocks the rest of the circle.
🔨 The modern claw hammer was developed in the 19th century and makes driving and pulling nails much easier (always use adult supervision!).
🧵 Embroidery floss typically has six strands you can separate to make thinner threads for delicate string patterns.
How do you make a rainbow heart string art?
What materials do I need to make a rainbow heart string art?
What ages is rainbow heart string art suitable for?
What are the benefits and safety tips for rainbow heart string art?
