Create A Quilling Sensation
Make colorful quilled paper shapes by rolling and shaping strips, then assemble them into a decorative card or picture to learn fine motor skills.

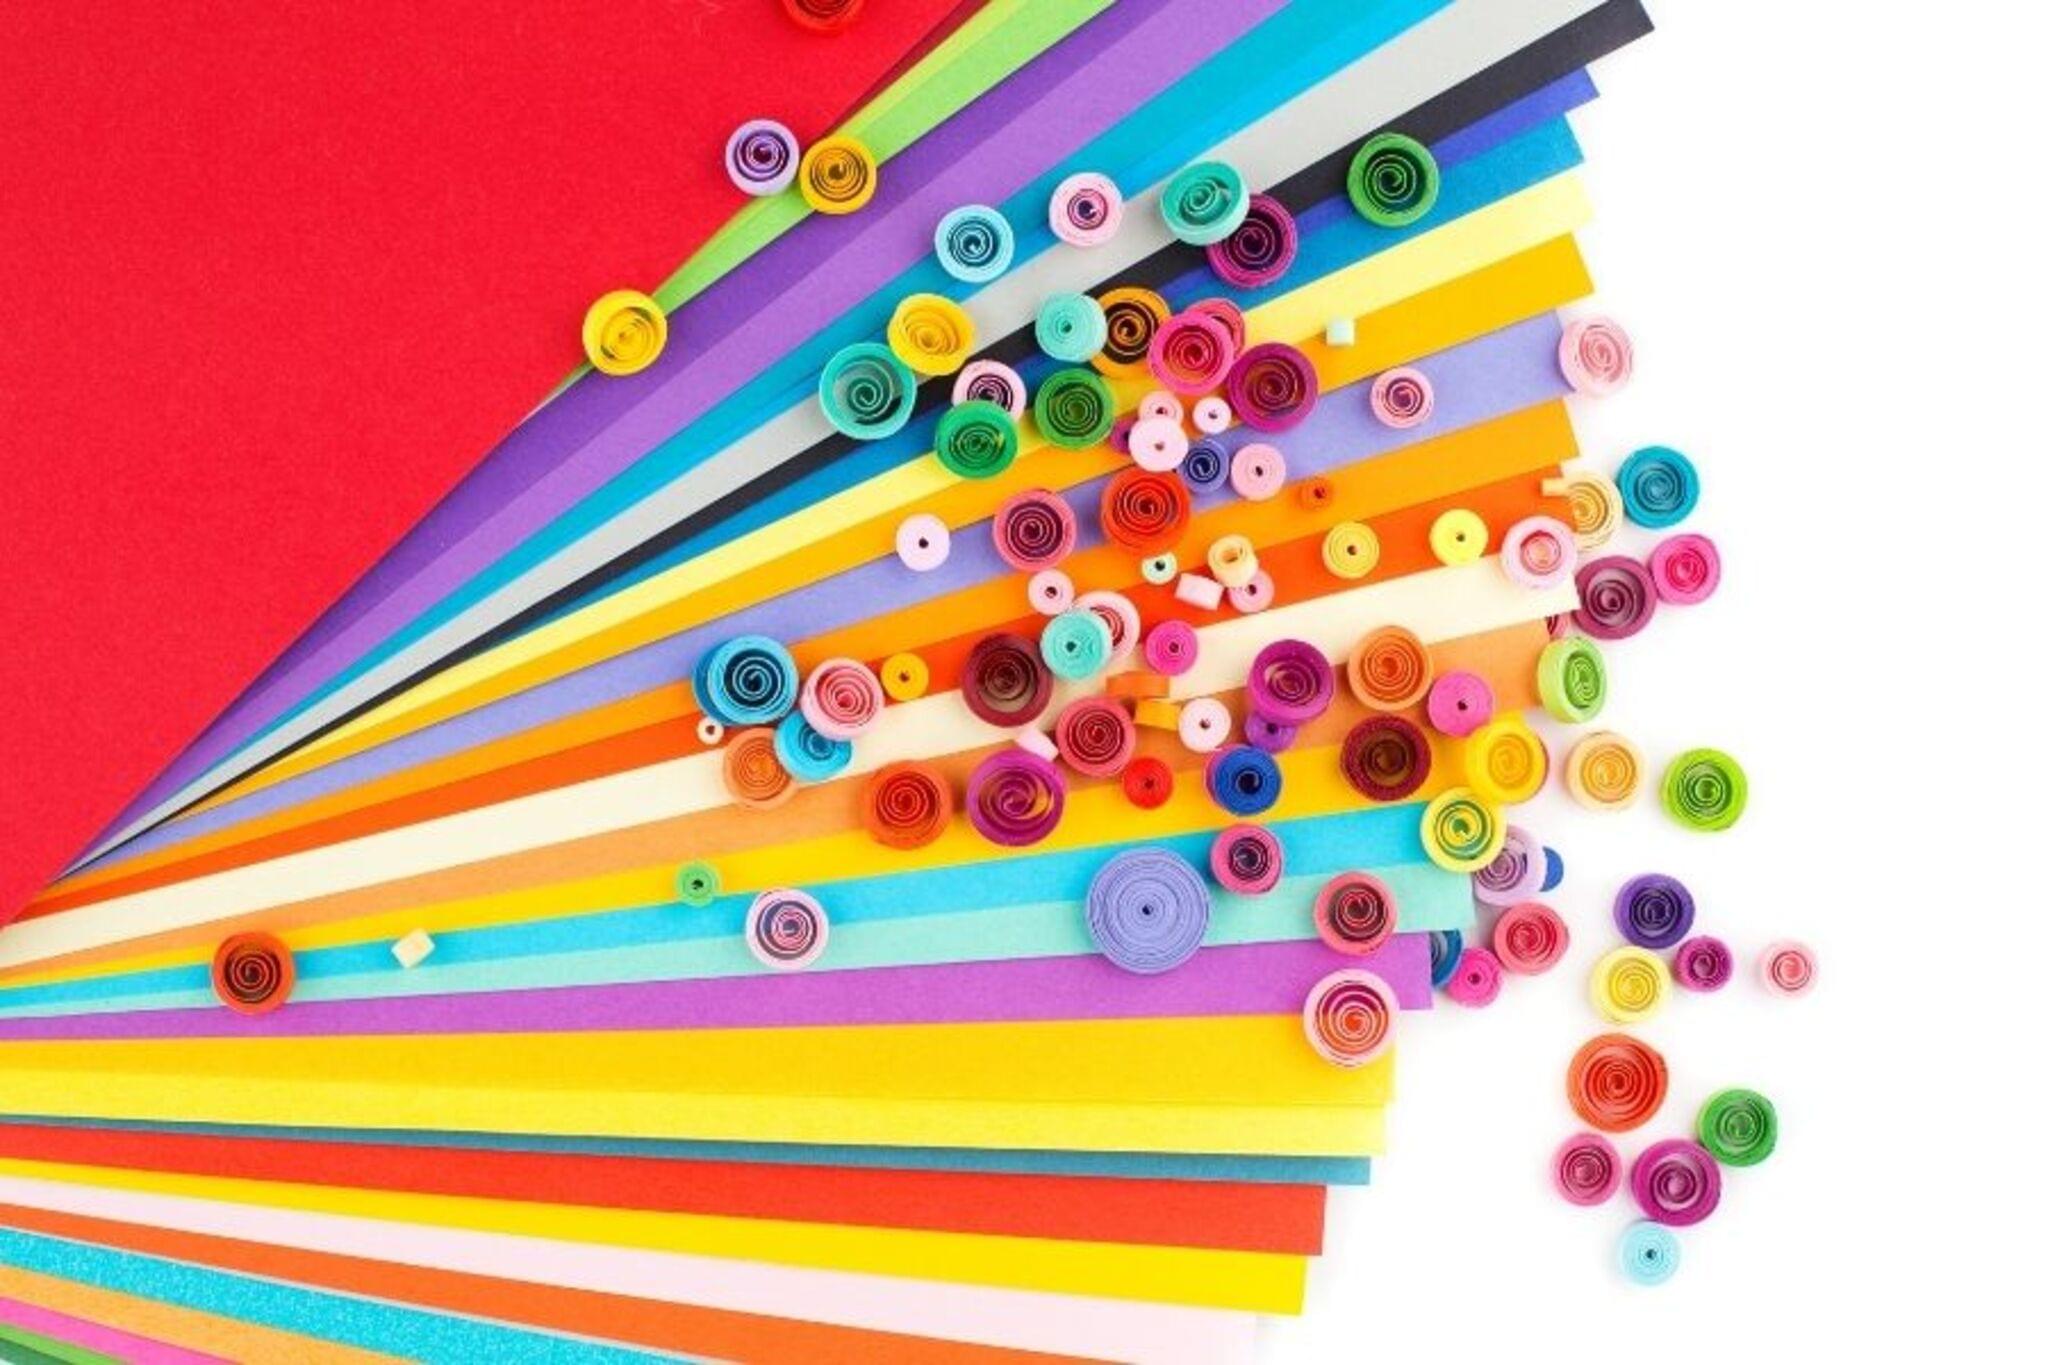

Step-by-step guide to Create A Quilling Sensation
35 Paper Quilling Shapes: Art & Craft Tutorials by HandiWorks
Step 1
Pick 3 to 5 bright colored paper sheets and one blank card to decorate.
Step 2
Use the ruler and pencil to draw straight lines about 1 centimeter apart on the back of a colored paper sheet.
Step 3
Cut along the pencil lines to make long paper strips about 1 centimeter wide.
Step 4
Hold one strip and wrap one end tightly around the toothpick or quilling tool to start a tight coil.
Step 5
Slide the tight coil carefully off the tool.
Step 6
Let the coil relax slightly so it opens into a loose circle.
Step 7
Secure the coil by putting a tiny dot of glue on the loose end to stick it closed.
Step 8
Pinch the glued coil on one side to make a teardrop shape or pinch both sides to make an eye shape.
Step 9
Repeat Steps 4 to 8 to make at least twelve quilled shapes in different colors.
Step 10
Arrange your quilled shapes on the blank card to plan your design without using glue.
Step 11
Glue each quilled shape onto the card to fix your planned design.
Step 12
Add finishing details or a greeting with markers or crayons.
Step 13
Let the card dry completely so all pieces stay in place.
Step 14
Share your finished quilling creation on DIY.org.
Help!?
What can we use if we don't have a quilling tool, toothpick, or a blank card?
If you don't have a quilling tool or toothpick for Step 4, use a sewing needle, thin paintbrush handle, or a knitting needle to start tight coils, and substitute a folded sheet of construction paper or a printer paper card for the blank card in Step 1.
My strips keep tearing or my coils keep unwrapping — how can I fix that?
To prevent tearing when making 1 cm strips in Steps 2–3, use a ruler as a cutting guide and sharp scissors or a paper trimmer, and if coils unravel after sliding off in Steps 4–6, hold them gently, let them relax slightly, then secure the loose end immediately with a tiny dot of glue from Step 6.
How can I adapt this project for much younger kids or for older kids who want a challenge?
For younger children have an adult pre-measure and pre-cut the 1 cm strips (Steps 2–3) and let them make simple teardrop shapes and glue them (Steps 7–10), while older kids can cut thinner strips, make more than twelve shapes, try tighter coils and complex arrangements (Steps 3–9, 11).
What are some ways to enhance or personalize the finished quilled card?
Enhance the card by mixing teardrop and eye shapes into layered flowers or animals, use metallic or patterned paper for some strips (Step 1–9), add stacked coils for dimension when gluing in Step 11, and finish with a handwritten greeting from Step 12 before sharing on DIY.org (Step 13).
Watch videos on how to Create A Quilling Sensation
How To Make Your Own Quilling Paper Strips
4 Videos

How To Make Your Own Quilling Paper Strips

How to Make Striped Flowers with Quilling Paper | Pink and Black Flowers | Quilling for Beginners

Paper Quilling for Beginners | Paper Crafts

Paper Quilling Animal Bookmarks | Quilling Turtle, Fish, Pig, Owl and Snail | Quilling animals
Facts about paper crafts for kids
🎨 Quilling (paper filigree) has roots going back to the Renaissance when rolled paper decorated religious items and small boxes.
🌀 Quillers use many named shapes—like tight coils, teardrops, marquises, and scrolls—to build complex designs from simple rolls.
✂️ Common quilling strips are about 3–7 mm wide (1/8–1/4 inch); longer strips let you make larger, more dramatic shapes.
🧠 Rolling, pinching, and gluing tiny paper strips is excellent practice for kids' fine motor skills and hand–eye coordination.
💌 A simple quilled card can take ~20 minutes, while detailed quilled pictures can take several hours—perfect for different attention spans.
How do you make quilled paper shapes and assemble them into a decorative card?
What materials do I need for a quilling activity for kids?
What ages is quilling suitable for children?
What are the benefits of quilling for children's development?
