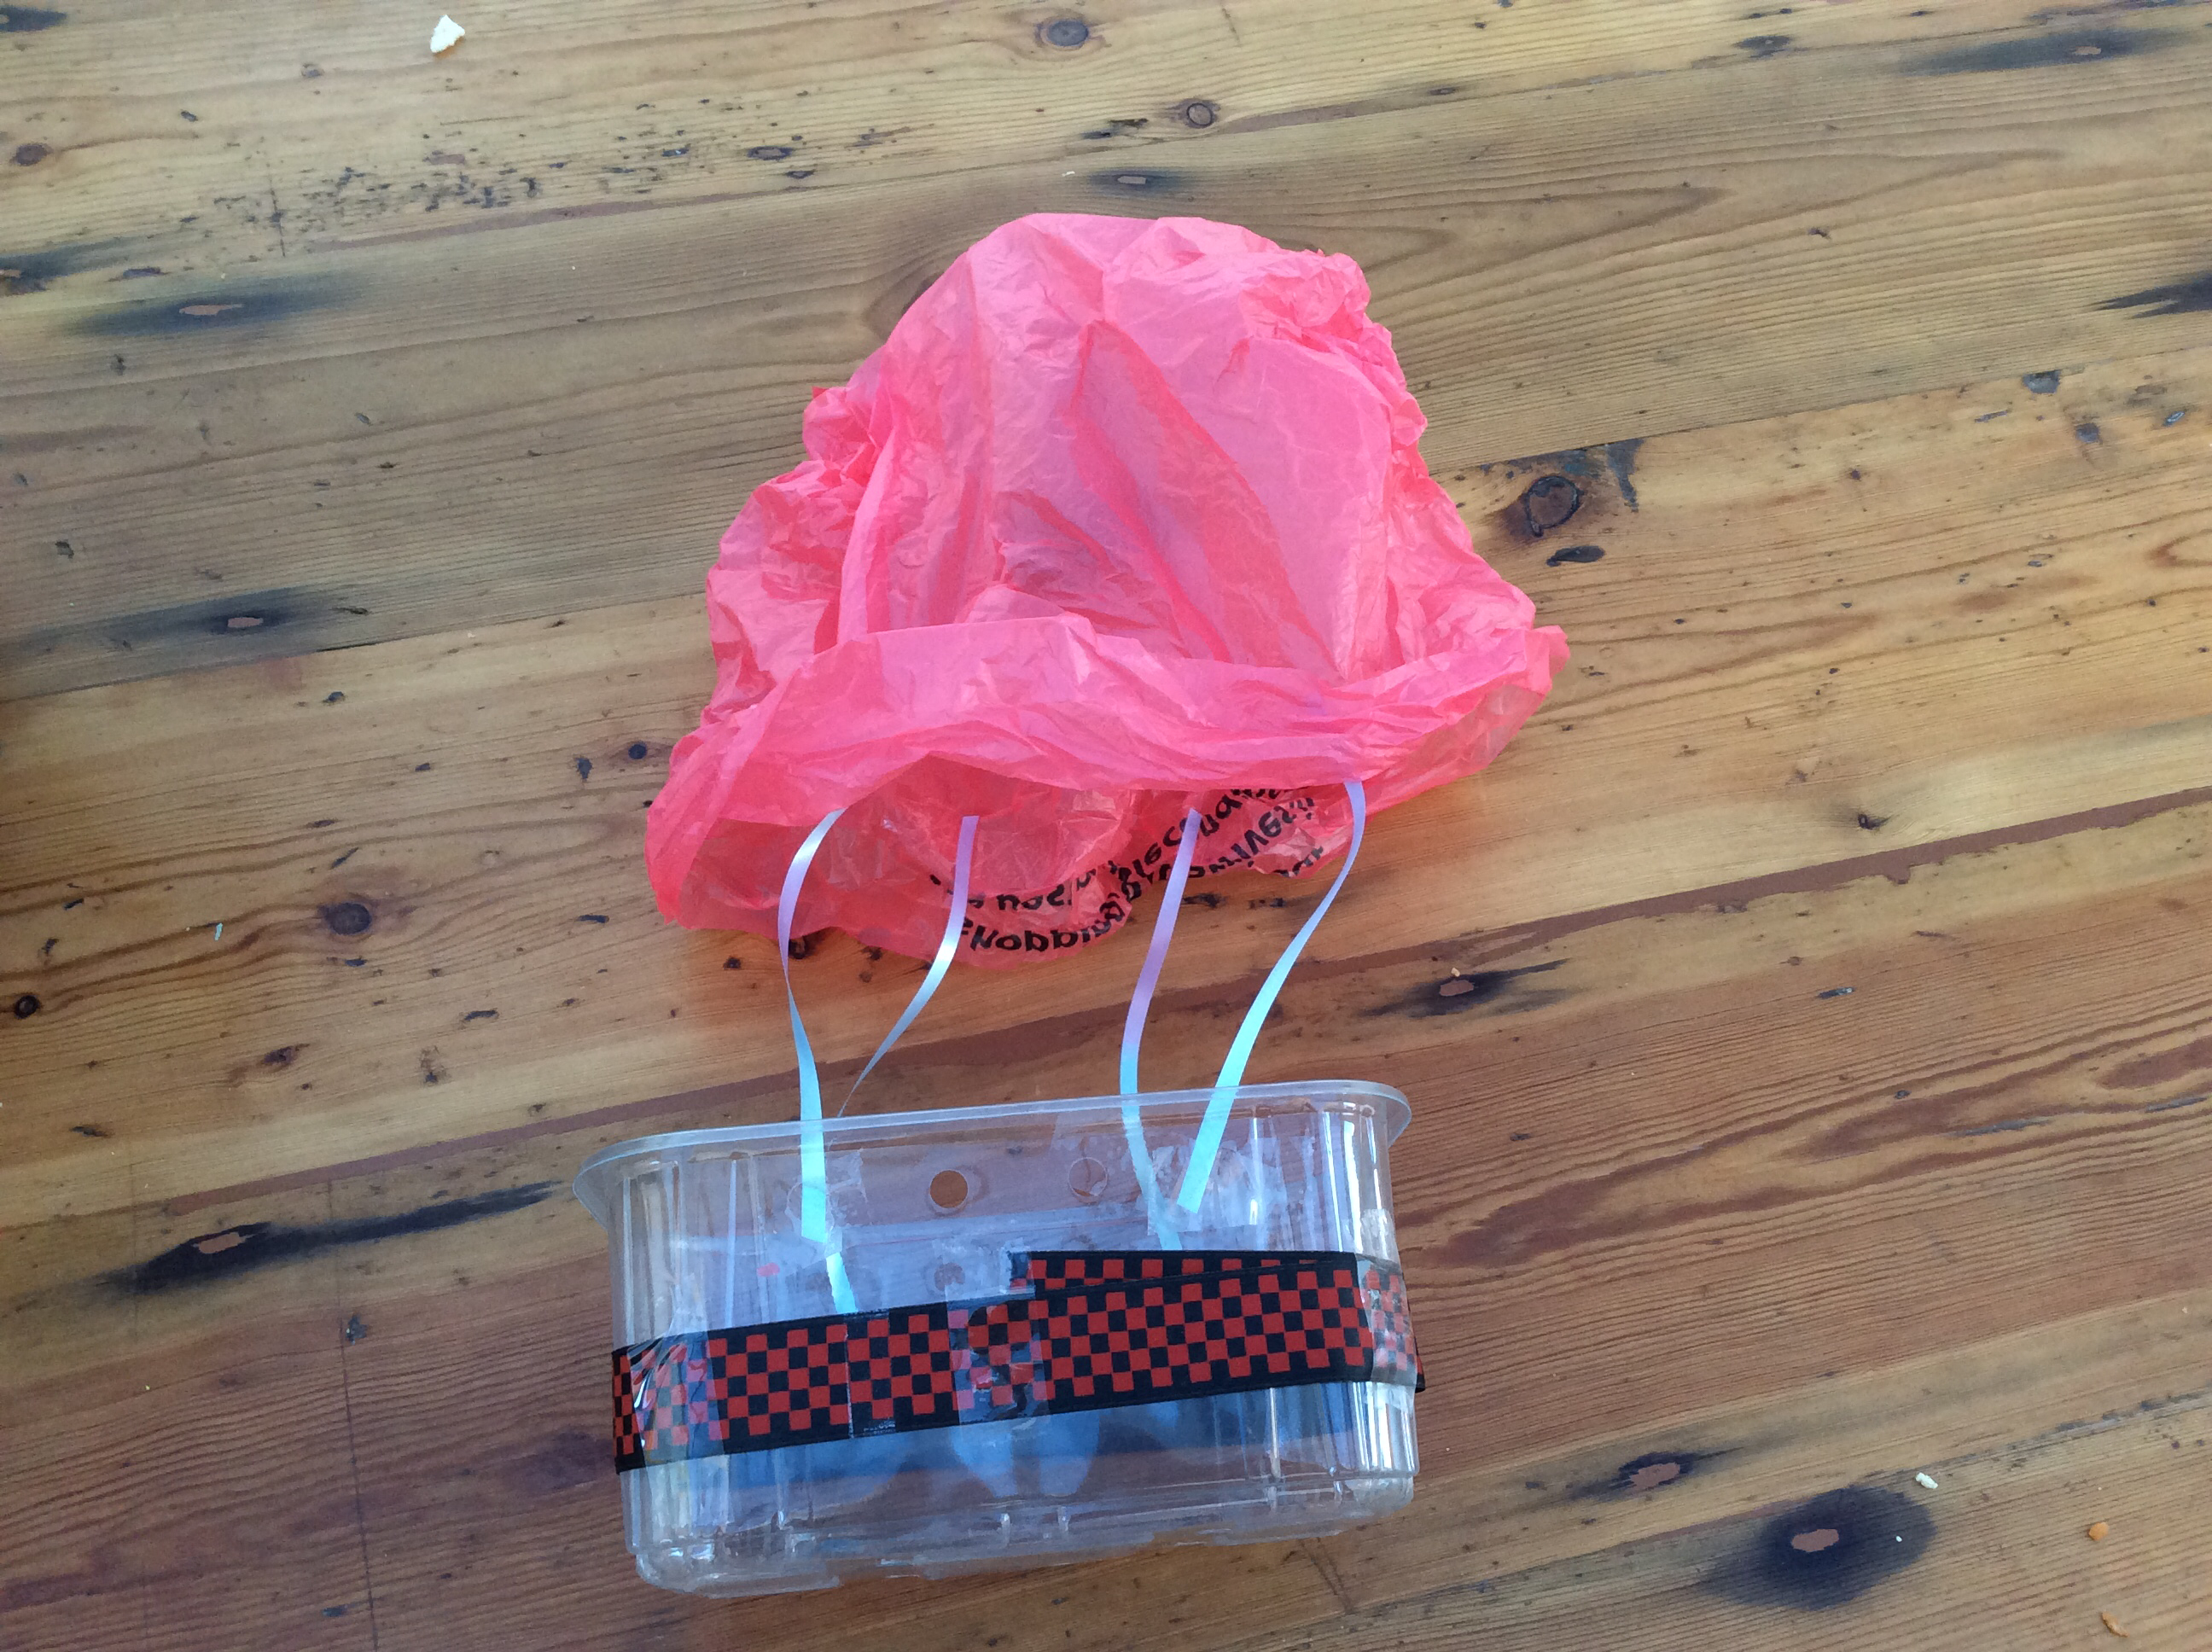
Create a parachute
Make a small parachute using a plastic bag, string, and a toy figure. Test drops to learn about air resistance and design.

Step-by-step guide to make a toy parachute
Step 1
Gather all materials on a clear table so everything is easy to reach.
Step 2
Turn the plastic bag into a flat sheet by cutting along one side and the bottom so it lies open and flat.
Step 3
Cut a square about 25 cm (10 in) on each side from the flat sheet to make the parachute canopy.
Step 4
Cut four equal lengths of string about 30 cm (12 in) long for the parachute cords.
Step 5
Make a small hole at each corner of the square canopy using the hole punch or the tip of the scissors with adult help.
Step 6
Tie one end of a string through each corner hole using a tight knot so the cord is secure.
Step 7
Gather the four loose string ends together and tie them in one strong knot so they form a single harness loop.
Step 8
Attach the toy to the harness loop by tying the knot around the toy or taping the loop securely to the toy.
Step 9
Find a safe place about 1.5 to 2 meters high with an adult present to do your test drops.
Step 10
Drop the parachute from that height while an adult watches and watch how it falls.
Step 11
Time the fall by counting seconds or using a stopwatch and write down the time you measured.
Step 12
Make one change to your parachute design for a new test choose only one change shorten all strings by 5 cm or add a small bit of tape weight to the toy or cut two small vents near the canopy edge.
Step 13
Repeat the drop from the same height and time the fall again to compare results with your first test.
Step 14
Share a photo and what you learned about air resistance and design on DIY.org
Help!?
What can we use if we don't have a large plastic bag, hole punch, or string?
Cut open a garbage or grocery bag to make the 25 cm canopy, use yarn, ribbon, or thin shoelace instead of string, and poke corner holes with a pencil tip or the tip of scissors (with adult help) in place of a hole punch.
My parachute tipped or the cords pulled through the holes during the drop—how do I fix that?
If the canopy tilts or knots slip through the corner holes, reinforce each hole with a small piece of tape, make sure all four cords are equal in length and tied tightly (about 30 cm before trimming), and retest from the 1.5–2 m height.
How can I adapt this activity for different ages?
For ages 3–5 have an adult cut the 25 cm square and punch holes while the child ties the final knot with help, for 6–8 let them use scissors and punch under supervision, and for 9+ encourage independent cutting, precise timing, and experimenting with the single-design-change tests like shortening strings, adding tape weight, or cutting vents.
How can we extend or personalize the parachute experiment once we've done the basic drops?
Decorate the plastic canopy with markers, try different canopy sizes or shapes and different tape weights, record each descent time on a chart, and compare how each single change affects air resistance and fall time.
Watch videos on how to make a toy parachute
How does a Parachute Work? - Science for Kids | Educational Videos by Mocomi
4 Videos

How does a Parachute Work? - Science for Kids | Educational Videos by Mocomi

Science for Kids and Tweens: Air Resistance and Make a Parachute.

Physics | Force & Motion | DIY a Parachute! | Air Resistance & Gravity | Science Experiment for Kids

Playtime with Parachutes | Physics for Kids
Facts about aerodynamics for kids
🪂 A well-designed parachute can slow a falling person from over 120 mph to about 15 mph — that's why skydivers land safely.
💨 Air resistance (drag) increases roughly with the square of speed — go twice as fast and drag becomes about four times larger.
🛍️ A simple plastic bag makes a surprisingly effective mini parachute because its large surface area catches lots of air.
👩🔬 Small design changes — like adding more strings, changing the shape, or making the canopy larger — can noticeably change how long a toy parachute takes to fall.
⚖️ Heavier toy figures will fall faster unless you increase parachute area or drag, because terminal velocity depends on both mass and surface area.
How do I make and test a toy parachute to learn about air resistance?
What materials do I need to build a small parachute with a plastic bag and toy?
What ages is the plastic-bag parachute activity suitable for?
What are the benefits, safety tips, and variations for the parachute activity?
