Create a model sheet for your comic hero
Create a comic hero model sheet by drawing front, side, and back views, facial expressions, poses, and costume details to guide consistent art.


Step-by-step guide to create a model sheet for your comic hero
Step 1
Think of your comic hero and write three words that describe them on the top of the page.
Step 2
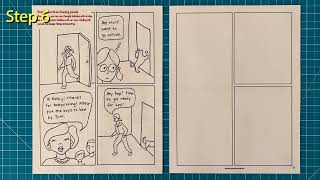
Use your ruler to divide the page into labeled boxes for Front Side Back Expressions Poses and Details.
Step 3
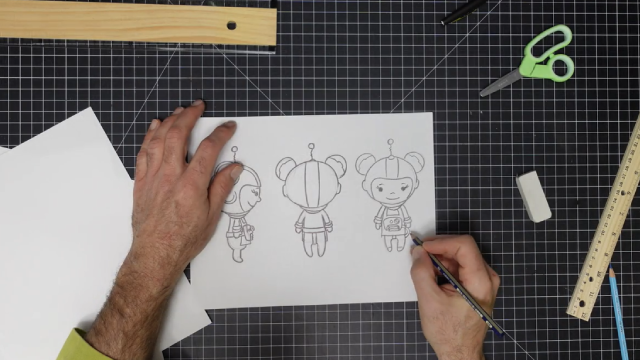
In the Front box draw light construction lines for the head chest waist and legs using simple shapes.
Step 4
Draw the full front view of your hero on top of the construction lines.
Step 5
In the Side box draw light construction lines showing the head chest and body profile.
Step 6
Draw the full side view of your hero using those profile lines.
Step 7
In the Back box draw light construction lines for the back view matching the same height as the front.
Step 8
Draw the full back view of your hero on those back construction lines.
Step 9
In the Expressions box draw at least six small head sketches showing different emotions like happy angry sad surprised brave and confused.
Step 10
In the Poses box draw three quick action poses that show how your hero moves or fights.
Step 11
In the Details box draw close-up sketches of costume parts like emblems gloves boots belts or gadgets.
Step 12
Add short labels near each drawing to note proportions costume materials and any special rules for how things should look.
Step 13
Use your black pen to ink or darken the final lines you want to keep.
Step 14
Color the full-body views and any details using your coloring materials.
Step 15
Share your finished model sheet on DIY.org.
Help!?
What can I use if I don't have a ruler or a black pen for inking?
Use the straight edge of a hardcover book or cereal box to divide the page into labeled boxes and substitute a fine-tipped dark marker or a sharpened pencil for the black pen when you ink the final lines.
My construction lines are showing through after I ink—how can I fix that?
Draw very light construction lines with a soft pencil, let your black pen ink dry fully, then gently erase the pencil lines or redraw the final lines on tracing paper and transfer them to avoid smudges.
How can I adapt this model sheet activity for different ages or skill levels?
For preschoolers use larger labeled boxes and simple shape stencils for front/side/back, for elementary kids require six expressions and three poses, and for older kids add proportion labels, costume material notes, and more detailed inking and coloring.
What are some ways to extend or personalize the finished model sheet?
Add a short character backstory and 'special rules' near the Details box, design alternate costumes or gadget close-ups, make a flipbook from the Poses, create color variations, and photograph or scan the sheet to share on DIY.org.
Watch videos on how to create a model sheet for your comic hero
How I Make Character TURNAROUNDS and Sheets!
4 Videos
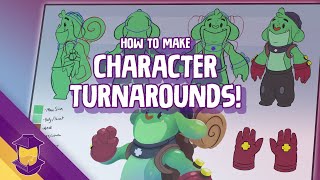
How I Make Character TURNAROUNDS and Sheets!
How to Make a Comic Book

How To Get Started Learning How To Draw Comics

How to Make Comics - Marvel's The Art of Storytelling
Facts about character design for kids
🎨 Animators use model sheets (also called turnarounds) so a character looks the same no matter who draws them!
🦸♂️ Superman, the first modern superhero, debuted in 1938 and helped set iconic costume silhouettes kids still recognize today.
✏️ A good model sheet includes front, side, and back views — artists call that a turnaround to lock in proportions.
😄 Expression sheets can show a dozen or more faces — tiny changes in eyes or mouth totally change the emotion.
🧩 Costume notes and color callouts on model sheets keep outfits consistent, even when your hero is flipping through the air.
How do I create a comic hero model sheet with front, side, back views, expressions, and costume details?
What materials do I need to make a comic hero model sheet at home?
What ages is this comic hero model sheet activity suitable for?
What are the benefits of making a comic hero model sheet and how can I vary the activity?
