Create a Masterpiece Glowing Scratch Art
Make a glowing scratch-art masterpiece using glow-in-the-dark paint, black coating, and a wooden stylus to reveal colorful designs with adult help.


Step-by-step guide to make a glowing scratch-art masterpiece
DIY Scratch Art | Make Your Own Scratch Art Paper
Step 1
Spread the newspaper on your table and put all your materials on top so your workspace is tidy.
Step 2
Lightly draw a simple design on the paper with your pencil so you know where to add color.
Step 3
Squeeze small blobs of each glow in the dark paint into separate wells of your palette.
Step 4
Paint the colored areas of your pencil sketch with the glow paints using the brush.
Step 5
Wait until the glow paint is completely dry before moving on.
Step 6
Paint a thin even layer of black acrylic over the entire paper to cover the glow colors.
Step 7
Let the black paint dry completely so it forms a solid scratch layer.
Step 8
Look carefully to see if any glow color shows through the black layer.
Step 9
If you still see color through the black, paint another thin black coat over those spots.
Step 10
Allow that second black coat to dry fully before scratching.
Step 11
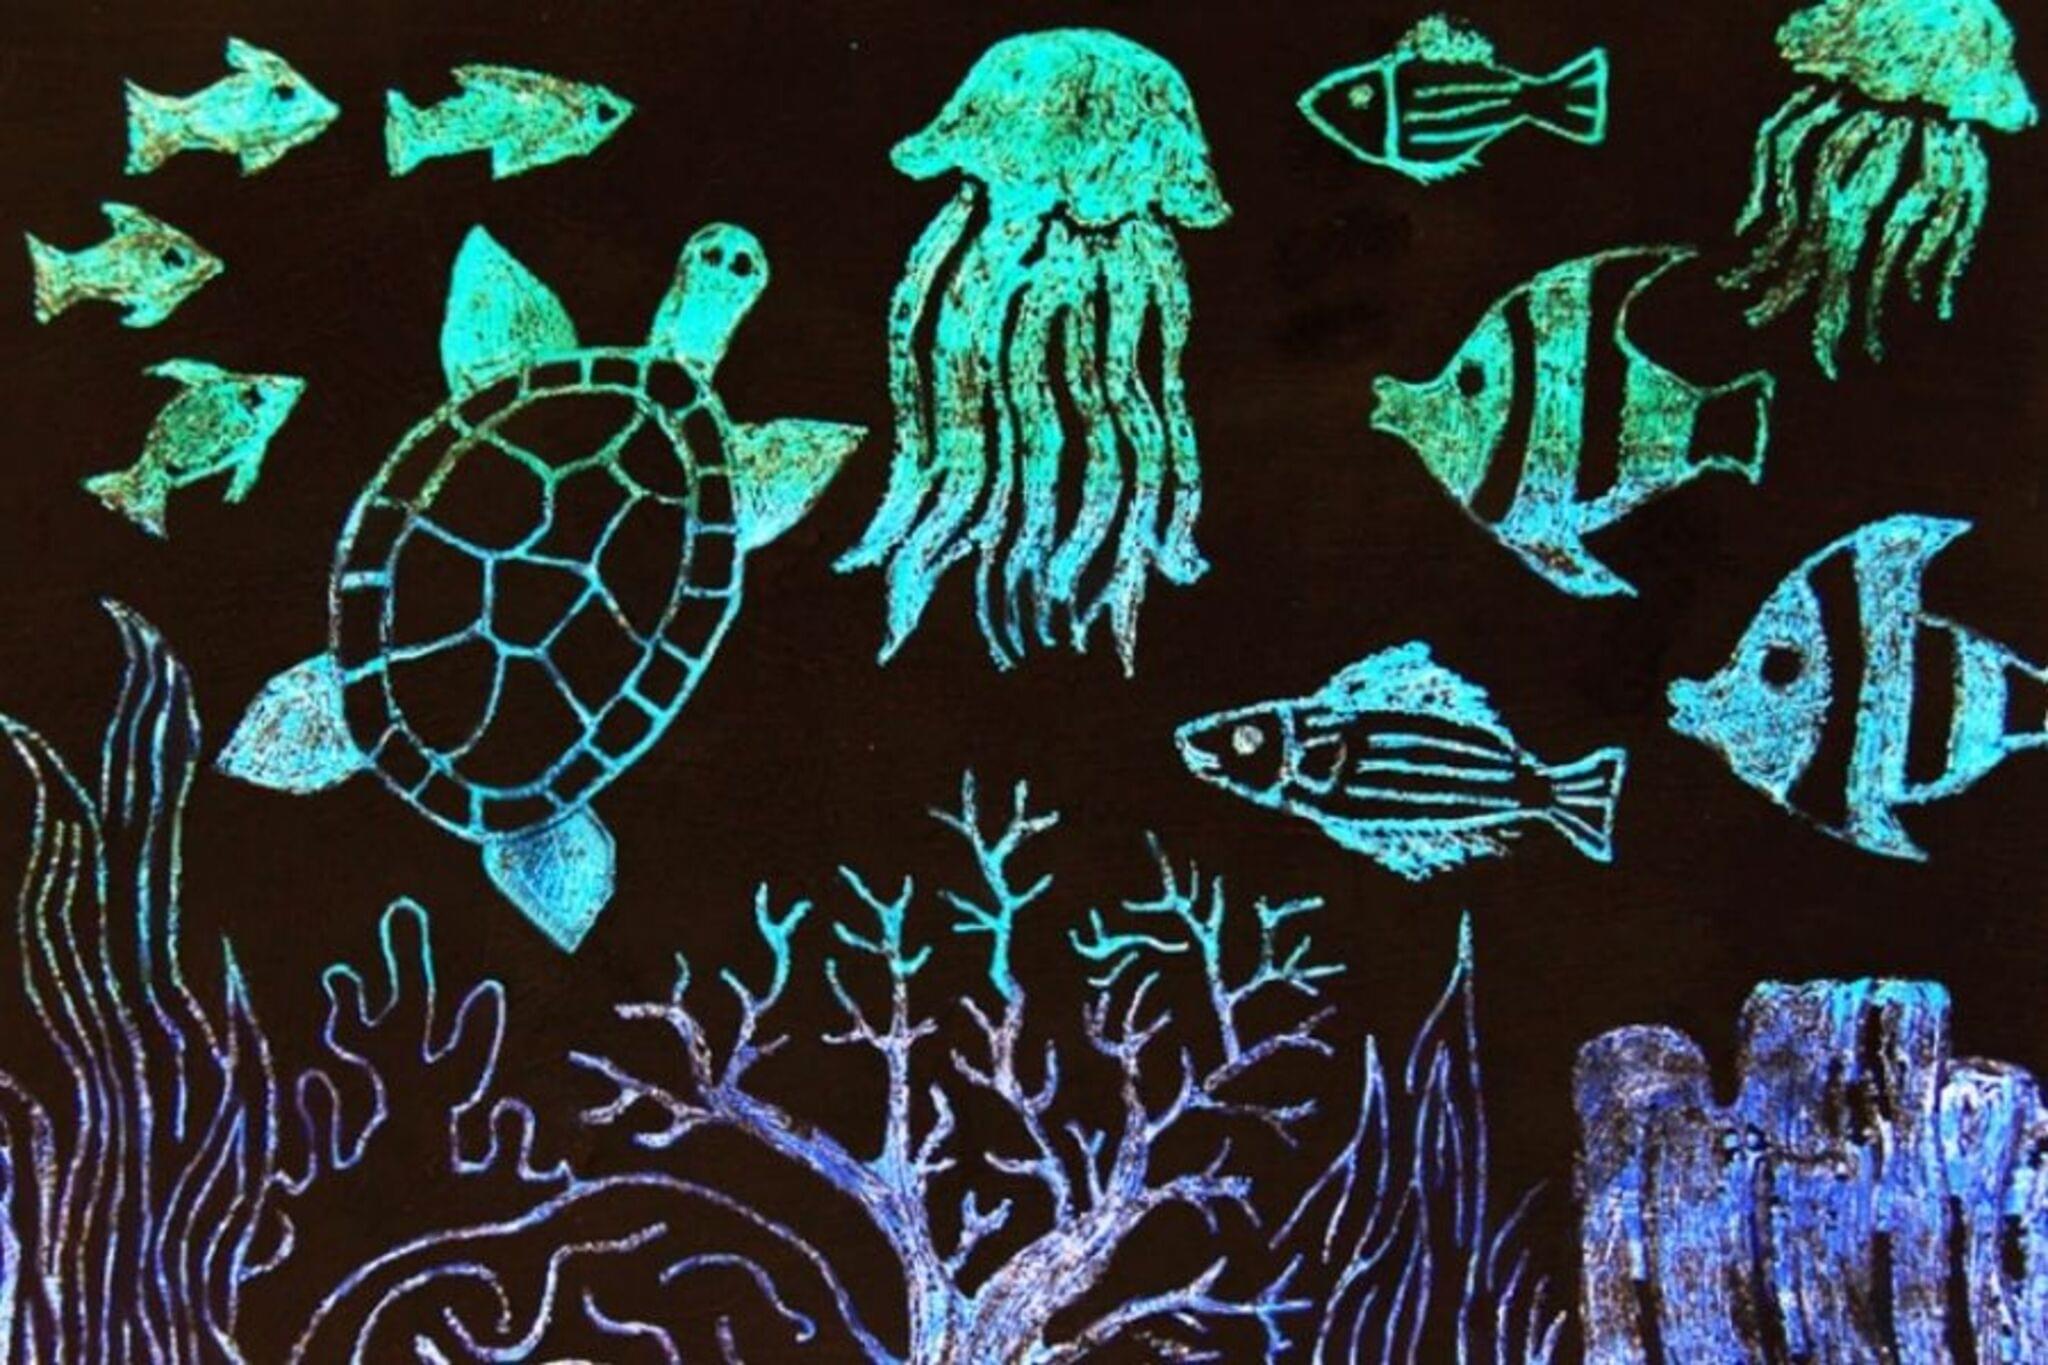
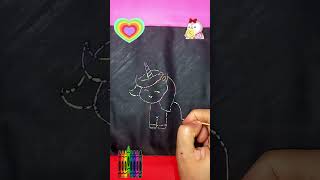
Use the wooden stylus to gently scratch lines and shapes into the black layer to reveal the glowing colors beneath.
Step 12
Test a small corner first to find the right scratch pressure for crisp lines.
Step 13
Hold your finished artwork under a bright lamp or sunlight for a few minutes to charge the glow paint.
Step 14
Turn off the lights to admire the glow and share your glowing scratch art masterpiece on DIY.org
Help!?
What can we use if we can't find glow-in-the-dark paint?
If glow in the dark paint is unavailable, use bright fluorescent acrylics or diluted highlighter ink in the palette wells from step 3 and still 'charge' them under a bright lamp as described in the final step.
My black layer is flaking or the paper tears when I scratch—what should I do?
If the black acrylic from step 6 flakes or the paper tears when you use the wooden stylus in step 12, make sure the glow paint was fully dry before applying a thin even black coat, practice pressure on the small corner test in step 12, and switch to heavier cardstock if tearing continues.
How can I change the activity for younger or older kids?
For preschoolers, simplify step 2 with big bold shapes and let them scratch with a blunt popsicle stick instead of the wooden stylus, while older kids can create intricate designs and use a finer-point stylus during step 12 for detailed lines.
How can we make the finished piece more special or display-ready?
To enhance the project, blend two glow colors in the palette wells from step 3 for gradients, use stencils before scratching in step 12 for repeating patterns, and frame the charged artwork after holding it under a bright lamp as in the final step.
Watch videos on how to make a glowing scratch-art masterpiece
How to Make DIY Scratch Art at Home | Easy & Fun Art Project for Kids
4 Videos
How to Make DIY Scratch Art at Home | Easy & Fun Art Project for Kids
FULL GLOW ART TUTORIAL
Idea to Paint a Glowing Waterfall/ Acrylic Painting Landscape step by step for beginners
How to Make Magic Unicorn Scratch Art 🦄🌈 | Easy & Fun Rainbow Drawing for Kids #art
Facts about scratch-art and glow-in-the-dark painting
✏️ Scratchboard-style art is made by scratching away a dark coating to reveal bright layers beneath—it's drawing by removing, not adding.
✨ Glow-in-the-dark (phosphorescent) paint soaks up light and can glow for minutes to hours depending on the pigment and how long you 'charge' it.
🧪 Old luminous paints once used radioactive materials like radium, but modern glow paints use safe phosphorescent compounds such as strontium aluminate.
🪵 A wooden stylus is a great kid-friendly tool: gentle pressure makes fine lines while heavier pressure reveals bolder colors underneath.
🖤 A glossy black topcoat keeps glow colors hidden until you scratch them away—perfect for dramatic secret-reveal masterpieces.
How do I make a glowing scratch-art masterpiece?
What materials do I need for glowing scratch art?
What ages is glowing scratch art suitable for?
What safety tips and variations can I try with scratch art?


