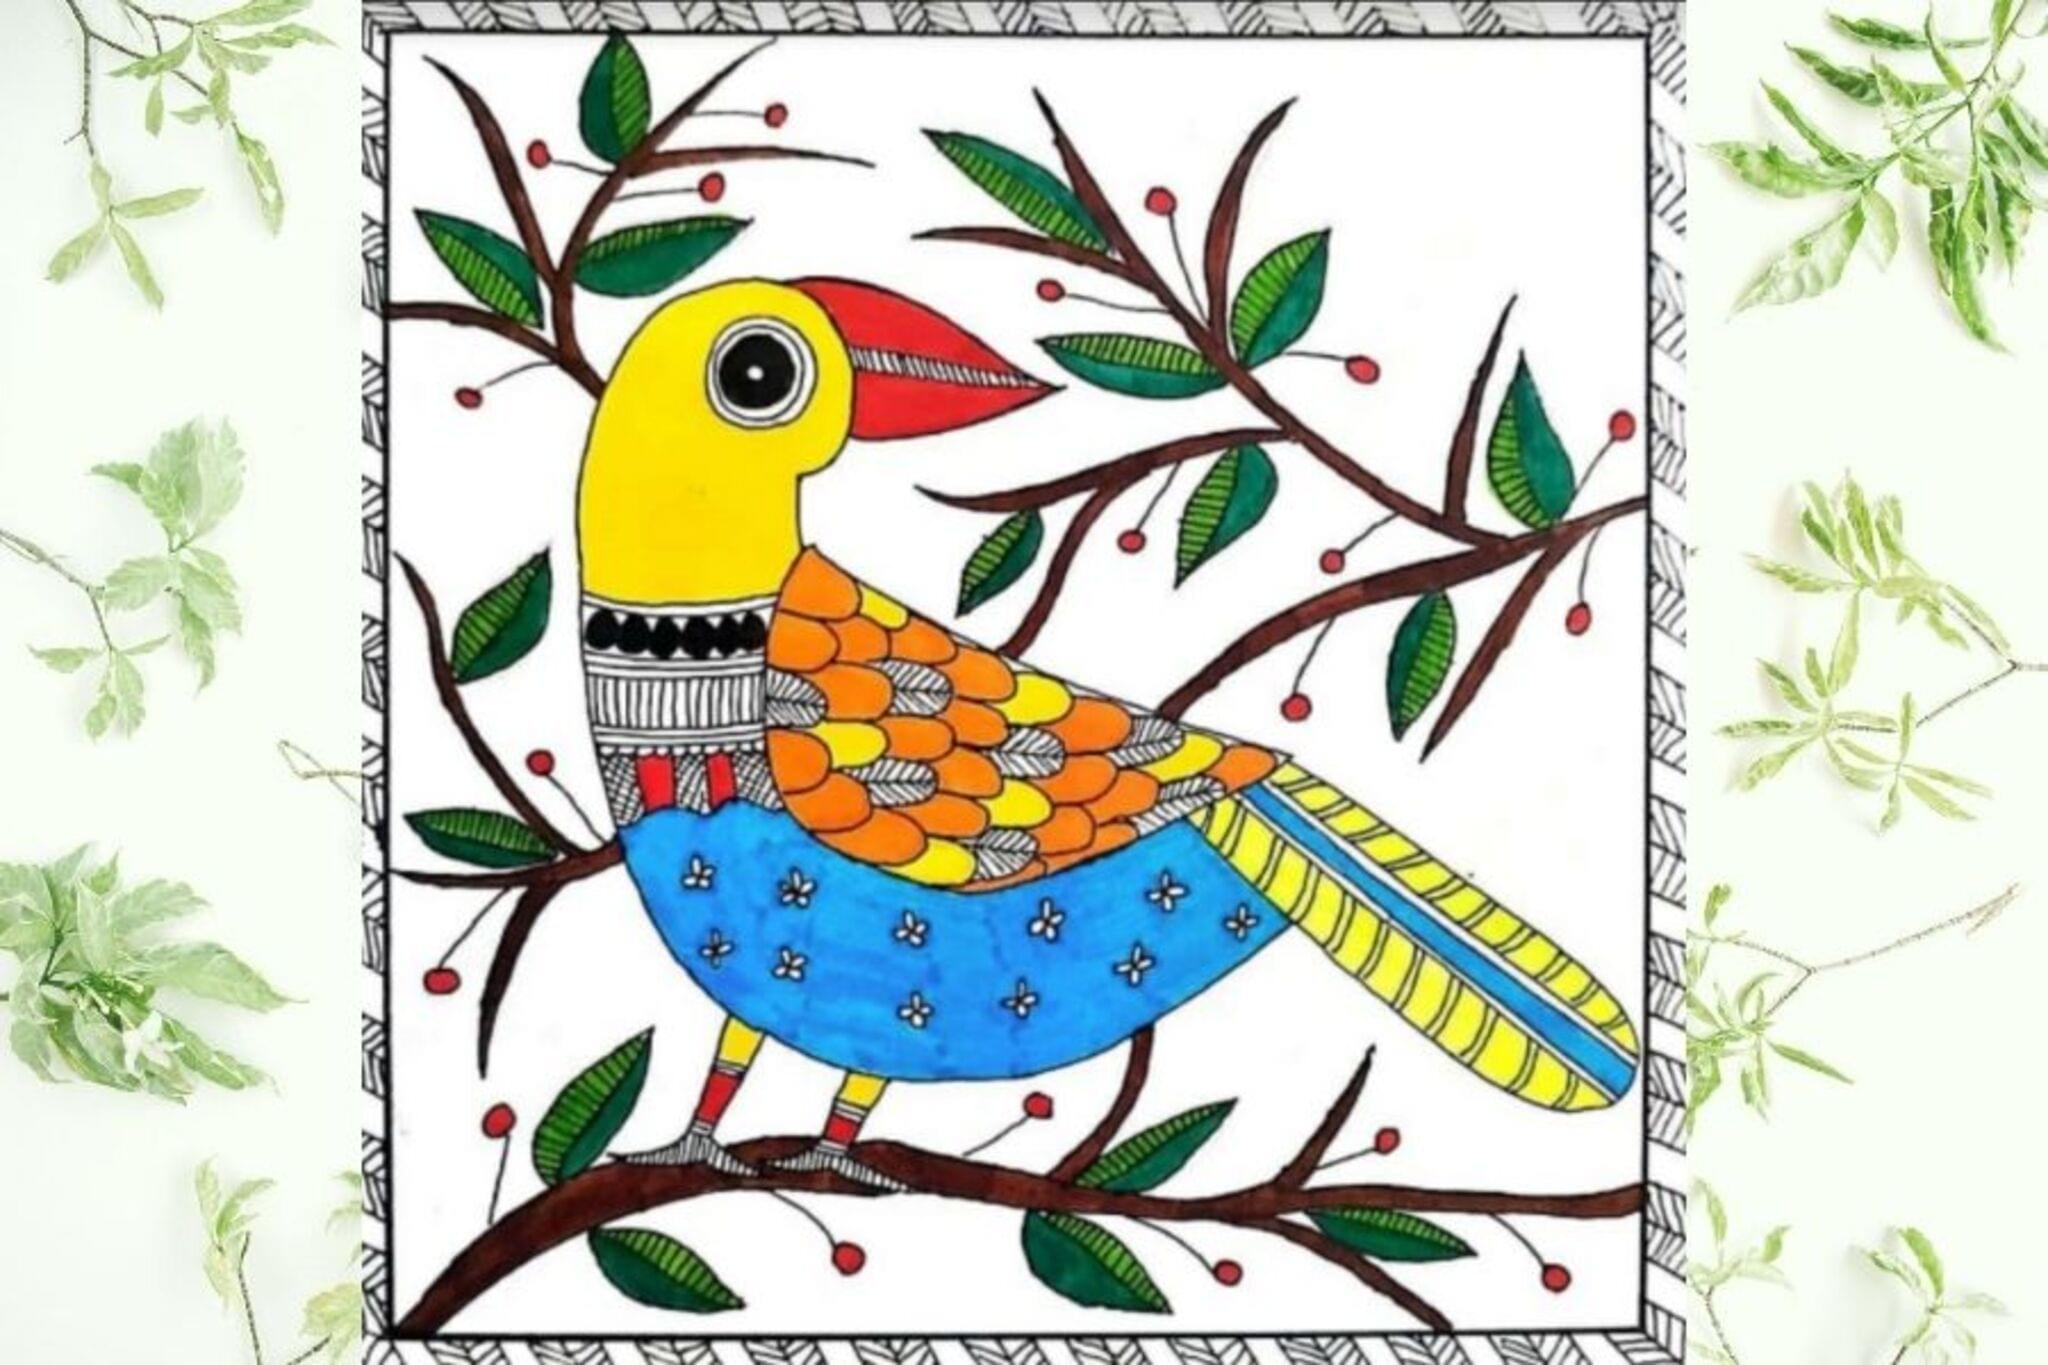
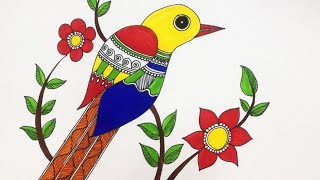
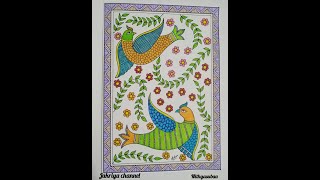
Create a Madhubani Painting: Bird Edition
Create a colorful Madhubani-style painting of a bird using paper, pencils, paints, and fine liners, exploring traditional patterns, symmetry, and cultural motifs.


Step-by-step guide to Create a Madhubani Painting: Bird Edition
Madhubani Painting || Easy Madhubani Painting || Madhubani Bird || Drawing for Beginners
Step 1
Gather all your materials and clear a flat workspace so you have room to work.
Step 2
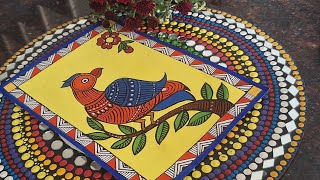
Choose the kind of bird you want to paint and think about its pose and colors.
Step 3
Use the ruler to draw a light vertical centerline on the paper to help you keep things symmetrical.
Step 4
Lightly sketch the bird’s main body and head centered on the line using simple shapes.
Step 5
Draw the bird’s wing tail and beak as clear simple shapes attached to the body.
Step 6
Fill the bird’s body and wings with Madhubani-style patterns like lines dots fish-scales and concentric circles using your pencil.
Step 7
Add decorative motifs and a border around the bird such as flowers leaves and geometric patterns.
Step 8
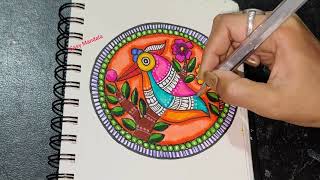
Trace over all the pencil outlines and patterns with the fine liner pen to make bold crisp lines.
Step 9
Wait for the ink to dry then gently erase any visible pencil marks.
Step 10
Paint the bird and the surrounding motifs with bright colors using flat bold areas like traditional Madhubani art.
Step 11
Let the paint dry completely before doing anything else.
Step 12
Add final black fine liner details and small dots for accents once the paint is dry.
Step 13
Take a photo and share your finished Madhubani bird painting on DIY.org
Help!?
What can I use instead of a fine liner pen or special paints if they’re hard to find?
If you don't have a fine liner pen use a black gel pen or a very fine-tipped permanent marker to trace the pencil outlines and patterns in the tracing step, and if you lack acrylics use tempera, gouache, or even colored markers for the bright flat color areas in the painting step.
My ink smudged or the paint bled over my lines—how do I fix that?
If ink smudges or paint bleeds over the fine liner lines when you paint, allow the pen from the tracing step to dry fully, use waterproof ink where possible, or paint the large flat color areas first and then retrace crisp black outlines and accents in the final-detail step.
How can I adapt this Madhubani bird activity for different ages?
For younger kids (3–6) simplify steps 3–6 by giving a printed bird outline and letting them use broad washable markers for the flat color step, for 7–9 year olds encourage simple patterns and using the ruler guide, and for 10+ challenge them with intricate Madhubani patterns in the filling step and layered painting techniques before adding final fine liner details.
What are some ways to extend or personalize the finished Madhubani bird painting?
You can personalize the piece by adding a decorative mirror or gold-leaf accents into the border motifs from the decoration step, experimenting with textured paper or collage for the background before painting, and signing or photographing your finished work to share on DIY.org as the last step.
Watch videos on how to Create a Madhubani Painting: Bird Edition
Madhubani Bird Painting for beginners || Easy Madhubani Bird || Madhubani Drawing for Beginners
4 Videos
Madhubani Bird Painting for beginners || Easy Madhubani Bird || Madhubani Drawing for Beginners
Bird Madhubani Painting Tutorial | @Easy_Mandala59
Madhubani art for beginners/Bird Madhubani/mithila art/how to make easy madhubani bird art/doodleart
How to Make Madhubani Bird Painting Step by Step Tutorial @ArtsHema Mithila art
Facts about Madhubani folk art
🖼️ Madhubani painting is also called Mithila painting and originated in the Mithila region of India.
👩🎨 Traditionally, Madhubani was painted by women on walls and floors for festivals, weddings, and rituals.
🐦 Birds—especially peacocks and parrots—are some of the most common and beloved motifs in Madhubani art.
🌿 Classic Madhubani colors were often made from plant extracts, turmeric, indigo, and other natural dyes.
✏️ Madhubani art fills every space with intricate fine lines, geometric patterns, and striking symmetry.
How do I create a Madhubani-style bird painting step by step?
What materials do I need for a Madhubani Painting: Bird Edition?
What ages is the Madhubani bird painting activity suitable for?
What are the benefits, safety tips, and variations for this activity?
