Create a Frankenplant
Make a Frankenplant by combining different plant cuttings and fun decorations in one pot while learning basic plant care and observation skills.


Step-by-step guide to make a Frankenplant
Plant | DIY Crafts for Kids ✂️ | Easy Art Projects & Hands-On Learning Fun
Step 1
Gather all materials and spread the tray or newspaper on your work surface.
Step 2
Place a small layer of stones or pebbles in the bottom of the pot to help drainage.
Step 3
Fill the pot halfway with potting soil and smooth the top lightly with your hand.
Step 4
Use scissors to trim each plant cutting to about 2 to 3 inches and remove leaves from the lower inch.
Step 5
Make a small hole in the soil for each cutting using your finger or the handle of a spoon.
Step 6
Put each cutting into its hole and press the soil gently around the stem to hold it upright.
Step 7
Add more soil if needed so the roots are covered and the plants feel snug.
Step 8
Arrange craft decorations on the soil surface to make your Frankenplant look fun and unique.
Step 9
Pour a small cup of water evenly around the cuttings so the soil is lightly moist not soggy.
Step 10
Write the plant name or creation date on the popsicle stick and stick it into the pot.
Step 11
Move your Frankenplant to a bright spot with indirect light where it can grow.
Step 12
Check the soil every few days and water only when the top inch of soil feels dry.
Step 13
Take a photo or draw your Frankenplant to record how it grows and then share your finished creation on DIY.org
Help!?
What can we substitute if we don't have stones or potting soil?
If you don't have stones or pebbles for the bottom layer, use broken terracotta shards or aquarium gravel for drainage, and if you lack potting soil, mix garden soil with compost and a handful of perlite or coarse sand to mimic potting mix.
My cuttings keep falling over or the stems look mushy — what should I do?
Ensure you trimmed cuttings to about 2–3 inches and removed leaves from the lower inch, press the soil gently around each stem as instructed to hold them upright, use a popsicle stick or toothpick for temporary support, and avoid overwatering so the soil stays lightly moist not soggy to prevent rot.
How can I adapt this Frankenplant activity for younger or older kids?
For younger children skip the cutting step and give them pre-trimmed cuttings to place, let them arrange craft decorations and water with the small cup, while older kids can use scissors to make their own 2–3 inch cuttings, measure moisture by the 'top inch of soil' rule, and record growth with photos or drawings.
How can we further personalize or expand the Frankenplant after it's planted?
Name the Frankenplant on the popsicle stick, mix different textured cuttings for a monster look, add themed craft decorations on the soil surface, and try placing a clear plastic cup as a mini greenhouse in the bright spot with indirect light to encourage rooting.
Watch videos on how to make a Frankenplant
10 Creative and Easy Kids Craft | Fun Crafts for Kids | Handmeyd Treasures
4 Videos
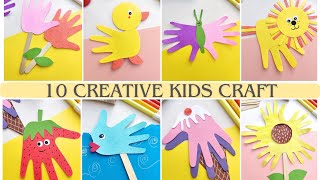
10 Creative and Easy Kids Craft | Fun Crafts for Kids | Handmeyd Treasures

Mind-Blowing DIY Crafts Your Kids Will Actually Love
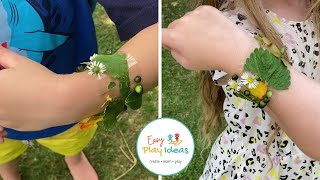
5 Nature Crafts for Kids | 5 Nature Activities for Kids | Nature Activities

Clay DIY small potted plant ~ Come and try it out#diy #craft#Parent-childcraft
Facts about gardening and plant care for kids
🌱 Many common houseplants like pothos and philodendrons can grow new roots from stem cuttings in just 2–4 weeks when placed in water.
✂️ Grafting is an ancient technique (used for fruit trees and roses) that joins two plants so they grow as one—different from rooting cuttings.
🪴 Succulents can sprout whole new baby plants from a single fallen leaf, making them perfect for experimenting with cuttings.
🔬 Keeping a plant journal with notes and photos helps kids notice growth patterns and spot when a plant needs more light or water.
🎨 Decorating a pot with painted rocks, googly eyes, or tiny toys transforms a planter into a playful 'Frankenplant' world kids love to observe.
How do you make a Frankenplant?
What materials do I need for a Frankenplant?
What ages is this activity suitable for?
What are the benefits and safety tips for making a Frankenplant?
