Create A Dot Painting!
Make a colorful dot painting using cotton swabs, paint, and paper to explore patterns, color mixing, and fine motor skills step by step.


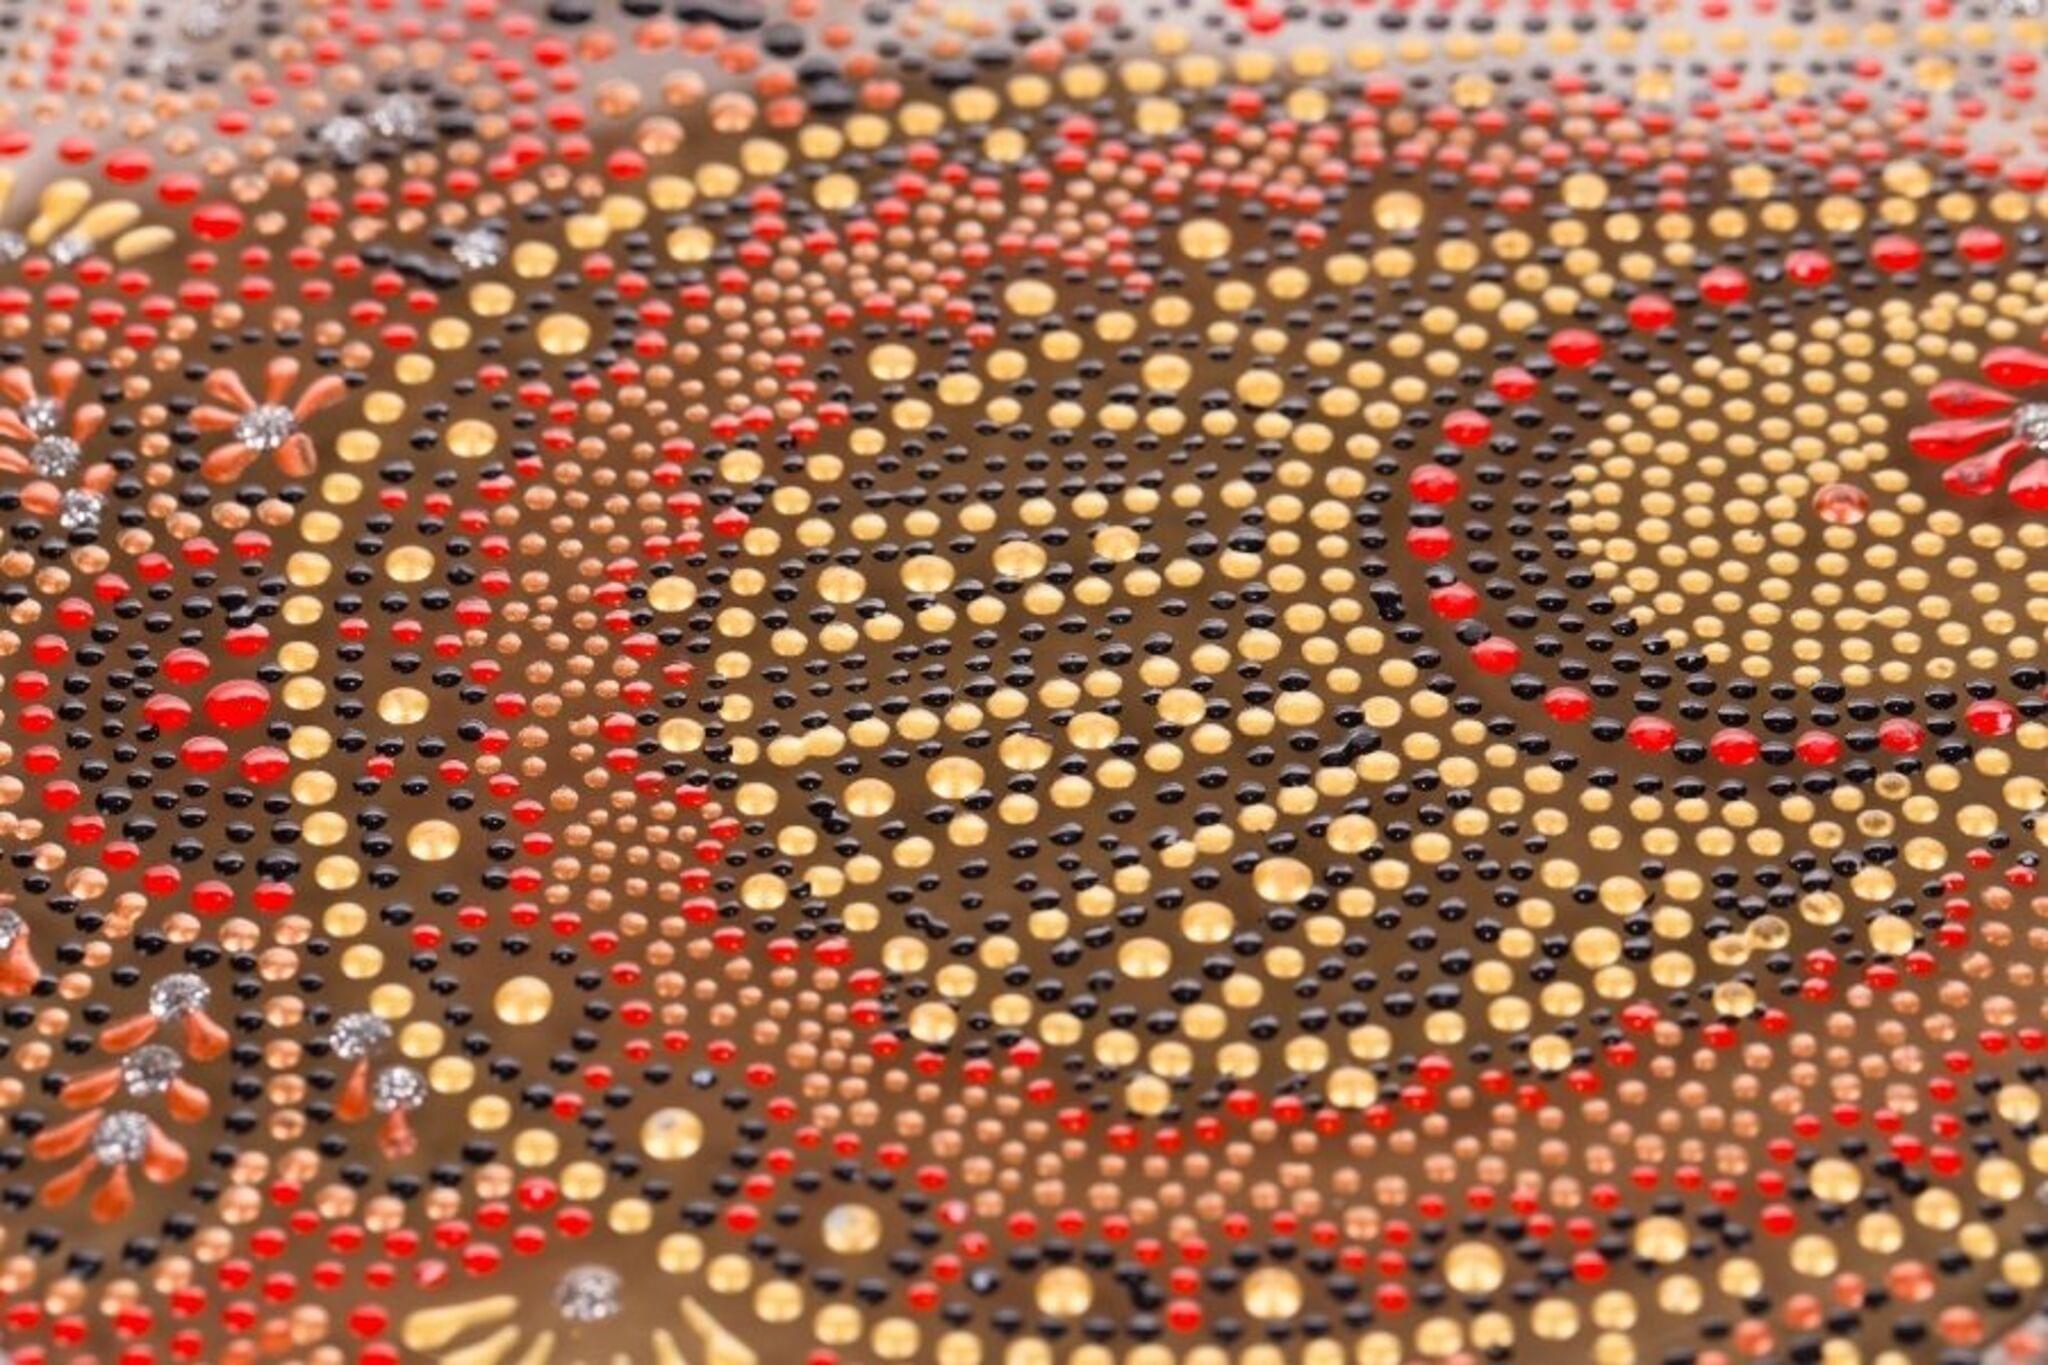

Step-by-step guide to create a dot painting
Painting Tips For Kids
Step 1
Cover your workspace with paper towel or newspaper so paint won’t make a mess.
Step 2
Place a sheet of paper in the center of your covered workspace.
Step 3
Tape the four corners of your paper to the table so it won’t slide.
Step 4
Squeeze small blobs of different colored paint onto a paper plate or palette.
Step 5
Fill a small cup with water for rinsing your cotton swabs.
Step 6
Put several cotton swabs and a paper towel next to your palette so they are easy to reach.
Step 7
Dip the tip of one cotton swab into a paint color and make a test dot on the corner of the paper.
Step 8
Use that same cotton swab to make a row of evenly spaced dots across the paper to start a pattern.
Step 9
Rinse the cotton swab in the water and blot it on the paper towel before picking a new color.
Step 10
Dip a clean cotton swab into a second color and add dots beside or on top of the first dots to create new colors and patterns.
Step 11
Press gently for tiny dots and press harder for big dots to add variety all over your painting.
Step 12
Let your dot painting dry completely for at least 15 minutes.
Step 13
Write your name and today’s date on the back or corner of your painting.
Step 14
Share your finished dot painting on DIY.org.
Help!?
What can I use if I don't have cotton swabs, a paper plate, or tape?
Use the eraser end of a pencil, a toothpick, the end of a paintbrush, or pom-poms clipped to clothespins instead of cotton swabs, squeeze paint onto aluminum foil or an empty yogurt lid instead of a paper plate, and hold the paper in place with stickers, clothespins, or small weights if you don't have tape — then dip your substitute into the paint and follow the same dotting and rinsing steps.
Why are my dots smudging or the colors turning muddy, and how do I fix it?
If dots smudge or colors mix into mud, rinse the cotton swab in the water and blot it on the paper towel between colors as the instructions say, press more gently for smaller dots, and allow paint to dry completely (at least 15 minutes) before adding overlapping dots.
How can I adapt this dot painting activity for different ages?
For toddlers tape the paper securely and give large cotton swabs or pom‑poms on clothespins with just two colors to practice dipping and pressing, for preschoolers encourage making rows of evenly spaced dots as in the instructions, and for older kids challenge them to create layered patterns, finer dots with toothpicks, or planned color mixes by rinsing between colors.
How can we extend or personalize our dot painting once it's finished?
After the painting dries for at least 15 minutes, personalize it by adding a light background wash, gluing on sequins or glitter around dots, experimenting with metallic or neon paints for highlights, writing your name and today's date on the back or corner, and then sharing the finished piece on DIY.org.
Watch videos on how to create a dot painting
This Artist Spends Hundreds Of Hours Creating Paintings Made From Thousands Of Tiny Dots
4 Videos
This Artist Spends Hundreds Of Hours Creating Paintings Made From Thousands Of Tiny Dots
Parents Turned Their Kids' Drawing Into Artworks

Fun Art Projects For The Month Of Making!
Drawing VS Painting: 101 Tutorials for Beginners to Create Own ART 🎨🖌️
Facts about painting and color mixing for kids
🎨 Pointillism is a painting technique made of tiny dots so your eye blends the colors from a distance.
👨🎨 Georges Seurat helped pioneer pointillism and spent about two years finishing his famous A Sunday Afternoon on the Island of La Grande Jatte.
🧠 Making dot paintings with a cotton swab helps kids build fine motor control and hand–eye coordination.
🌈 Placing tiny dots of different hues next to each other creates optical mixing, where colors seem to blend without physically mixing the paint.
🌀 Repeating dot patterns can be calming and meditative—many artists use dot art like mandalas to focus and relax.
How do you make a dot painting with cotton swabs step by step?
What materials do I need to create a dot painting with q-tips?
What ages is a cotton-swab dot painting suitable for?
What are the benefits of making dot paintings with cotton swabs?
