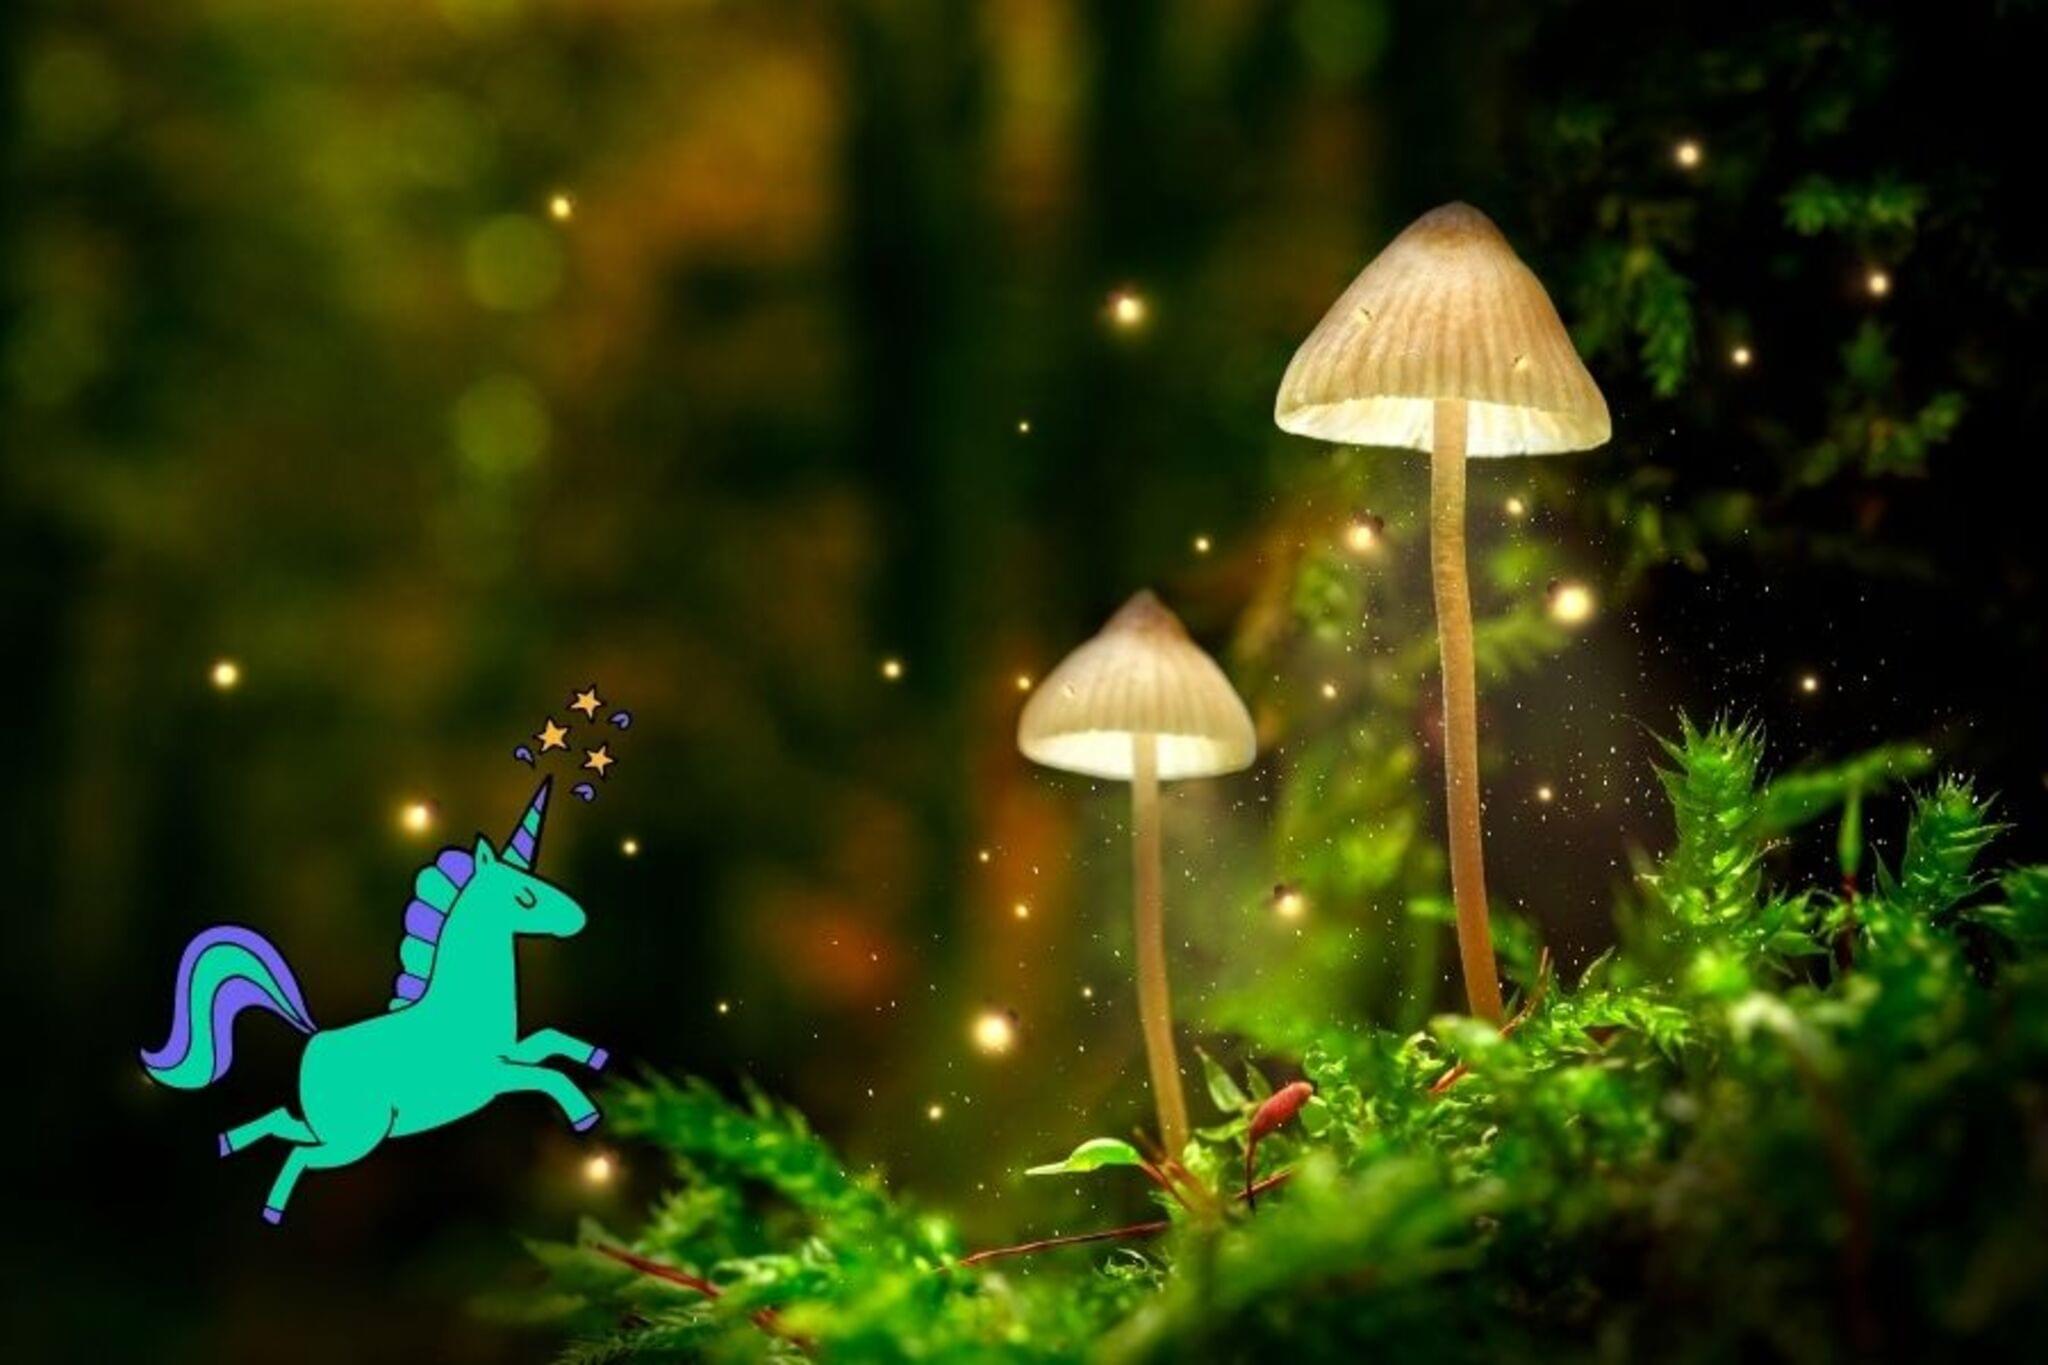
Create a Creature for the Harry Potter Universe
Design and build an original magical creature inspired by the Harry Potter world using clay, paper, and paint, then write its habitat and abilities.


Step-by-step guide to create a creature for the Harry Potter universe
DIY Pygmy Puff Plush Tutorial - Make A Harry Potter Plushie | @laurenfairwx
Step 1
Gather all your materials and set them on a clear workspace so everything is easy to reach.
Step 2
Think of a magical creature name and write it down with two special traits that make it unique.
Step 3
Sketch a simple picture of your creature on paper showing its body shape and any wings tails or horns.
Step 4
Choose the main colors and textures you want to use and say them out loud or write them on your paper.
Step 5
Shape the main body of your creature from modeling clay by rolling and forming one big piece.
Step 6
Make separate clay parts like legs a head or tail and attach them to the main body by pressing gently.
Step 7
Cut paper pieces for wings ears or frills and glue them onto the clay model where they should sit.
Step 8
Add small decorations like buttons beads or yarn to create eyes feathers or extra details on your creature.
Step 9
Let the clay dry or cure according to the clay instructions while keeping it somewhere safe.
Step 10
Paint your creature with the colors and patterns you chose and let the paint dry completely.
Step 11
Write a short paragraph describing your creature’s habitat where it lives what it eats and one magical ability it uses.
Step 12
Share a photo and a description of your finished magical creature on DIY.org so other wizards and witches can see it.
Final steps
You're almost there! Complete all the steps, bring your creation to life, post it, and conquer the challenge!


Help!?
What can we use if we don't have modeling clay or some decorations like buttons or beads?
If you don't have modeling clay use air-dry clay, oven-bake clay, homemade salt dough, or scrunched newspaper wrapped in tape for the main body, and swap buttons or beads with stickers, sequins, or small cut paper shapes when adding decorations.
My creature's legs or paper wings keep falling off—what should we try to fix this?
If clay parts won't stick when you press them to the main body or paper wings peel off, gently score both clay surfaces and use a dab of water or clay slip (for modeling/air-dry clays) or insert short toothpicks and secure paper with strong craft glue before the clay fully cures.
How can I adapt this activity for different ages so it's safe and fun for younger or older kids?
For preschoolers simplify to rolling one big clay piece and attaching pre-cut paper wings and large buttons with adult help, for elementary kids follow all steps including sketching and separate clay parts, and for tweens/teens add a wire armature, finer details, and a longer habitat paragraph.
What are some ways to extend or personalize the creature after painting and writing its habitat?
To enhance your project, create a small cardboard diorama habitat with glued natural materials, apply a clear varnish over the dried paint for durability, and photograph the finished creature with its written paragraph to share on DIY.org.
Watch videos on how to create a creature for the Harry Potter universe
DIY Harry Potter Crafts | 5 magical Harry Potter themed craft tutorial
4 Videos
DIY Harry Potter Crafts | 5 magical Harry Potter themed craft tutorial
14 Magical Homemade Harry Potter Crafts
DIY Harry Potter Crafts Part-2 | 6 Magical Harry Potter themed crafts tutorial
10+ Magical Harry Potter Activities for Kids
Facts about fantasy creature design for kids
🧙♂️ J.K. Rowling expanded the magical world with a fictional textbook, 'Fantastic Beasts and Where to Find Them', to showcase dozens of unique creatures.
🐉 Many creatures in the Harry Potter universe are inspired by global myths and legends—dragons, hippogriffs, and basilisks all have roots in folklore.
🏺 People have shaped clay for thousands of years; modern modelling materials like Plasticine were invented in the late 1800s to make sculpting easier and cleaner.
🎨 Painting small details—like eye color, stripes, or glowing runes—lets you show a creature's mood, camouflage, or magical abilities at a glance.
🌍 Writing a habitat (forest, swamp, mountain, or castle attic) helps decide a creature's diet, size, and behaviors so your design feels real.
How do I guide my child in creating a Harry Potter–inspired magical creature?
What materials do I need to build a Harry Potter creature using clay, paper, and paint?
What ages is this Harry Potter creature activity suitable for?
What are the benefits of making a Harry Potter–style magical creature with my child?


