Create a Cool Temperature Creation
Make a homemade thermometer using rubbing alcohol, food coloring, a clear straw, and a bottle to observe and record temperature changes.


Step-by-step guide to Create a Cool Temperature Creation (make a homemade thermometer)
Step 1
Gather all the materials listed and put them on a clean table.
Step 2
Measure and pour three equal parts rubbing alcohol into the measuring cup.
Step 3
Measure and add one equal part water to the measuring cup.
Step 4
Add three drops of food coloring to the cup.
Step 5
Stir the liquid gently until the color is even.
Step 6
Pour the colored mixture into the clear bottle until it is about one quarter full.
Step 7
Put the clear straw into the bottle so the bottom of the straw sits in the liquid but does not touch the bottle bottom.
Step 8
Tilt the bottle gently until the colored liquid rises about 2 centimeters up inside the straw.
Step 9
Press modeling clay around the straw at the bottle neck to make an airtight seal.
Step 10
Use the marker to mark the starting level of the colored liquid on the straw or bottle.
Step 11
Place the sealed bottle in a bowl of warm (not hot) water for two minutes and watch the liquid move.
Step 12
Use the ruler to measure how high the colored liquid is in the straw and write that number on your paper and label it "warm."
Step 13
Move the bottle into a bowl of cold water or iced water for two minutes and watch the liquid move down.
Step 14
Use the ruler to measure the new liquid level and write that number on your paper and label it "cold."
Step 15
Share a photo and description of your finished homemade thermometer and what you observed on DIY.org.
Help!?
What can we use if we don't have rubbing alcohol, a clear straw, or modeling clay?
Use 70% isopropyl rubbing alcohol or high‑proof clear vodka in place of rubbing alcohol (step 2), swap the clear straw (step 6) for clear plastic tubing or a disposable pipette, and replace modeling clay (step 9) with museum putty or a small dab of hot glue to make an airtight seal.
Why doesn't the colored liquid move much when I put the bottle in warm or cold water, and how do I fix it?
If the colored liquid barely moves during the warm/cold tests (steps 11–14), make sure the straw bottom sits in the liquid but does not touch the bottle bottom (step 6), press modeling clay tightly around the straw to stop air leaks (step 9), and confirm you used the 3:1 rubbing alcohol to water ratio (steps 2–3) and that the water is noticeably warm or cold.
How can I adjust the activity for younger kids or for older kids who want more challenge?
For younger children have an adult pre‑measure and mix the three parts rubbing alcohol and one part water (steps 2–3), use a wider straw and mark the level with a sticker instead of measuring with the ruler (steps 6 and 12–13), and for older kids make multiple bottles with different alcohol:water ratios and record and graph the 'warm' and 'cold' measurements (steps 2–3 and 12–13).
What are some fun ways to improve or personalize our homemade thermometer?
Decorate the clear bottle, add a calibrated scale by comparing straw levels to a real thermometer and marking the 'warm' and 'cold' heights (steps 12–13), try different food coloring colors or liquid mixes (steps 4 and 2–3), and share a time‑lapse photo and description on DIY.org (step 15).
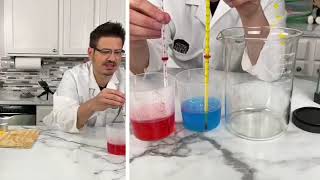
Watch videos on how to Create a Cool Temperature Creation (make a homemade thermometer)
Science Experiment on Temperature | Easy Science Experiment for Kids
4 Videos

Science Experiment on Temperature | Easy Science Experiment for Kids
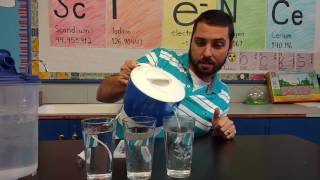
Fun Thermal Energy Activities to Explore Heat Transfer (Recorded Live)
Experimenting with Thermometers to Explore Temperature
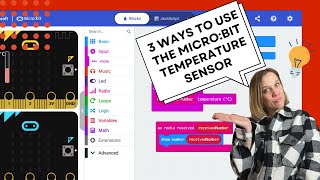
3 AWESOME Microbit Temperature Projects You Can Make TODAY!
Facts about temperature and simple science experiments for kids
🌡️ A liquid thermometer works because the liquid expands when warmed and rises in a narrow tube.
🍶 Alcohol-based thermometers can measure much colder temperatures than water — ethanol freezes around −114°C!
🔥 Rubbing alcohol is flammable — make your homemade thermometer away from heat and open flames.
🎨 A drop of food coloring makes the liquid easy to see, so tiny temperature changes become visible in the straw.
📊 Record readings over time to make your own mini weather log and spot warming and cooling patterns.
How do you make a homemade thermometer with rubbing alcohol?
What materials do I need to make a DIY alcohol thermometer?
What ages is this homemade thermometer activity suitable for?
What are the safety tips for making a rubbing alcohol thermometer?
