Craft with Mirrors
Decorate a safe plastic mirror frame using craft mirror sheets, paint, glue, and recycled decorations to explore reflections, symmetry, and creativity.


Step-by-step guide to Craft with Mirrors
Step 1
Gather all materials from the list and bring them to your work table.
Step 2
Cover your work surface with newspaper or a table covering.
Step 3
Choose the paint colors you want to use for your mirror frame.
Step 4
Paint the frame with your chosen colors.
Step 5
Let the paint dry completely before you touch the frame.
Step 6
Trace the shape of the frame backing onto a craft mirror sheet with a pencil.
Step 7
Cut out the traced mirror shapes using child-safe scissors.
Step 8
Peel the backing off each mirror piece carefully.
Step 9
Press each mirror piece onto the frame in the matching spot.
Step 10
Arrange your recycled decorations on the frame in matching spots on both sides to create a symmetrical pattern without using glue.
Step 11
Glue each decoration onto the frame one at a time.
Step 12
Let the glue dry completely so everything is secure.
Step 13
Hold your mirror up to toys or objects and look at the reflections to explore how symmetry appears in the mirror.
Step 14
Tidy your workspace by putting away leftover materials and throwing away any trash.
Step 15
Share your finished creation on DIY.org
Help!?
What can we use instead of craft mirror sheets or child-safe scissors if we can't find them?
If craft mirror sheets are unavailable, substitute shiny silver gift wrap or aluminum foil mounted on cardstock and follow the 'Trace the shape of the frame backing' and 'Cut out the traced mirror shapes' steps using rounded-tip scissors or pre-cut shapes.
My painted frame smudges or the mirror pieces won't sit flat—how do I fix that?
Follow the instruction to 'Let the paint dry completely before you touch the frame', use a low fan or hairdryer to speed drying, and press each peeled mirror piece firmly into place while aligning with the traced backing to prevent gaps or misalignment.
How can I adapt steps like tracing, cutting, and gluing for different age groups?
For younger kids have an adult do 'Trace the shape' and 'Cut out the traced mirror shapes' and give pre-cut recycled decorations to 'Glue each decoration', while older kids can do precise cutting and arrange complex symmetrical patterns themselves under supervision.
What are some ways to extend or personalize the mirror craft after finishing the basic steps?
To personalize and extend the project, paint a custom frame design before you 'Let the paint dry', add battery-powered LED lights glued to the back edge, or make a matching set and use the 'Hold your mirror up to toys or objects' step to explore reflections and symmetry.
Watch videos on how to Craft with Mirrors
Students Exploring Mirror Mosaic Art | Fun Learning Activity
4 Videos
Students Exploring Mirror Mosaic Art | Fun Learning Activity
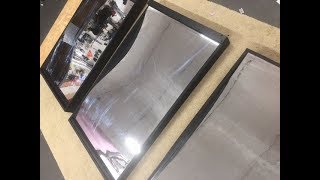
How to make a funhouse mirror DIY
How to Make a Simple Periscope with Mirrors
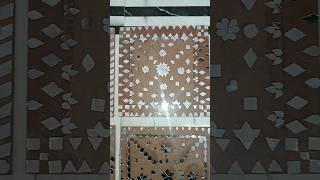
DIY Lippan Art Wall Hanging Craft Ideas | Mirror Work Home Decor | Traditional Art for Beginners
Facts about mirror crafts and reflections
🪞 Mirrors swap front and back, not left and right — that’s why your reflection faces you rather than literally flipping left and right.
📏 A flat (plane) mirror produces a virtual image that appears the same distance behind the mirror as the object is in front of it.
🛡️ Plastic or acrylic mirror sheets are shatterproof and much safer for kids’ crafts than glass mirrors.
♻️ Upcycling lets you turn everyday recycled items into one-of-a-kind decorations, cutting waste and saving money on supplies.
🎨 Mosaic mirrors and symmetry tricks are used by artists to create dazzling patterns that multiply light and make spaces feel larger.
How do I make a decorated plastic mirror frame to explore reflections and symmetry?
What materials do I need to decorate a plastic mirror frame with craft mirror sheets and recycled decorations?
What ages is a mirror frame craft suitable for?
What safety tips and creative variations should I know for this decorated mirror frame craft?
