Craft a Sundrop/Moondrop Mask With Eeveetwinkle
Create a Sundrop or Moondrop mask with Eeveetwinkle using cardstock, paint, scissors, and elastic, decorating and practicing measuring, cutting, and symmetry with adult help.


Step-by-step guide to Craft a Sundrop/Moondrop Mask With Eeveetwinkle
Step 1
Gather all your materials on a clean table and sit where you have lots of space.
Step 2
Fold a sheet of cardstock in half and press the fold to make a clear center crease.
Step 3
Use a pencil and ruler to draw half of your mask shape along the folded edge from forehead to chin.
Step 4
With adult supervision cut along the pencil line to create a full symmetrical mask shape.
Step 5
Use a ruler to mark the center and put a small dot for each eye about 1.5 inches from the center on both sides.
Step 6
With adult supervision cut out the eye holes where you marked the dots.
Step 7
Choose Sundrop (warm yellows and oranges) or Moondrop (blues and silvers) and paint a smooth base color over the mask.
Step 8
Set the mask aside and let the paint dry completely.
Step 9
Decorate the mask with matching designs on both sides so the pattern is symmetrical using paint markers glitter glue or crayons.
Step 10
Use a hole punch or ask an adult to make a small hole at each temple on the mask.
Step 11
Thread the elastic through the holes and tie knots or tape the ends so the mask fits snugly on your head.
Step 12
Put on your finished Sundrop or Moondrop mask with Eeveetwinkle and share a photo of your creation on DIY.org.
Help!?
What can I use instead of cardstock or elastic if I don't have them?
If you don't have cardstock, use a folded cereal box or poster board for a sturdy mask base, and substitute ribbon, string, or a shoelace for the elastic, threading and knotting or taping them through the punched temple holes.
My paint is smudging and the temple holes keep tearing — how can I fix that?
Follow the instruction to set the mask aside and let the paint dry completely before decorating or punching holes, and if the temple holes tear when threading the elastic, reinforce them with a small piece of clear tape or a paper washer before inserting the elastic.
How can I adapt the activity for different age groups?
For younger kids, have an adult fold and pre-cut the mask and eye holes and let them decorate with crayons or stickers, while older kids can draw their own symmetrical outline with a ruler and pencil, use paint markers and glitter glue for detailed designs, and add extra layers like glued-on cardstock shapes.
What are some ways to enhance or personalize my Sundrop or Moondrop mask?
Extend the project by adding layered sun or moon appliqués from extra cardstock, metallic foil or silver paper for Moondrop highlights, sequins or glitter glue for sparkle, and decorative ribbons or feathers at the temples before photographing and sharing your finished mask on DIY.org.
Watch videos on how to Craft a Sundrop/Moondrop Mask With Eeveetwinkle
How To Make FNAF Sundrop Mask With Cardboard | DIY Sundrop Mask Part 1
4 Videos
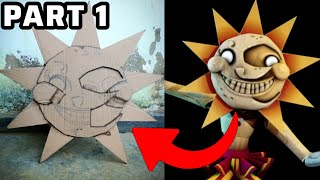
How To Make FNAF Sundrop Mask With Cardboard | DIY Sundrop Mask Part 1
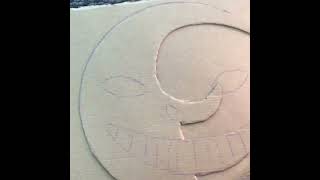
Making a sundrop mask!!! Part 1!!
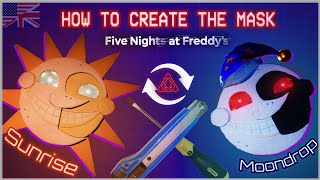
HOW TO MAKE THE MASK of Moondrop and Sunnyrise - Tutorial FNAF Security Breach Cosplay
I made a Moondrop FNAF halloween mask DIY (Tutorial) Making ☀️Sundrop☀️ to 🌙Moondrop😯😯😯
Facts about paper mask making
🎭 Masks have been used in ritual and performance for thousands of years — ancient Greek theatre famously used masks to show different characters.
✂️ Scissors date back to ancient Egypt (around 1500 BCE), making cutting tools one of humanity's oldest inventions.
🧾 Paper was first invented in China over 1,800 years ago; cardstock is just a heavier, sturdier paper perfect for masks.
📏 Symmetry makes faces and designs feel balanced — even babies tend to prefer symmetrical faces.
🎨 With just three basic paint colors (red, yellow, blue) you can mix dozens of shades to decorate your Sundrop or Moondrop mask.
How do I make a Sundrop or Moondrop mask with Eeveetwinkle?
What materials do I need to make a Sundrop/Moondrop mask with Eeveetwinkle?
What ages is the Sundrop/Moondrop mask activity suitable for?
What safety tips, benefits, or variations should I know for the Eeveetwinkle mask craft?
