Craft a Hopping Hopscotch
Create a colorful hopscotch mat using cardboard, tape, markers, and beanbags. Design lanes, number squares, and practice hopping balance and counting.


Step-by-step guide to Craft a Hopping Hopscotch
Step 1
Gather all your materials and bring them to a clear workspace.
Step 2
Use the ruler and a marker to draw a hopscotch layout of 8 to 10 squares on the cardboard.
Step 3
Cut out each square carefully along your drawn lines.
Step 4
Arrange the cut squares on the floor in the hopscotch order you drew with any single or side-by-side double lanes.
Step 5
Tape the edges underneath the squares so they form one flat hopscotch mat.
Step 6
Color each square with bright markers to make your mat fun and easy to see.
Step 7
Write a big number inside each square in order so you can count as you hop.
Step 8
Mark a clear starting line with a strip of tape or a drawn line a little away from the first square.
Step 9
Hold a beanbag behind the starting line and get ready to play.
Step 10
Toss the beanbag gently so it lands on one of the numbered squares.
Step 11
Hop through the mat using one foot on single squares and two feet on double squares while counting each square out loud.
Step 12
Pick up the beanbag from the square it landed in after you finish hopping.
Step 13
Walk back to the starting line and try the course again to practice your balance and counting.
Step 14
Share a photo or video of your finished hopping hopscotch mat and your hopping skills on DIY.org.
Help!?
What can we use if we don't have cardboard for the hopscotch squares?
If you don't have cardboard, tape together several cereal boxes or use a large poster board or foam board to draw, cut, color, and tape the hopscotch squares as described.
My squares keep lifting or the mat moves when we hop — how can we fix that?
Press and smooth strong packing tape or use liquid glue underneath each square and weigh edges with heavy books while it dries so the taped edges form one flat hopscotch mat that won't lift during hopping.
How can we adapt the activity for younger or older kids?
For younger children make fewer, larger squares and pre-cut cardboard and draw big numbers and single lanes, while older kids can make 10 squares, add side-by-side double lanes, timer challenges, or write math problems inside squares to increase difficulty.
How can we extend or personalize the hopping hopscotch?
Personalize the mat by coloring each square with different themes or adding stickers, write sight words or math problems instead of numbers, and laminate or cover with clear tape before sharing a photo or video on DIY.org.
Watch videos on how to Craft a Hopping Hopscotch
How to Play Hopscotch - Brain Break
3 Videos
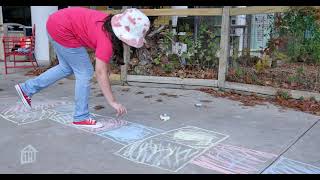
How to Play Hopscotch - Brain Break
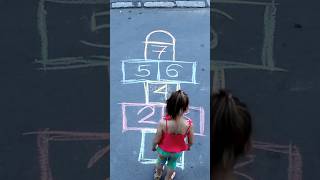
How to Play Hopscotch: Fun and Easy Guide!
HOW TO PLAY HOPSCOTCH - Raising Rookies
Facts about movement games for kids
🟩 Hopscotch has been played for centuries — Roman soldiers reportedly used a version to build footwork and strength.
📦 Corrugated cardboard is strong and lightweight, making it perfect for DIY mats and easy to decorate with markers.
🫘 Beanbags for tossing games can be filled with rice, dried beans, or plastic pellets — simple, safe, and reusable.
🤸♂️ Hopping helps build balance and coordination, boosting gross motor skills while kids have fun.
🔢 Counting square numbers aloud while hopping teaches number order and one-to-one correspondence through play.
How do I make a hopping hopscotch mat step-by-step?
What materials do I need to make a colorful hopscotch mat at home?
What ages is a cardboard hopscotch mat suitable for?
What are some fun variations to try with hopping hopscotch?
