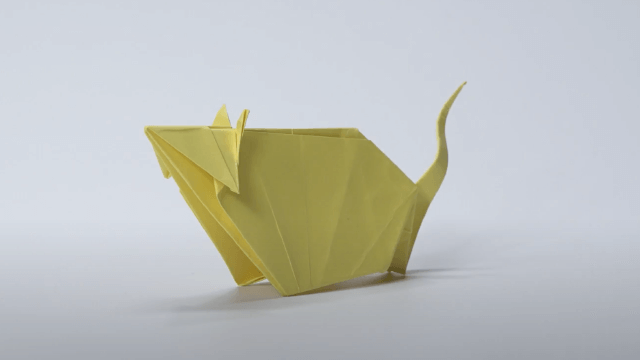
Craft a baby mouse with paper
Make a paper baby mouse using simple folding, cutting, and gluing techniques; decorate with markers and learn about symmetry and animal features.


Step-by-step guide to make a paper baby mouse
Step 1
Gather all your materials on a clear table so you are ready to start.
Step 2
Fold one sheet of paper in half lengthwise to make a neat center fold.
Step 3
With your pencil draw half of an oval along the folded edge so the oval will be symmetrical when cut.
Step 4
Cut along the pencil line through both layers to make a symmetrical oval body.
Step 5
Fold a small piece of scrap paper in half to prepare matching ears.
Step 6
Draw a half-ear shape along the fold on the scrap paper with your pencil.
Step 7
Cut the ear shape along the pencil line to make two matching ears.
Step 8
Cut a thin long strip from scrap paper to make the mouse’s tail.
Step 9
Make a small fold at one narrow end of the oval to form the mouse’s head shape.
Step 10
Glue the two ears onto the folded head area and press them down to stick.
Step 11
Glue the tail to the back end of the body and press to secure it.
Step 12
Fold your mouse gently in half to check left and right symmetry before decorating.
Step 13
Use colouring materials to draw two matching eyes a small nose whiskers and symmetrical decorations on the body.
Step 14
Share your finished baby mouse on DIY.org.
Help!?
What can I use if I don't have the "scrap paper" or a second sheet mentioned for the ears and tail?
Use torn cardboard from a cereal box or an old envelope for the ears and tail, a marker if you don't have a pencil to draw the half-oval and half-ear, and double-sided tape or a glue stick instead of liquid glue.
My cut oval isn't symmetrical after cutting through both layers—how do I fix it?
Refold the sheet along the center fold and either carefully trim the uneven side using the folded edge as a guide or place the imperfect piece on a fresh folded sheet, trace it along the fold, and cut both layers together as the instructions direct to make a symmetrical oval.
How can I adapt the steps for different age groups doing the mouse craft?
For toddlers, pre-cut the oval, ears, and tail so they can glue and color safely, while older kids can add detailed symmetrical decorations, use patterned paper, or make a family of mice and create a cardboard habitat before sharing on DIY.org.
What are some easy ways to extend or personalize the baby mouse project after decorating?
Glue on googly eyes or punched paper eyes, swap the paper tail for a pipe cleaner, layer different textured papers for fur, or build a small cardboard nest to display multiple decorated mice before posting photos to DIY.org.
Watch videos on how to make a paper baby mouse
Easy Paper Mouse Puppet Craft DIY Mouse, Mice and Rats
4 Videos

Easy Paper Mouse Puppet Craft DIY Mouse, Mice and Rats
DIY paper toys | Easy paper birds
DIY paper toys Easy paper birds
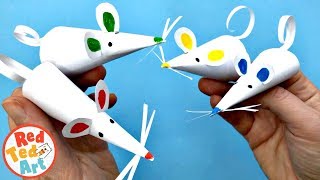
How to make a Paper Mouse Finger Puppet - Paper Mice Crafts
Facts about paper crafts for kids
🐭 Baby mice are born hairless and blind and usually open their eyes about 10–14 days after birth.
✂️ Origami (traditional paper folding) was popularized in Japan's Edo period and inspired many paper-animal crafts.
📐 Bilateral symmetry means a mouse's left and right sides match—perfect for practicing mirror-image decorations.
🎨 Cutting, folding, and gluing crafts help kids develop fine motor skills and hand–eye coordination.
♻️ Using scrap or recycled paper for papercrafts saves resources—paper is one of the most recyclable materials.
How do you make a paper baby mouse?
What materials do I need to make a paper baby mouse?
What ages is this paper baby mouse activity suitable for?
What are the benefits of making a paper baby mouse?
