Construct a body system
Build a model of a human body system using craft materials to explore organs, how they connect, and how the system keeps the body functioning.


Step-by-step guide to build a model of a human body system
Human Body Systems Overview (Updated 2024)
Step 1
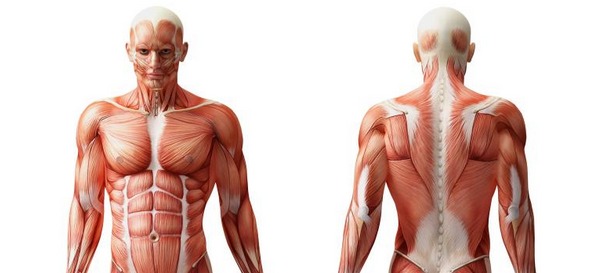
Choose one body system to model such as the digestive system respiratory system or circulatory system and say its name out loud.
Step 2
Gather all the Materials Needed and spread them out on your work table so everything is easy to reach.
Step 3
Use the large sheet to draw or trace a big human body outline where you will place the organs.
Step 4
Write a short list of the main organs or parts that belong to your chosen system on a scrap piece of paper.
Step 5
Cut out each organ shape from coloured paper or felt using the list to guide you.
Step 6
Place the cut-out organs on the body outline in the spots where they belong to check the layout.
Step 7
Glue or tape each organ onto the body outline so they stay in place.
Step 8
Use pipe cleaners or yarn to make tubes and connections between organs to show how they link.
Step 9
Glue small craft items like pom poms or cotton to represent things that show the system working such as blood cells air sacs or food pieces.
Step 10
Write the name of each organ on a label and stick it next to the matching organ.
Step 11
Draw arrows with markers to show the direction of flow like blood moving air moving or food moving.
Step 12
Write one short sentence explaining how this system helps keep the body functioning and attach it near your model.
Step 13
Share your finished creation on DIY.org
Help!?
What can we use instead of felt, pipe cleaners, or pom poms if stores are out?
Substitute coloured paper or an old T-shirt cut into shapes for felt, use yarn, ribbon, or drinking straws instead of pipe cleaners for tubes, and replace pom poms with cotton balls or crumpled tissue when you 'cut out each organ' and 'glue small craft items' to show the system working.
My cut-out organs keep slipping off the body outline — what should I try?
When organs won't stay put after you 'glue or tape each organ', press them firmly, use stronger craft glue or double-sided tape, staple small paper tabs at the edges, or let glue dry under a heavy book to secure paper or felt shapes.
How do I adapt this activity for different age groups?
For younger children, pre-cut large, simple organ shapes from coloured paper and have them place and label with help, while older kids can draw the body outline themselves, cut detailed organ shapes, create yarn or pipe-cleaner connections with beads to show flow, and write a more technical one-sentence explanation of the system.
How can we make the model more creative or interactive before sharing it?
Enhance your model by adding movable joints with brass brads on pipe cleaner connections, using beads or LED stickers on yarn to show 'blood' or 'air' flow, decorating labels with drawings or facts, and attaching a flip-up panel with the one-sentence explanation before posting on DIY.org.
Watch videos on how to build a model of a human body system
Human Body 101 | National Geographic
3 Videos
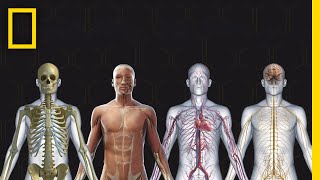
Human Body 101 | National Geographic
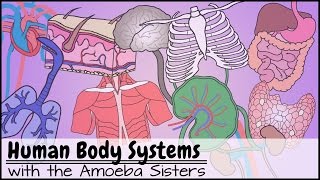
Human Body Systems Functions Overview: The 11 Champions (Older Video 2016)
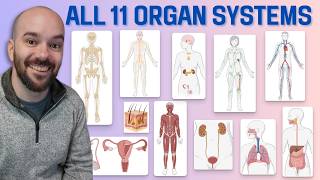
11 Organ Systems of the Human Body (Made Easy!)
Facts about human anatomy for kids
🫀 The human heart pumps roughly 2,000 gallons (about 7,500 liters) of blood every day — that's like filling dozens of bathtubs!
🧠 Your brain contains about 86 billion neurons, a mind-boggling network that helps you think, move, and imagine!
🍽️ The small intestine is super long — around 22 feet (6–7 meters) in an adult — great for absorbing nutrients!
🦴 Babies are born with about 270 bones, but many fuse over time so adults have 206 bones.
🌬️ Lungs hold around 300 million tiny air sacs called alveoli, giving a total surface area similar to a tennis court for gas exchange.
How do you construct a body system model?
What materials do I need to build a body system model?
What ages is this activity suitable for?
What are the benefits of building a body system model?
