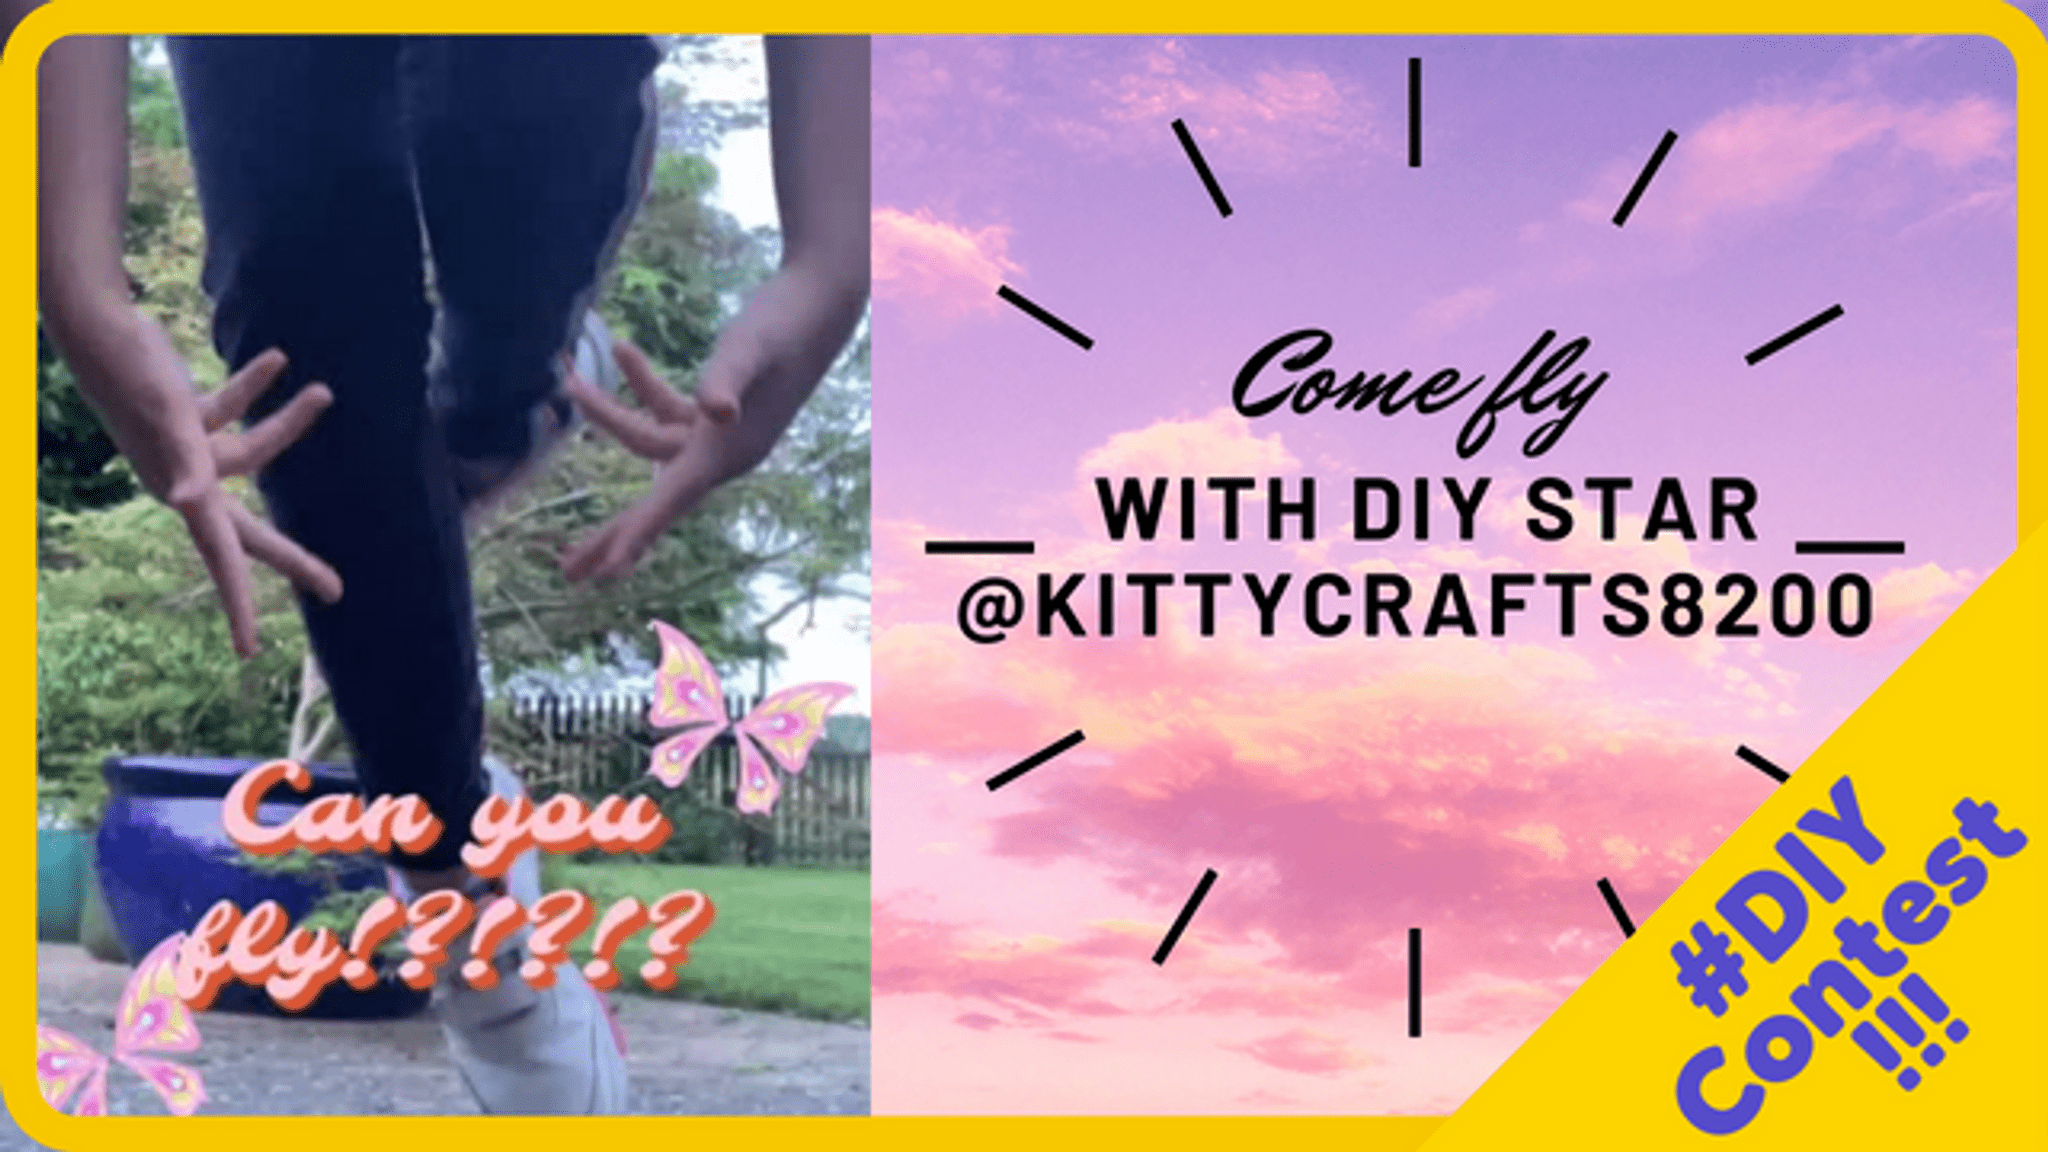
Come fly with DIY Star @KittyCrafts8200!
Build a star-shaped paper glider from cardstock, tape, and straws. Test flight balance, adjust wing shape, and explore simple aerodynamics safely.


Step-by-step guide to build a star-shaped paper glider
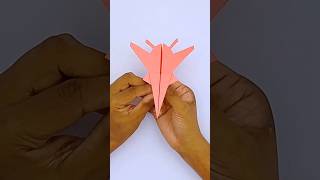
EASY PAPER PLANE STAR FIGHTER INSTRUCTION | HOW TO MAKE A COOL PAPER PLANE STEP BY STEP
Step 1
Gather the materials listed.
Step 2
Draw a 5-point star about 20 cm across on the cardstock using your pencil and ruler.
Step 3
Cut out the star shape carefully with scissors.
Step 4
Mark the exact center of the star with a small pencil dot.
Step 5
Cut two small slits opposite each other through the star so the slits form a straight line across the center.
Step 6
Cut two straws to the width of the star using the scissors.
Step 7
Slide the two straw pieces through the slits so they cross under the star to form a rigid cross.
Step 8
Tape the straws at the center on both the top and bottom of the star to secure them.
Step 9
Fold up about 1 cm of the back edge of each star point to make tiny winglets.
Step 10
With an adult nearby gently toss the glider level from eye height to test its flight.
Step 11
Watch how the glider flies and notice if it tilts left or right dives or loops.
Step 12
If the glider tilts to one side add a tiny piece of tape under the opposite star tip to balance it.
Step 13
If the glider dives or stalls gently bend the back edges of each point down about 2 mm to increase lift.
Step 14
Decorate your glider with colouring materials.
Step 15
Share your finished glider on DIY.org.
Help!?
I don’t have cardstock or plastic straws—what can I use instead?
Use cereal-box cardboard or two sheets of printer paper taped together in place of cardstock, and swap the straws for two short craft sticks or wooden skewers cut to the width of the star and slid through the slits.
My glider keeps tilting or wobbling—what should I check and fix?
Make sure the two slits are exactly opposite each other and the straw cross sits at the marked center, re-tape the straws top and bottom at the center (step 7), and add a tiny piece of tape under the opposite star tip if it still tilts (step 11).
How can I adapt this activity for younger children or older kids who want more challenge?
For younger kids have an adult draw and cut the 20 cm star and pre-cut the slits and straw pieces while older kids can measure and cut the star themselves and experiment with changing the 2 mm bend of the back edges to tune lift (step 12).
What are some fun ways to improve flight or personalize our star glider?
Try adding a small paperclip as ballast at the center to adjust balance, make the 1 cm winglets differently folded for varied handling, decorate with colours and stickers, and then share your finished glider on DIY.org as suggested.
Watch videos on how to build a star-shaped paper glider
✈️ Make a Paper Airplane in 4 Minutes | Easy Step-by-Step Tutorial
4 Videos
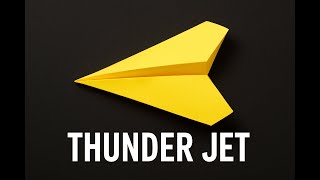
✈️ Make a Paper Airplane in 4 Minutes | Easy Step-by-Step Tutorial
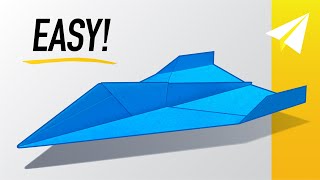
FLIES 150+ Feet!!! How to Make an Easy Jet Paper Airplane that Flies REALLY Far — Starshot
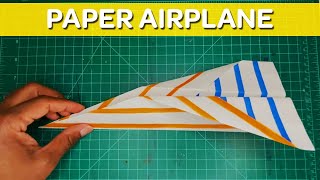
How To Make A Paper Airplane | Creativity Tips | Crayola Learning
DIY Paper Plane Tutorial 🛩️ Fly High with Simple Paper Craft
Facts about paper gliders and basic aerodynamics
✈️ The world record for the longest paper airplane flight is 226 ft 10 in (69.14 m), thrown by Joe Ayoob with a design folded by John Collins.
🎯 For a stable glider the center of gravity often sits about one-third of the way back from the nose—move it and the plane may nosedive or stall.
🥤 Gluing a drinking straw along a wing or body acts like a spar (a spine) to keep the wing stiff and help the glider fly straighter.
🌬️ Small wing tweaks like camber (curvature) and dihedral (upward wing tips) change lift and make toys more or less stable in flight.
⭐ Star-shaped wings increase total surface area and can produce slow, floaty flights that are great for safe indoor testing and experimenting.
How do I build a star-shaped paper glider from cardstock, tape, and straws?
What materials do I need to make a DIY star glider?
What ages is the star paper glider activity suitable for?
How can we fly star gliders safely and what should we watch for?
