Combine Shading Techniques in a Drawing
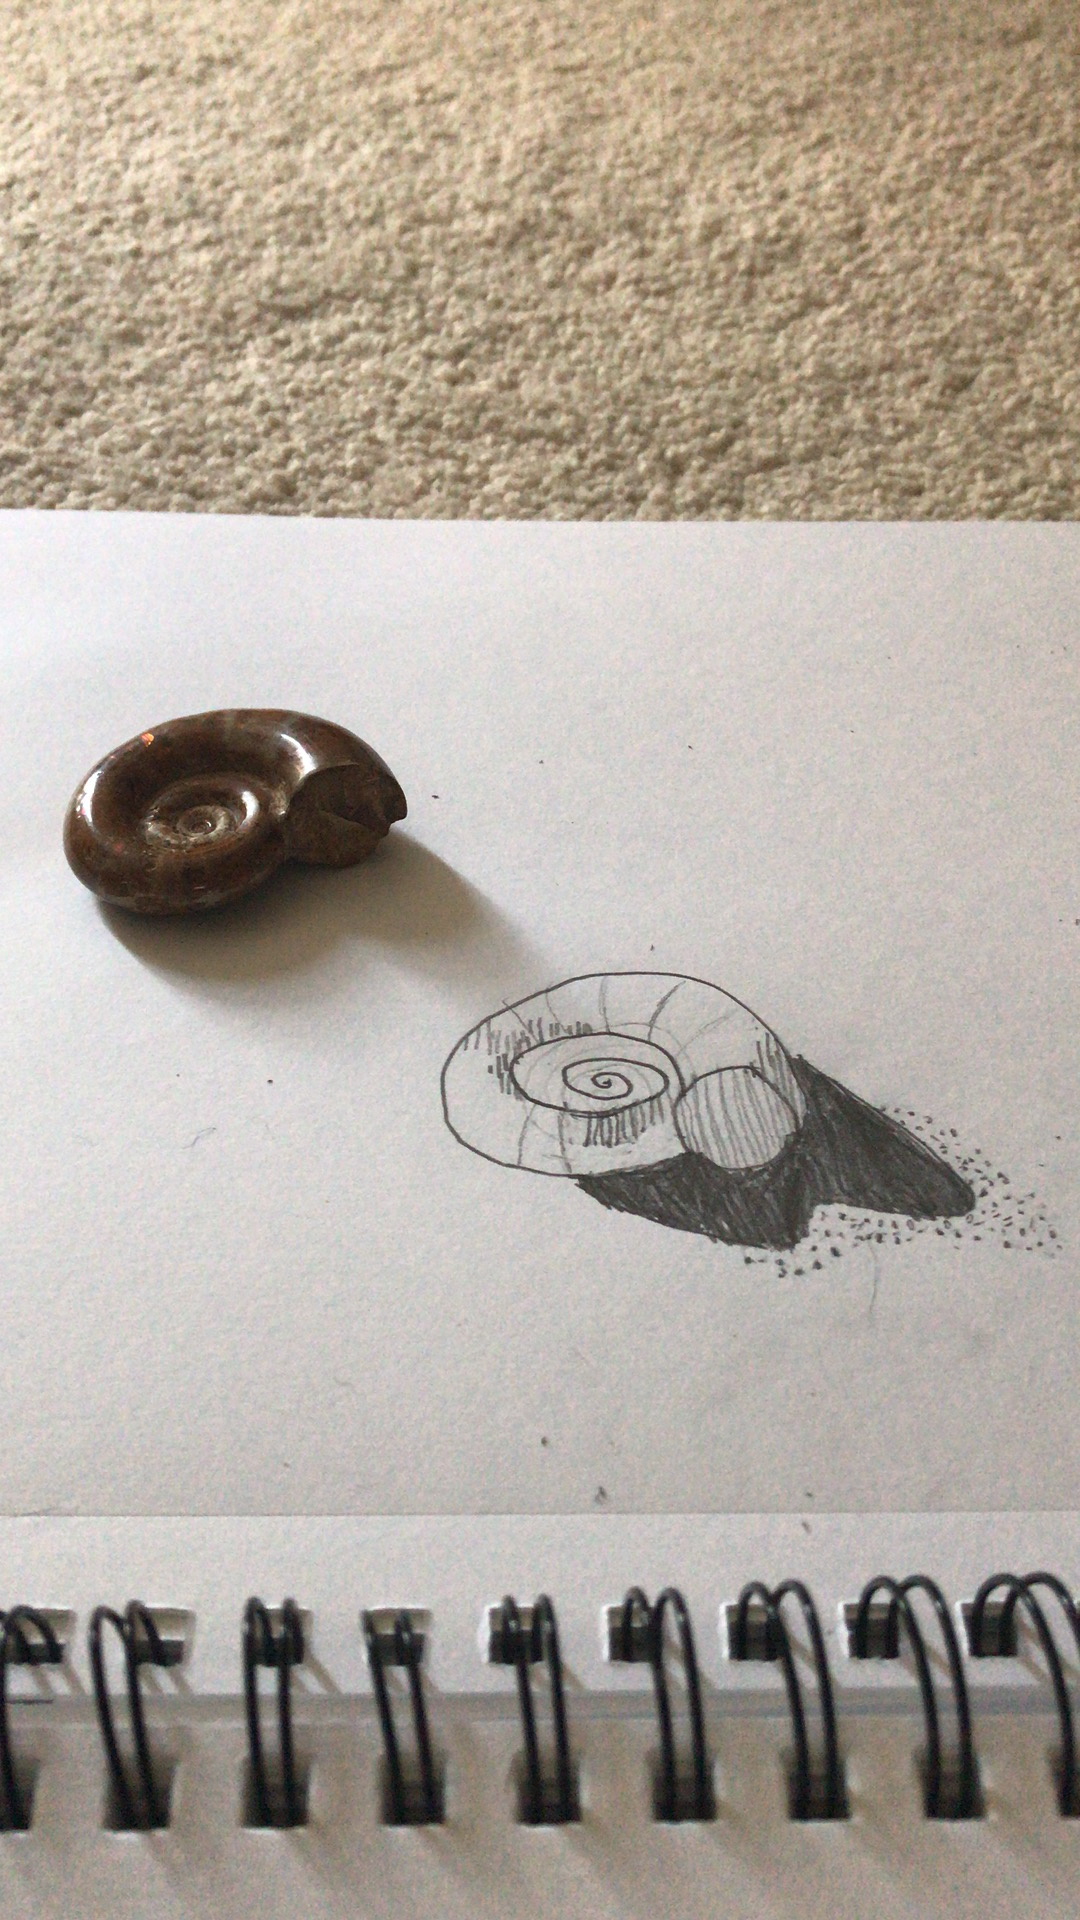
Create a detailed drawing combining hatching, cross-hatching, stippling, and blending to show light and shadow while practicing observation and pencil control.
About this tutorial
Create a detailed drawing combining hatching, cross-hatching, stippling, and blending to show light and shadow while practicing observation and pencil control.
What you need
Instructions
- 1
Step 1
Gather your materials and place them on your flat working surface.
- 2
Step 2
Set up your still-life object or photo and position the lamp to one side so it casts clear light and shadow.
- 3
Step 3
Put your drawing paper on the surface and secure it flat with tape or a clip.
- 4
Step 4
Lightly sketch the basic outline and major shapes of the object with the HB pencil.
- 5
Step 5
Look carefully at the object and mark the brightest highlights and the darkest shadow areas on your sketch.
- 6
Step 6
Use hatching by drawing parallel lines in the midtone areas following the curve of the form.
- 7
Step 7
Apply cross-hatching by layering lines at a different angle in areas that need to be darker.
- 8
Step 8
Add stippling with tiny dots to create texture or deepen small shadow spots.
- 9
Step 9
Switch to a softer pencil and darken the deepest shadows with stronger strokes.
- 10
Step 10
Gently blend transition areas with your blending tool to smooth values between techniques.
- 11
Step 11
Use the eraser to lift out small highlights and clean up any smudges.
- 12
Step 12
Refine edges and add small details so the drawing looks finished.
- 13
Step 13
Share your finished drawing on DIY.org.
Fun facts
How do I combine hatching, cross-hatching, stippling, and blending in a single drawing?
Start with a light pencil sketch and decide the light source. Block shapes and mark value areas. Use hatching for midtones, cross-hatching to deepen shadow, stippling for textured shadows, and blending for smooth gradients. Work from light to dark with different pencil grades, build layers slowly, and keep your pencils sharp. Use a blending stump or tissue sparingly for smooth transitions. Finish by refining edges and adding small highlights with an eraser.
What materials do I need to practice these shading techniques with my child?
You'll need a range of graphite pencils (HB, 2B, 4B), a sharpener, kneaded and vinyl erasers, blending stumps or tortillons, soft tissue, and medium-weight drawing paper (smooth or slightly textured). Optional: charcoal pencils, a white gel pen for highlights, a ruler, and a fixative spray. Also prepare a good reference photo or real object and a clipboard or drawing board for stable work.
What ages are suitable for this combined shading activity?
This activity suits children roughly aged 6 and up with adjustments. Ages 6–8 benefit from simple hatching and stippling exercises in short sessions with close guidance. Ages 9–12 can combine techniques to show form and light, practicing observation and control. Teens can refine values, blending, and layered textures. Always supervise younger kids with sharp tools and fixatives, and shorten tasks to match attention spans.
What are the benefits of practicing multiple shading techniques with kids?
Practicing multiple shading techniques builds observation, fine motor skills, and pencil control while teaching how light creates form. It improves value recognition, concentration, and patience. Kids learn to choose the right mark for texture and depth, strengthening problem-solving and artistic decision-making. These exercises transfer to drawing from life, help handwriting control, and offer a calm, focused activity that boosts confidence and creativity.
Watch & Learn
Need help?
What can we use instead of a lamp, blending tool, or softer pencil if we don't have them?
Use a window or flashlight placed to the side instead of a lamp, a cotton swab or tissue in place of a blending tool, and a 2B–4B pencil if you don't have a softer pencil to darken shadows.
My shading looks muddy or the highlights disappeared — what step should I fix?
Secure the paper with tape, re-mark the brightest highlights and darkest shadows from the object, lift highlights with the eraser, and increase contrast by adding more hatching, cross-hatching, or switching to a softer pencil for deeper shadows.
How can I adapt this shading activity for different ages?
For younger kids simplify to a light sketch and single-direction hatching with an HB pencil and no blending, for middle kids add cross-hatching and basic stippling with a softer pencil, and for teens focus on fine details, controlled blending, and refining edges before sharing on DIY.org.
How can we make the finished drawing more creative or advanced?
Try multiple studies with different lamp angles, layer charcoal or colored pencils over your hatching and stippling for richer tones, personalize the still-life subject, and photograph the progress to post on DIY.org.