Combine 3D shapes to make an object
Build a model creature or vehicle by combining 3D shapes from cardboard or clay, learning about solids, symmetry, and basic measurement while experimenting.


Step-by-step guide to combine 3D shapes to make an object
Step 1
Choose whether you will use cardboard or clay and pick a creature or vehicle idea to make.
Step 2
Draw a simple sketch on paper showing the main 3D shapes and a center line for symmetry.
Step 3
Use your ruler to measure and mark the size of each 3D shape on the cardboard or plan the sizes of clay lumps to match your sketch.
Step 4
Cut out the marked shapes from cardboard with scissors or shape the clay lumps into spheres cylinders cones and boxes with your hands.
Step 5
Make matching left and right parts like wings or legs so your model stays symmetrical.
Step 6
Join the main body shapes together using glue or tape for cardboard or toothpicks and water for clay.
Step 7
Attach arms wings wheels or other large parts to the body so the model looks like your sketch.
Step 8
Add small details like eyes antennae or windows using small cutouts or tiny clay bits.
Step 9
Check measurements and balance with your ruler and move or trim parts if the model wobbles or looks uneven.
Step 10
Smooth rough edges and seams by sanding cardboard edges or smoothing clay with water and a tool.
Step 11
Decorate your creature or vehicle with colouring materials and let any glue or clay dry completely.
Step 12
Share your finished creation on DIY.org
Help!?
What can we use if we don't have cardboard or clay?
If you don't have cardboard or clay, substitute thin foam board or clean cereal boxes for cardboard and use play‑dough or air‑dry modelling clay for clay, and replace toothpicks with wooden skewers cut to size.
My model keeps wobbling—what should I try?
Follow the 'Check measurements and balance with your ruler and move or trim parts' step, then widen or add a heavier cardboard base, reinforce joints with extra glue or tape, or push toothpicks into clay joints before smoothing so legs and wings stay steady.
How can I adapt this activity for different ages?
For younger children, pre‑cut the 3D shapes and use play‑dough and stickers so they can match left and right parts easily, while older kids can use precise ruler measurements, sand seams, and build moving wheels or hinged parts as in steps 3, 9 and 11.
How can we extend or personalize our creature or vehicle?
To enhance your model from steps 6–12, add functioning wheels on axles, paint detailed windows and antennae, texture or sand edges for realism, attach small LED lights or a decorated diorama base, and then share the finished creation on DIY.org.
Watch videos on how to combine 3D shapes to make an object
How To Make 3D Shapes Model for School Project | 3D Shapes Maths Project | Geometric Shapes Model
4 Videos
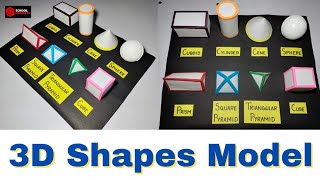
How To Make 3D Shapes Model for School Project | 3D Shapes Maths Project | Geometric Shapes Model
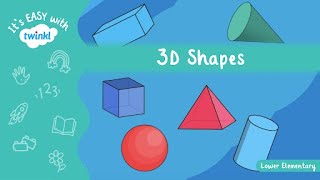
3D Shapes for Kids | It's Easy with Twinkl | Twinkl USA
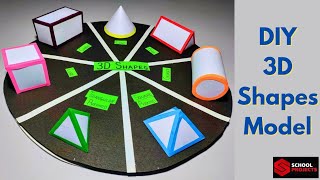
How To Make 3D Shapes Model for School Project | 3D Shapes Maths Project | Geometric Shapes Model
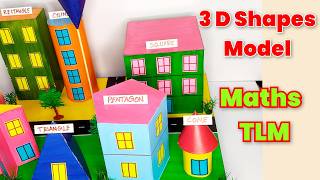
3D Shapes City Model | Creative Geometry Project for Kids
Facts about 3D geometry and measurement
🧩 There are only five Platonic solids — perfect, regular 3D shapes that have inspired builders and artists for centuries.
📏 A 30 cm (12 in) ruler is a handy tool for measuring and comparing parts while kids learn real-world measuring skills.
📦 Corrugated cardboard has a fluted inner layer that makes it lightweight yet strong, great for building large but light frames.
🎨 Air-dry clays often shrink a little (commonly 1–5%) as they dry, so making parts slightly oversized helps them fit after drying.
🔁 Bilateral symmetry (mirror-image halves) is common in animals — making models symmetrical usually makes creatures look balanced and familiar.
How do I build a model creature or vehicle by combining 3D shapes?
What materials do I need to build a model creature or vehicle from cardboard or clay?
What ages is combining 3D shapes to build models suitable for?
What are the benefits of building model creatures or vehicles from 3D shapes?
