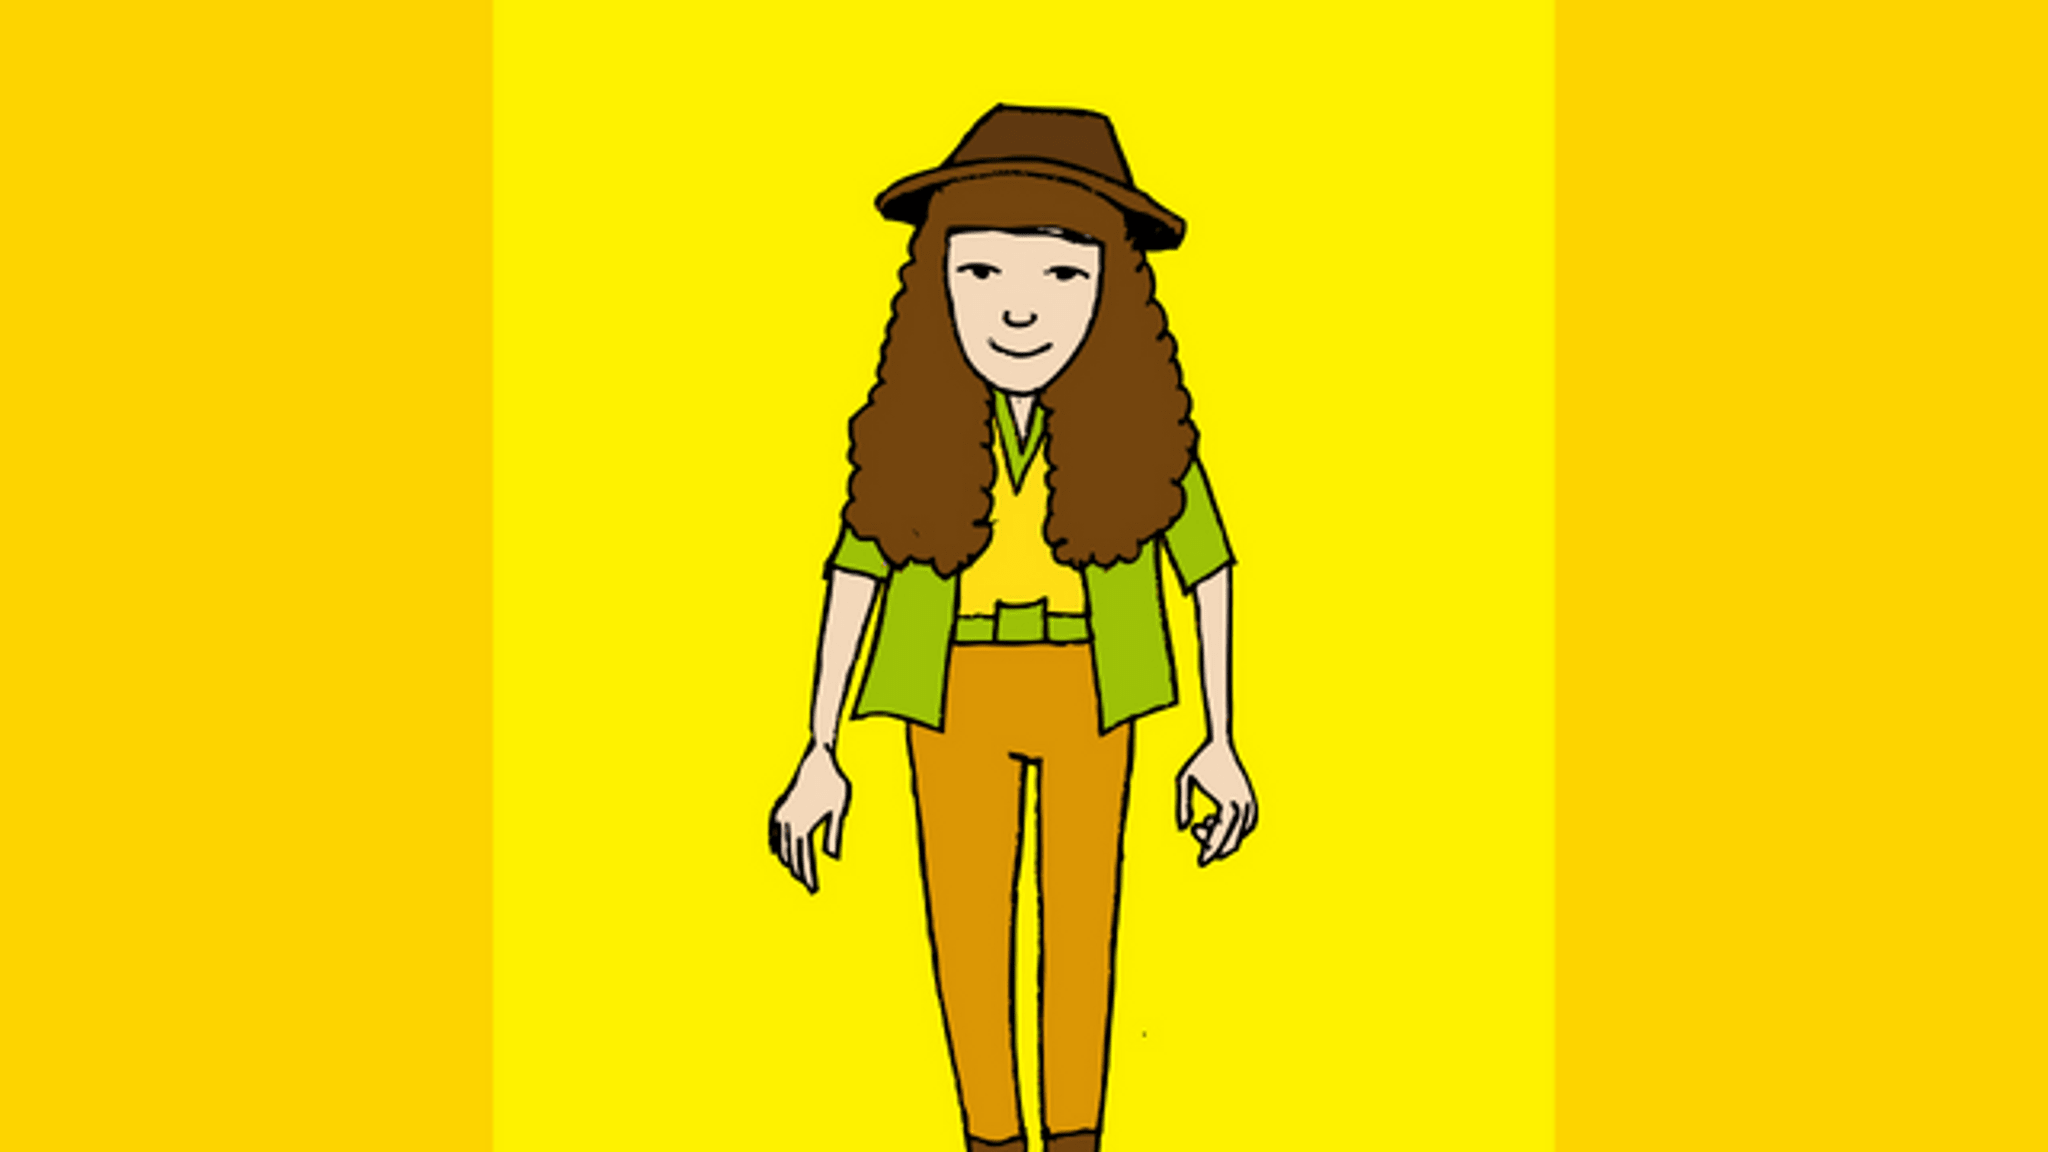
Cartoonize Yourself!
Draw a cartoon version of yourself by tracing a photo, simplifying shapes, exaggerating features, and coloring with markers or colored pencils to personalize it.


Step-by-step guide to cartoonize yourself
Cartoonize Your Photos With Canva (EASY & FREE)
Step 1
Gather all the materials from the list and put them on a clean flat surface.
Step 2
Choose a clear front-facing photo of yourself to use as your reference and put it where you can see it easily.
Step 3
Tape the photo flat to a window or table so it will not move while you trace.
Step 4
Place the tracing paper over the photo and secure the corners with small pieces of tape.
Step 5
Lightly trace the outer head shape hairline and neck from the photo with your pencil.
Step 6
Draw the main facial features as simple shapes such as rounded eyes a small nose line and a smiling curve for a mouth.
Step 7
Pick one or two features to exaggerate like bigger eyes a bigger smile or a wild hair shape and redraw those more boldly.
Step 8
Add simple clothing and hair details using clean easy shapes like rectangles for collars or swoops for hair strands.
Step 9
Trace over the pencil lines you want to keep with the black marker or fine liner.
Step 10
Erase the remaining pencil lines gently after the ink is fully dry.
Step 11
Choose three to five colors you want to use for skin hair clothes and accents.
Step 12
Color your cartoon using markers or colored pencils staying inside the large shapes.
Step 13
Add small finishing touches like freckles highlights or simple patterns to make it uniquely you.
Step 14
Share your finished cartoonized self on DIY.org
Help!?
What can I use if I don't have tracing paper, small pieces of tape, or a bright window?
Use thin printer paper or wax paper over the photo, secure everything with low-tack painter's tape or binder clips on a tablet or clipboard, and place the setup on a well-lit table under a lamp instead of taping to a window.
My lines look shaky or the tracing paper keeps moving while I trace — how can I fix that?
Remount the photo and tracing paper with small pieces of tape on each corner, press both flat against the window or table, and trace lightly with a sharp pencil using your non-dominant hand to steady the paper if needed.
How should I change this activity for younger kids or older kids?
For younger children simplify step 6 by pre-drawing large simple shapes and let them color with chunky markers, while older kids can exaggerate features more boldly (step 7), add fine details with a fine liner (step 9), and use colored pencils for shading (step 11).
What are some ways to make my final cartoon more special or shareable beyond just coloring it?
After finishing step 12, scan or photograph your cartoon to add digital backgrounds or text, print multiple copies to make stickers or a mini-comic, and then upload the image to DIY.org to share your personalized version.
Watch videos on how to cartoonize yourself
How To Cartoonize A Picture | AI Image to Cartoon or 3D Animation Pixar Style
4 Videos
How To Cartoonize A Picture | AI Image to Cartoon or 3D Animation Pixar Style
How To Turn Photo Into Cartoon In Canva (Step By Step)

How To Cartoon Yourself in Procreate • Step-by-step Tutorial, Pro Tips & Tricks
ComfyUI Tutorial Series: Ep18 - Easy Photo to Cartoon Transformation!
Facts about cartoon drawing for kids
🎨 The word "cartoon" originally meant a full-size preparatory drawing for a painting or tapestry before it became the funny drawings we know today.
✏️ Caricature artists exaggerate one or two features—like a big smile or nose—so people recognize the subject instantly.
📷 Tracing photos is a common learning trick for artists to study proportions and shapes; it's a practice tool, not cheating.
🖍️ Markers give bright, flat color quickly, while colored pencils let you layer and blend for soft shading—try both to see what you like!
🔺 Many iconic cartoon characters are built from simple shapes (circles, squares, triangles) to make them easy to draw and memorable.
How do I cartoonize myself step by step?
What materials do I need to cartoonize myself?
What ages is the Cartoonize Yourself activity suitable for?
What are the benefits and safe variations for cartoonizing yourself?
